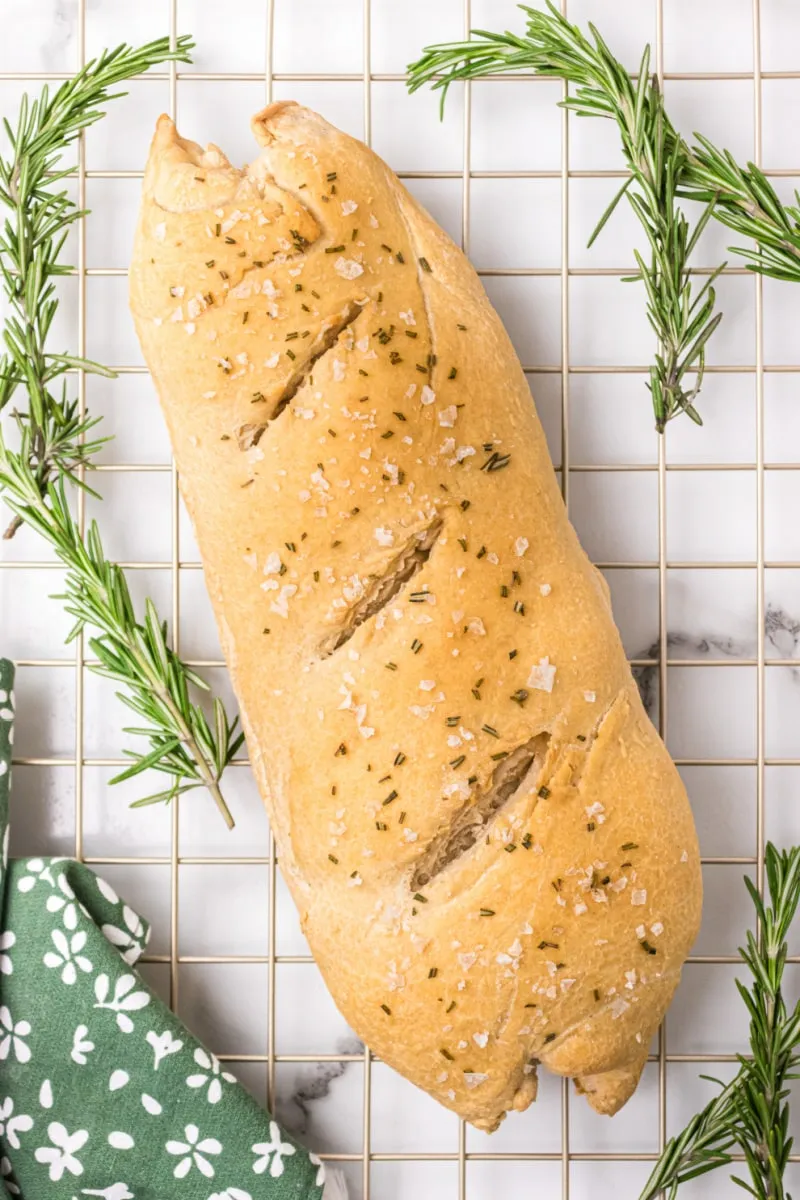
Imagine walking into your kitchen and being greeted by the irresistible aroma of freshly baked bread, infused with the earthy scent of rosemary and a hint of sea salt. This Rosemary Sea Salt Italian Bread is not just a recipe; it's an experience that will transport you straight to a rustic Italian bakery. With just a few simple ingredients and a little patience, you can create a golden, crusty loaf that is perfect for dipping in olive oil, pairing with your favorite cheeses, or simply enjoying warm with a pat of butter. Ready to impress your family and friends? Let’s dive into the art of bread-making!
Prep Time: 20 mins
Cook Time: 30 mins
Total Time: 50 mins
Cuisine: Italian
Serves: 1 loaf
Ingredients
- 4 cups all-purpose flour
- 1 tablespoon salt
- 2 teaspoons active dry yeast
- 1 1/2 cups warm water
- 2 tablespoons fresh rosemary, chopped
- 1 tablespoon sea salt
Instructions
- In a large mixing bowl, combine the warm water and active dry yeast. Let the mixture sit for 5-7 minutes until the yeast becomes foamy and activated.
- Add the all-purpose flour, chopped fresh rosemary, and salt to the yeast mixture. Mix with a wooden spoon until a shaggy dough begins to form.
- Turn the dough out onto a lightly floured surface and knead for 8-10 minutes. The dough should become smooth, elastic, and slightly tacky but not sticky.
- Place the kneaded dough in a lightly oiled bowl, cover with a clean kitchen towel, and let rise in a warm, draft-free area for about 1 hour or until the dough has doubled in size.
- Punch down the risen dough and shape it into a round loaf. Place the loaf on a parchment-lined baking sheet.
- Cover the shaped loaf and let it rise again for 30-45 minutes until it has nearly doubled in size.
- Preheat the oven to 425°F (220°C). Just before baking, sprinkle the top of the loaf with additional sea salt.
- Make a few shallow diagonal slashes across the top of the loaf with a sharp knife to allow steam to escape.
- Bake the bread for 25-30 minutes, or until the crust is golden brown and the bread sounds hollow when tapped on the bottom.
- Remove from the oven and let cool on a wire rack for at least 30 minutes before slicing to allow the interior to set.
Tips
- Activate Your Yeast: Make sure your water is warm (not hot) to properly activate the yeast. If the water is too hot, it can kill the yeast and prevent your bread from rising.
- Knead with Care: Kneading is crucial for developing gluten, which gives your bread its structure. Don’t rush this step; aim for a smooth and elastic dough.
- Perfect Rising Conditions: For the best rise, place your dough in a warm, draft-free area. If your kitchen is cool, consider turning on your oven for a minute and then turning it off, creating a warm environment for the dough to rise.
- Don’t Skip the Second Rise: Allowing the shaped loaf to rise again is essential for a light and airy texture. Patience is key!
- Check for Doneness: To ensure your bread is perfectly baked, tap the bottom of the loaf. If it sounds hollow, it’s ready to come out of the oven.
- Cooling is Key: Let the bread cool on a wire rack before slicing. This helps the interior set and prevents it from becoming gummy.
- Experiment with Flavors: Feel free to customize your bread by adding other herbs, garlic, or even cheese to the dough for a unique twist!
Nutrition Facts
Calories: 150kcal
Carbohydrates: 30g
Protein: 4g
Fat: 1g
Saturated Fat: g
Cholesterol: 0mg