Imagine pulling a perfectly golden, crusty loaf of artisan bread out of your own oven, with a crisp exterior and a soft, airy interior that rivals any professional bakery. What if we told you that creating restaurant-quality bread is easier than you think? The stretch and fold technique is a game-changing method that transforms ordinary home baking into an extraordinary culinary experience, allowing even novice bakers to craft stunning, professional-grade bread with minimal effort and maximum flavor.
Prep Time: 15 mins
Cook Time: 30 mins
Total Time: 45 mins
Cuisine: Artisan
Serves: 1 loaf
Ingredients
- 500g bread flour
- 350ml water
- 10g salt
- 2g instant yeast
Instructions
- In a large mixing bowl, combine 500g of bread flour and 2g of instant yeast. Stir them together until well mixed.
- Add 350ml of water to the flour mixture. Using a wooden spoon or your hands, mix the ingredients together until a shaggy dough forms. Ensure that all the flour is incorporated and there are no dry patches.
- Once the dough is formed, let it rest for about 15 minutes. This resting period, known as autolyse, allows the flour to fully hydrate and helps develop gluten.
- After the resting period, sprinkle 10g of salt over the dough. Wet your hands to prevent sticking, then pinch and fold the dough over itself several times to incorporate the salt. Continue to knead gently until the salt is fully integrated into the dough.
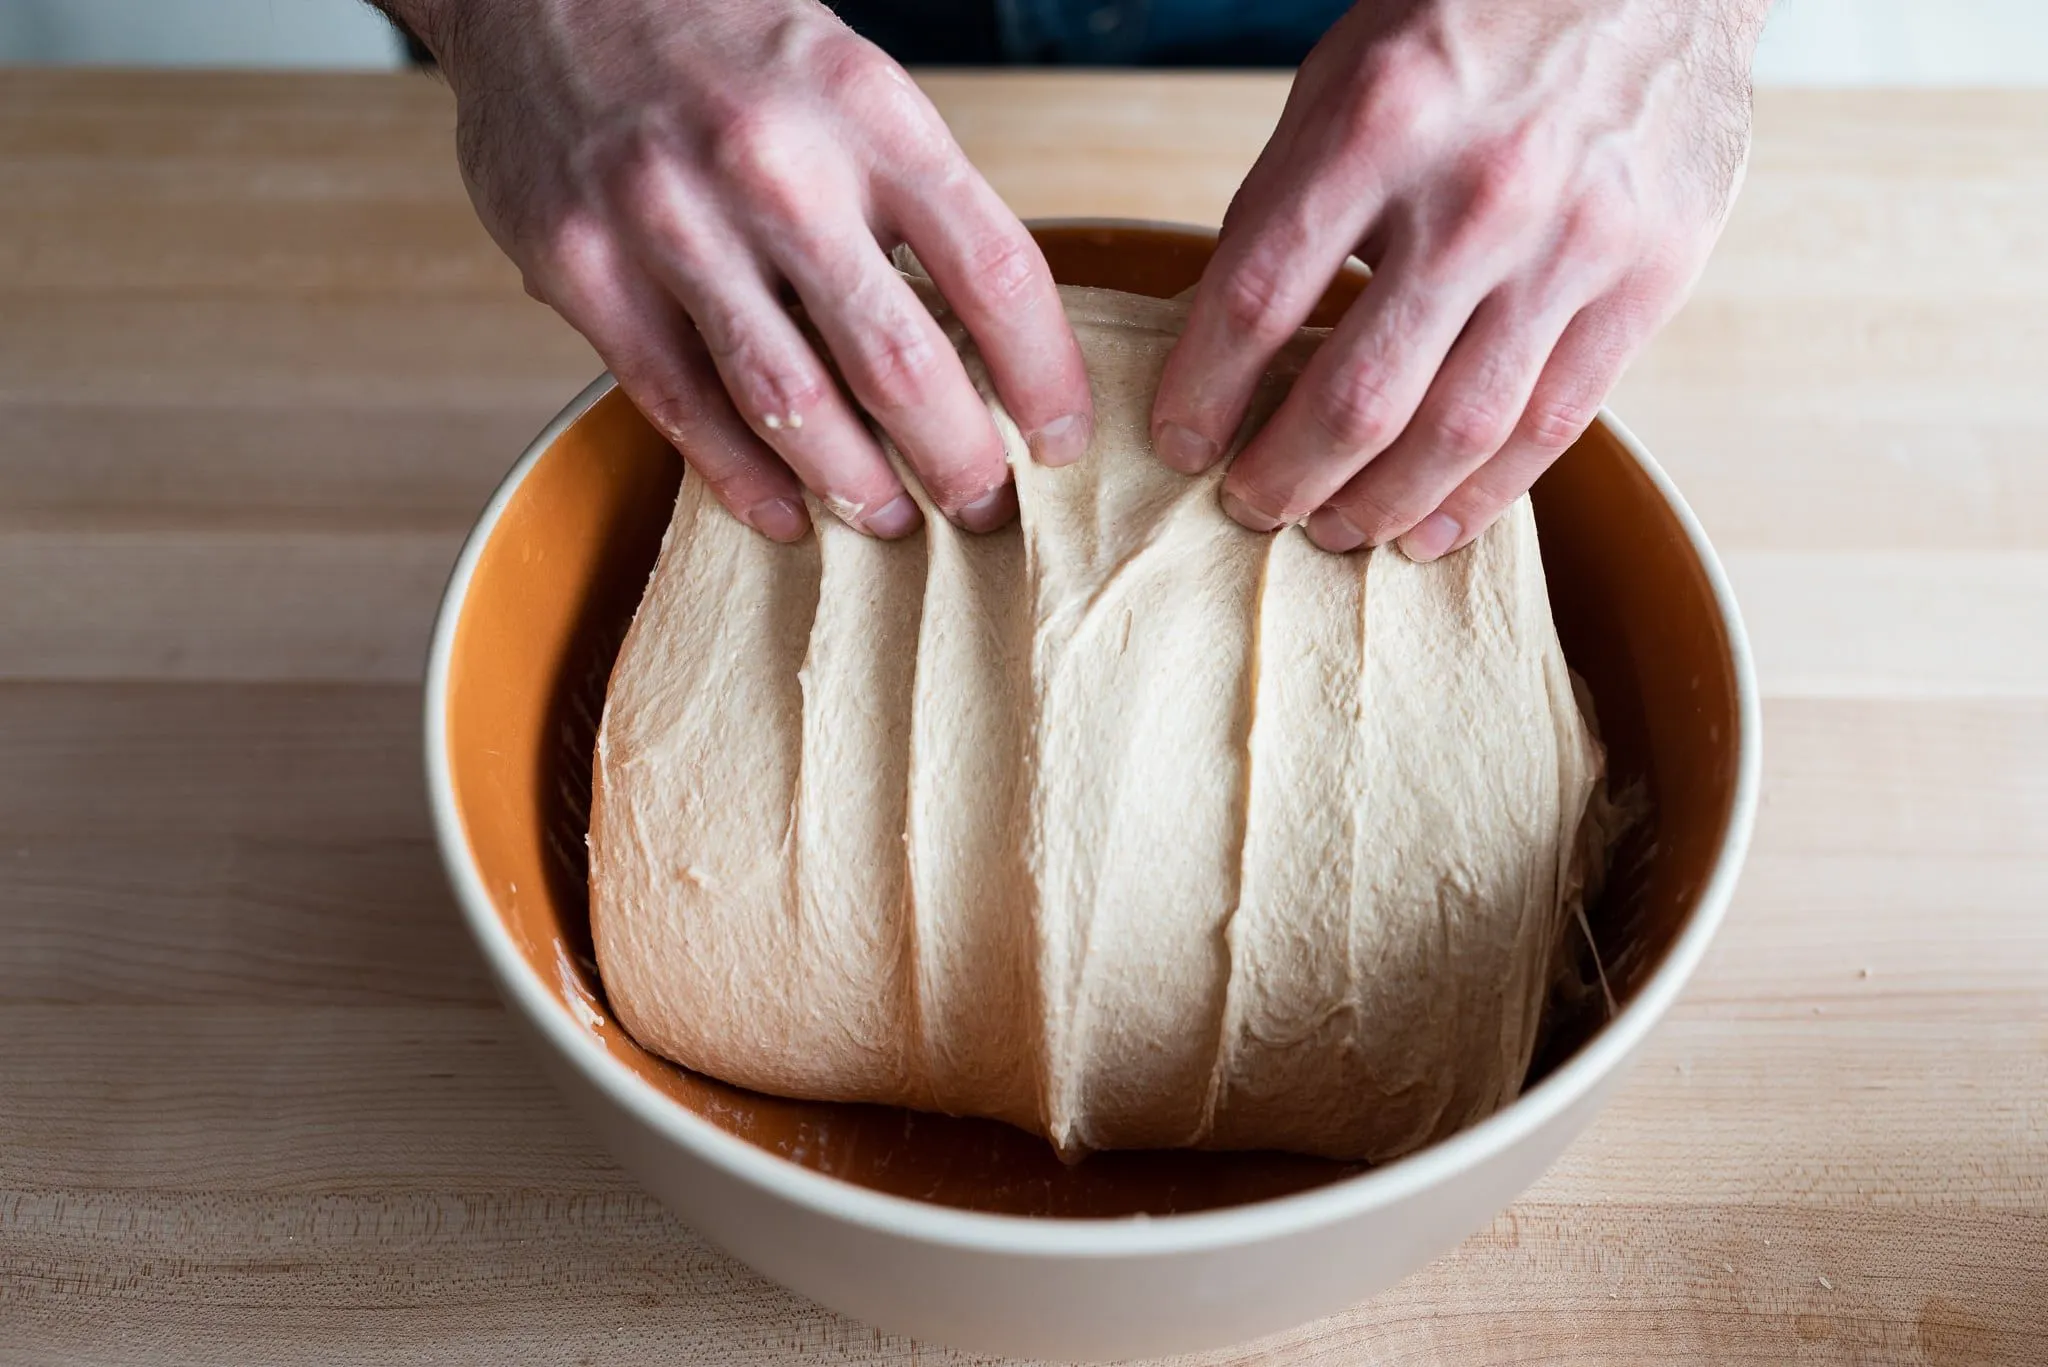
- Now it's time to start the stretch and fold technique. Grab one side of the dough, stretch it upward, and fold it over to the opposite side. Rotate the bowl a quarter turn and repeat this process until you have completed four folds, one for each side of the dough.
- Cover the bowl with a damp cloth or plastic wrap and let the dough rise at room temperature for about 1 to 2 hours, or until it has doubled in size. During this time, perform a stretch and fold every 30 minutes to strengthen the dough.
- Once the dough has risen, gently turn it out onto a lightly floured surface. Shape the dough into a round loaf by tucking the edges into the center and then flipping it seam-side down.
- Let the shaped loaf rest for about 20 minutes, covered with a cloth to prevent drying out.
- After the resting period, perform a final shaping by gently stretching the dough and folding it into a tighter round shape. Place the loaf seam-side up in a floured proofing basket or bowl lined with a floured cloth.
- Cover the loaf with a cloth and let it proof for another 1 to 2 hours, or until it has noticeably puffed up.
- Preheat your oven to 230°C (450°F) about 30 minutes before baking. If you have a baking stone or Dutch oven, place it in the oven to heat up as well.
- Once the oven is preheated, carefully turn the proofed loaf out onto a piece of parchment paper. Use a sharp knife or a razor blade to score the top of the loaf, making a few shallow cuts.
- Using the parchment paper, transfer the loaf into the preheated Dutch oven or onto the baking stone. Cover with a lid (if using a Dutch oven) to create steam, which helps develop a crust.
- Bake the bread for 30 minutes with the lid on, then remove the lid and bake for an additional 10-15 minutes until the crust is deep golden brown and the internal temperature of the bread reaches about 90°C (190°F).
- Once baked, remove the bread from the oven and let it cool on a wire rack for at least 30 minutes before slicing. This allows the crumb to set properly and enhances the flavor.
Tips
- Temperature Matters: Use lukewarm water (around 100-110°F) to activate the yeast without killing it.
- Hydration is Key: The high water content in this recipe creates those coveted large, irregular air pockets in your bread.
- Be Patient with Fermentation: Don't rush the rising process. Slow fermentation develops deeper flavors and better texture.
- Keep Your Hands Wet: When stretching and folding, wet hands prevent the dough from sticking and make the process smoother.
- Invest in a Proofing Basket: While optional, a proofing basket helps maintain the loaf's shape and creates beautiful scoring patterns.
- Use a Baking Stone or Dutch Oven: These tools help create the perfect crust by trapping steam and providing consistent heat.
- Let the Bread Cool Completely: Resist cutting into the bread immediately. Cooling allows the crumb to set and flavors to develop fully.
Nutrition Facts
Calories: 1500kcal
Carbohydrates: 300g
Protein: 45g
Fat: 3g
Saturated Fat: g
Cholesterol: 0mg