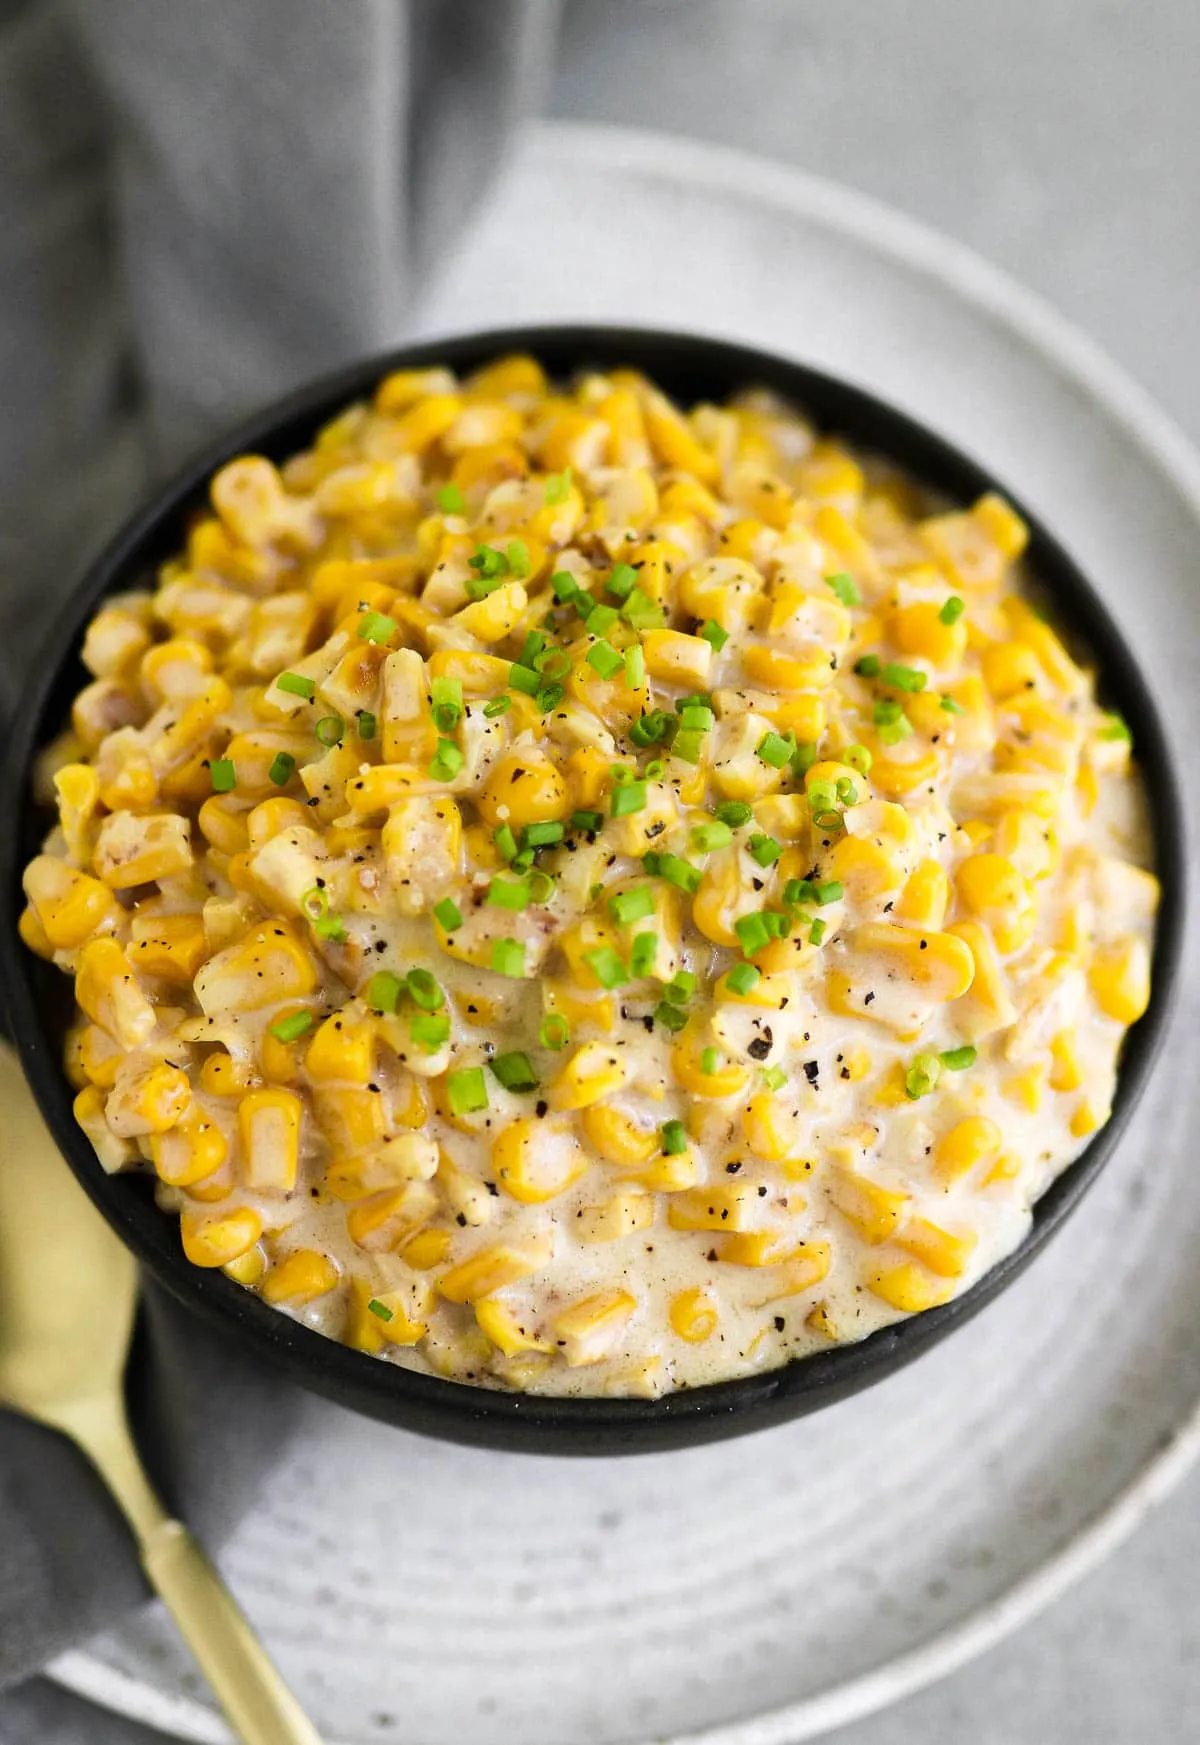
Looking for a comforting side dish that’s both creamy and dairy-free? Our Dairy Free Creamed Corn is the perfect solution! With its luscious texture and delightful flavor, this recipe will elevate any meal while catering to your dietary needs. Imagine the sweet taste of fresh corn combined with the richness of coconut milk, all coming together in just 25 minutes! Whether you're hosting a dinner party or simply enjoying a cozy night in, this dish is sure to impress. Read on to discover how to whip up this delicious recipe that everyone will love!
Prep Time: 10 mins
Cook Time: 15 mins
Total Time: 25 mins
Cuisine: American
Serves: 4 servings
Ingredients
- 4 cups corn kernels
- 1 cup coconut milk
- 2 tablespoons olive oil
- 1 teaspoon salt
- 1/2 teaspoon black pepper
- 1 teaspoon garlic powder
Instructions
- Prepare the corn kernels by ensuring they are fresh or thoroughly thawed if using frozen corn. If using fresh corn, carefully cut kernels off the cob using a sharp knife.
- In a large skillet, heat olive oil over medium heat. Ensure the skillet is wide enough to accommodate all the corn kernels in a single layer.
- Add corn kernels to the heated skillet and spread them evenly across the surface. Cook for 3-4 minutes, stirring occasionally to prevent sticking and ensure even cooking.
- Sprinkle salt, black pepper, and garlic powder over the corn kernels. Stir to distribute the seasonings evenly throughout the corn.
- Pour coconut milk into the skillet, stirring gently to combine with the corn and seasonings. Reduce heat to low-medium to prevent scorching.
- Simmer the corn and coconut milk mixture for 8-10 minutes, stirring periodically. The liquid will gradually thicken and create a creamy texture.
- For a smoother consistency, use a potato masher or the back of a spoon to gently crush some of the corn kernels while cooking.
- Taste and adjust seasonings if needed, adding more salt, pepper, or garlic powder to suit your preference.
- Remove from heat when the mixture reaches a thick, creamy consistency and the corn is tender but not mushy.
- Let the creamed corn rest for 2-3 minutes before serving to allow the sauce to further thicken and flavors to meld together.
- Serve hot as a side dish, garnishing with fresh herbs like chives or parsley if desired.
Tips
- Choosing the Corn: For the best flavor, use fresh corn on the cob when it's in season. If using frozen corn, ensure it’s fully thawed for even cooking.
- Heat Control: Keep the heat at medium to prevent the coconut milk from scorching. If you notice it bubbling too vigorously, reduce the heat to low-medium.
- Texture Preference: If you prefer a creamier texture, don’t hesitate to mash some of the corn kernels while cooking. This will help thicken the dish and enhance the creaminess.
- Seasoning Adjustments: Taste your creamed corn before serving! Feel free to adjust the salt, pepper, or garlic powder to match your personal taste.
- Garnishing: For an extra touch, garnish your creamed corn with freshly chopped herbs like chives or parsley. This adds a pop of color and fresh flavor.
- Serving Suggestions: This dish pairs wonderfully with grilled meats, roasted vegetables, or even as a filling for tacos! Get creative with how you serve it.
Nutrition Facts
Calories: 190kcal
Carbohydrates: 25g
Protein: 4g
Fat: 10g
Saturated Fat: 6g
Cholesterol: 0mg