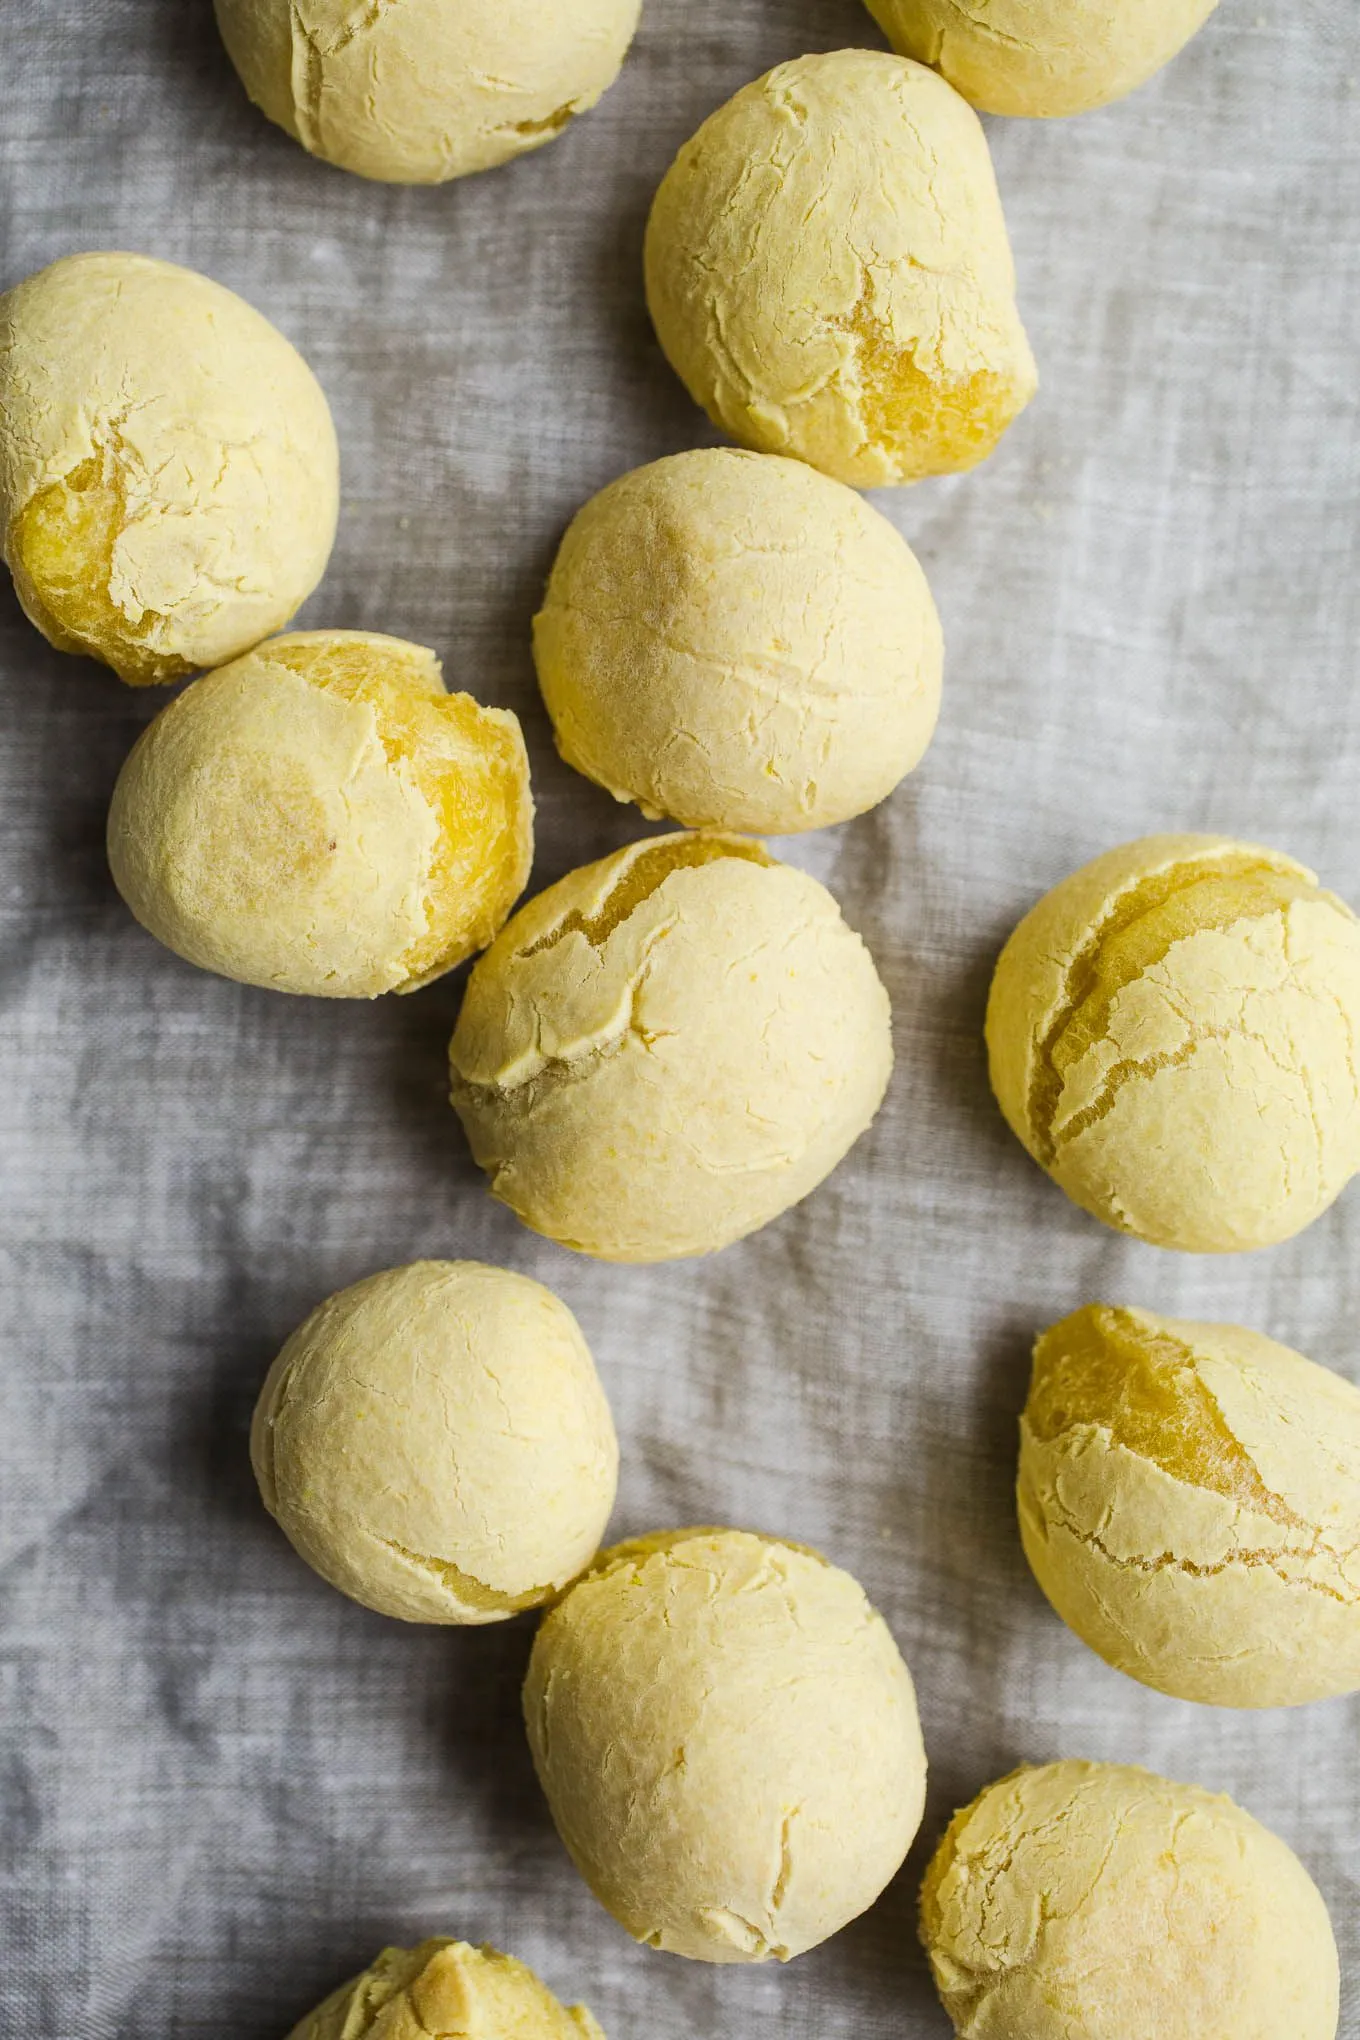
Imagine sinking your teeth into a perfectly golden, crispy, and cheesy bread that's not only vegan and gluten-free but also bursting with irresistible flavors. Get ready to transport your taste buds to Brazil with this mind-blowing Pão de Queijo remake that defies all dietary restrictions! Whether you're a plant-based foodie, gluten-sensitive, or simply someone who loves extraordinary culinary experiences, this recipe will become your new obsession.
Prep Time: 15 mins
Cook Time: 25 mins
Total Time: 40 mins
Cuisine: Brazilian
Serves: 12 pieces
Ingredients
- 1 cup tapioca flour
- 1/2 cup almond milk
- 1/4 cup olive oil
- 1/4 teaspoon salt
- 1/4 teaspoon garlic powder
- 1/4 cup nutritional yeast
- 1 tablespoon apple cider vinegar
Instructions
- Preheat the oven to 400°F (200°C) and line a baking sheet with parchment paper.
- In a medium saucepan, combine almond milk, olive oil, and salt. Heat the mixture over medium heat until it just starts to simmer, stirring occasionally to prevent scorching.
- Remove the liquid mixture from heat and immediately add the tapioca flour. Stir vigorously with a wooden spoon until the mixture becomes a smooth, slightly sticky dough.
- Transfer the dough to a mixing bowl and let it cool for 5-7 minutes until it's comfortable to handle.
- Add nutritional yeast, garlic powder, and apple cider vinegar to the dough. Mix thoroughly using a spatula or electric mixer until all ingredients are well incorporated.
- Using slightly wet hands, form the dough into 12 equal-sized balls, placing them about 2 inches apart on the prepared baking sheet.
- Bake in the preheated oven for 20-25 minutes, or until the cheese breads are golden brown and puffy, with a crisp exterior.
- Remove from the oven and let cool on the baking sheet for 5 minutes before transferring to a wire rack.
- Serve warm and enjoy the cheesy, gluten-free Brazilian bread!
Tips
- Use fresh tapioca flour for the best texture and elasticity
- Ensure your almond milk and olive oil are at the right temperature when mixing
- Mix the dough while it's still warm for optimal consistency
- Wet your hands slightly when forming balls to prevent sticking
- Don't overcrowd the baking sheet - give each bread ball room to expand
- Use a digital kitchen scale for precise ingredient measurements
- Let the bread cool for a few minutes after baking to achieve the perfect crispy exterior
- Serve immediately for the most authentic and delicious experience
- Store any leftovers in an airtight container and reheat in the oven for best results
Nutrition Facts
Calories: kcal
Carbohydrates: g
Protein: g
Fat: g
Saturated Fat: g
Cholesterol: 0mg


