Imagine creating the most luxurious, creamy ice cream without ever touching an ice cream maker - sounds too good to be true? Get ready to unlock the secret to the most effortless dessert that will make you look like a culinary genius! This whipped milk ice cream is so incredibly simple, you'll be amazed that something so delicious can be made with just a few ingredients and minimal effort. Whether you're a busy parent, a dessert enthusiast, or someone who wants to impress guests without spending hours in the kitchen, this recipe is your ultimate game-changer!
Prep Time: 10 mins
Cook Time: -
Total Time: 10 mins
Cuisine: Dessert
Serves: 4 servings
Ingredients
- 2 cups heavy whipping cream
- 1 cup sweetened condensed milk
- 1 tsp vanilla extract
- Optional mix-ins (chocolate chips, fruit, etc.)
Instructions
- In a large mixing bowl, pour in 2 cups of heavy whipping cream. Make sure the bowl is clean and dry for the best results.
- Using an electric mixer or a whisk, whip the heavy cream on medium-high speed until stiff peaks form. This should take about 3-5 minutes. You want the cream to be thick and fluffy, but be careful not to over-whip it, as it can turn into butter.
- In a separate bowl, combine 1 cup of sweetened condensed milk and 1 teaspoon of vanilla extract. Stir the mixture gently until it is well blended and smooth.
- Once the whipped cream has reached the desired consistency, gradually fold the sweetened condensed milk mixture into the whipped cream. Use a spatula to gently combine the two mixtures, being careful not to deflate the whipped cream.
- If desired, add any optional mix-ins such as chocolate chips, fruit, or nuts. Gently fold them into the mixture until evenly distributed.
- Transfer the mixture into a freezer-safe container, spreading it out evenly. Smooth the top with a spatula for an even finish.
- Cover the container with a lid or plastic wrap to prevent ice crystals from forming. Place it in the freezer for at least 4 hours, or until the ice cream is firm.
- Once the ice cream has set, remove it from the freezer and let it sit at room temperature for a few minutes to soften slightly before scooping.
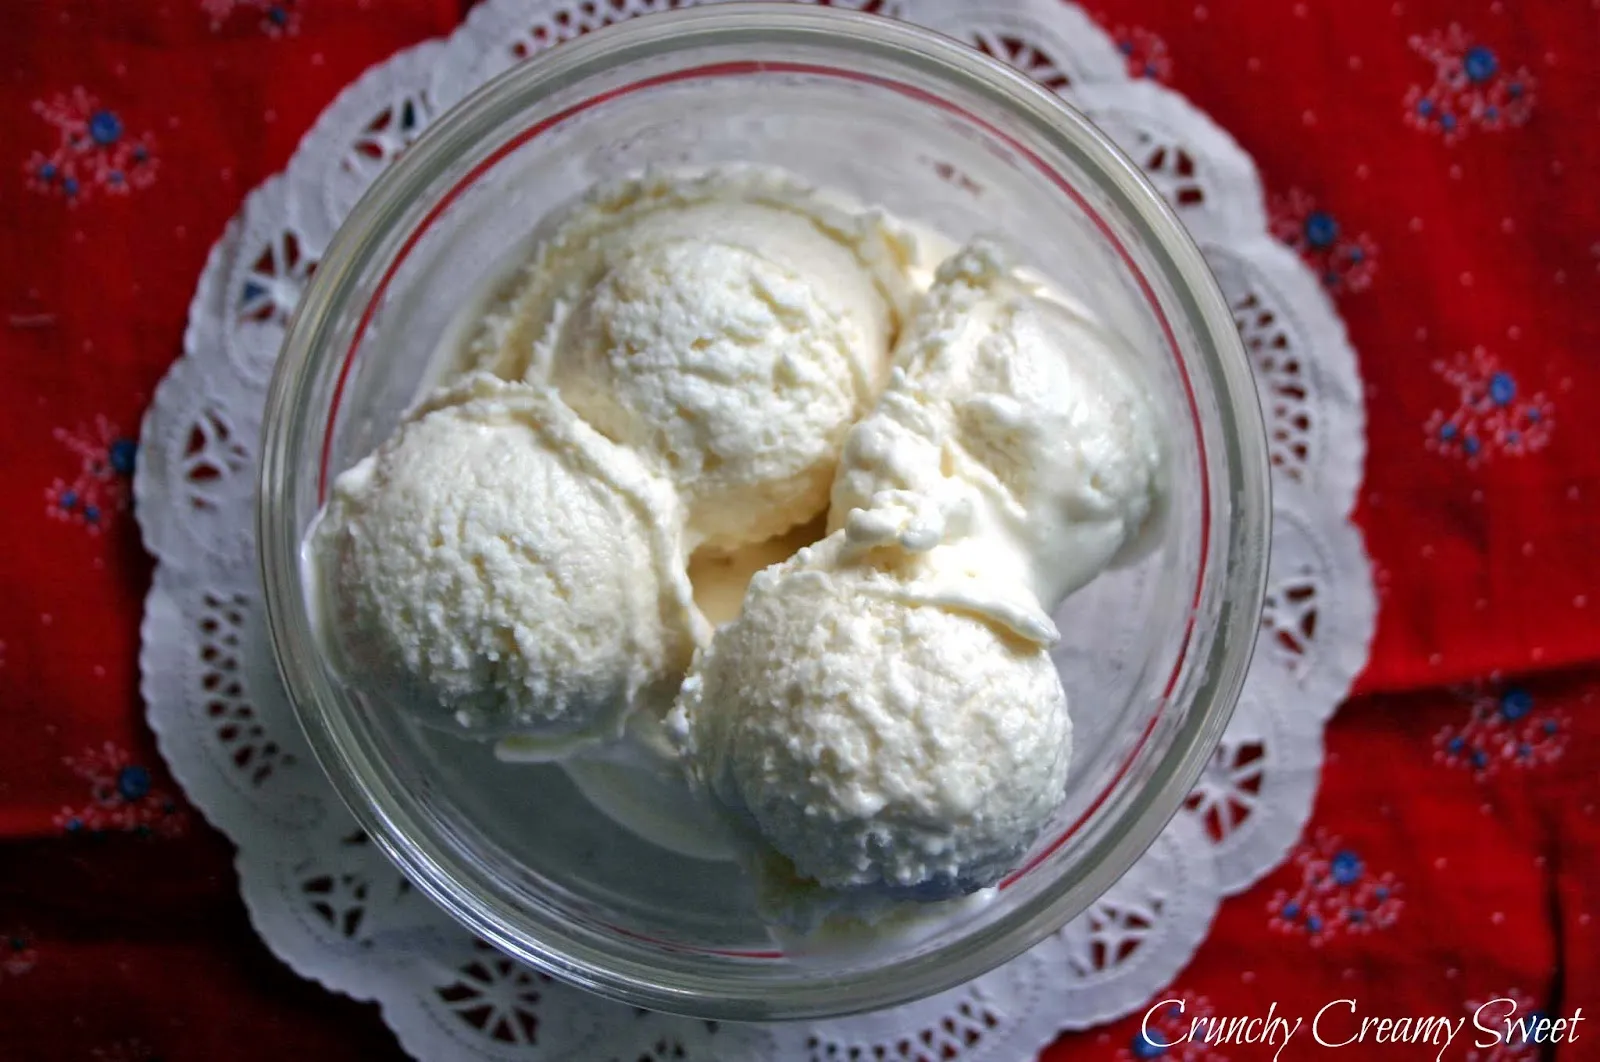
- Serve the whipped milk ice cream in bowls or cones, and enjoy your homemade dessert!
Tips
- Chill Your Bowl: Before whipping cream, place your mixing bowl and whisk/beaters in the freezer for 10-15 minutes. This helps the cream whip faster and hold its shape better.
- Watch Whipping Carefully: When beating the cream, stop just as stiff peaks form. Over-beating can turn your cream into butter, ruining the ice cream's texture.
- Fold Gently: When combining the sweetened condensed milk, use a light folding motion to preserve the air in the whipped cream. This ensures a light, fluffy final texture.
- Get Creative with Mix-ins: Add your favorite ingredients like crushed cookies, caramel swirls, or fresh berries right before freezing for a personalized touch.
- Proper Storage: Always cover the ice cream tightly with plastic wrap or an airtight lid to prevent ice crystals from forming and maintain a smooth texture.
- Softening Trick: If the ice cream is too hard straight from the freezer, let it sit at room temperature for 3-5 minutes before scooping for the perfect consistency.
Nutrition Facts
Calories: 448kcal
Carbohydrates: 43g
Protein: 8g
Fat: g
Saturated Fat: 19g
Cholesterol: 125mg