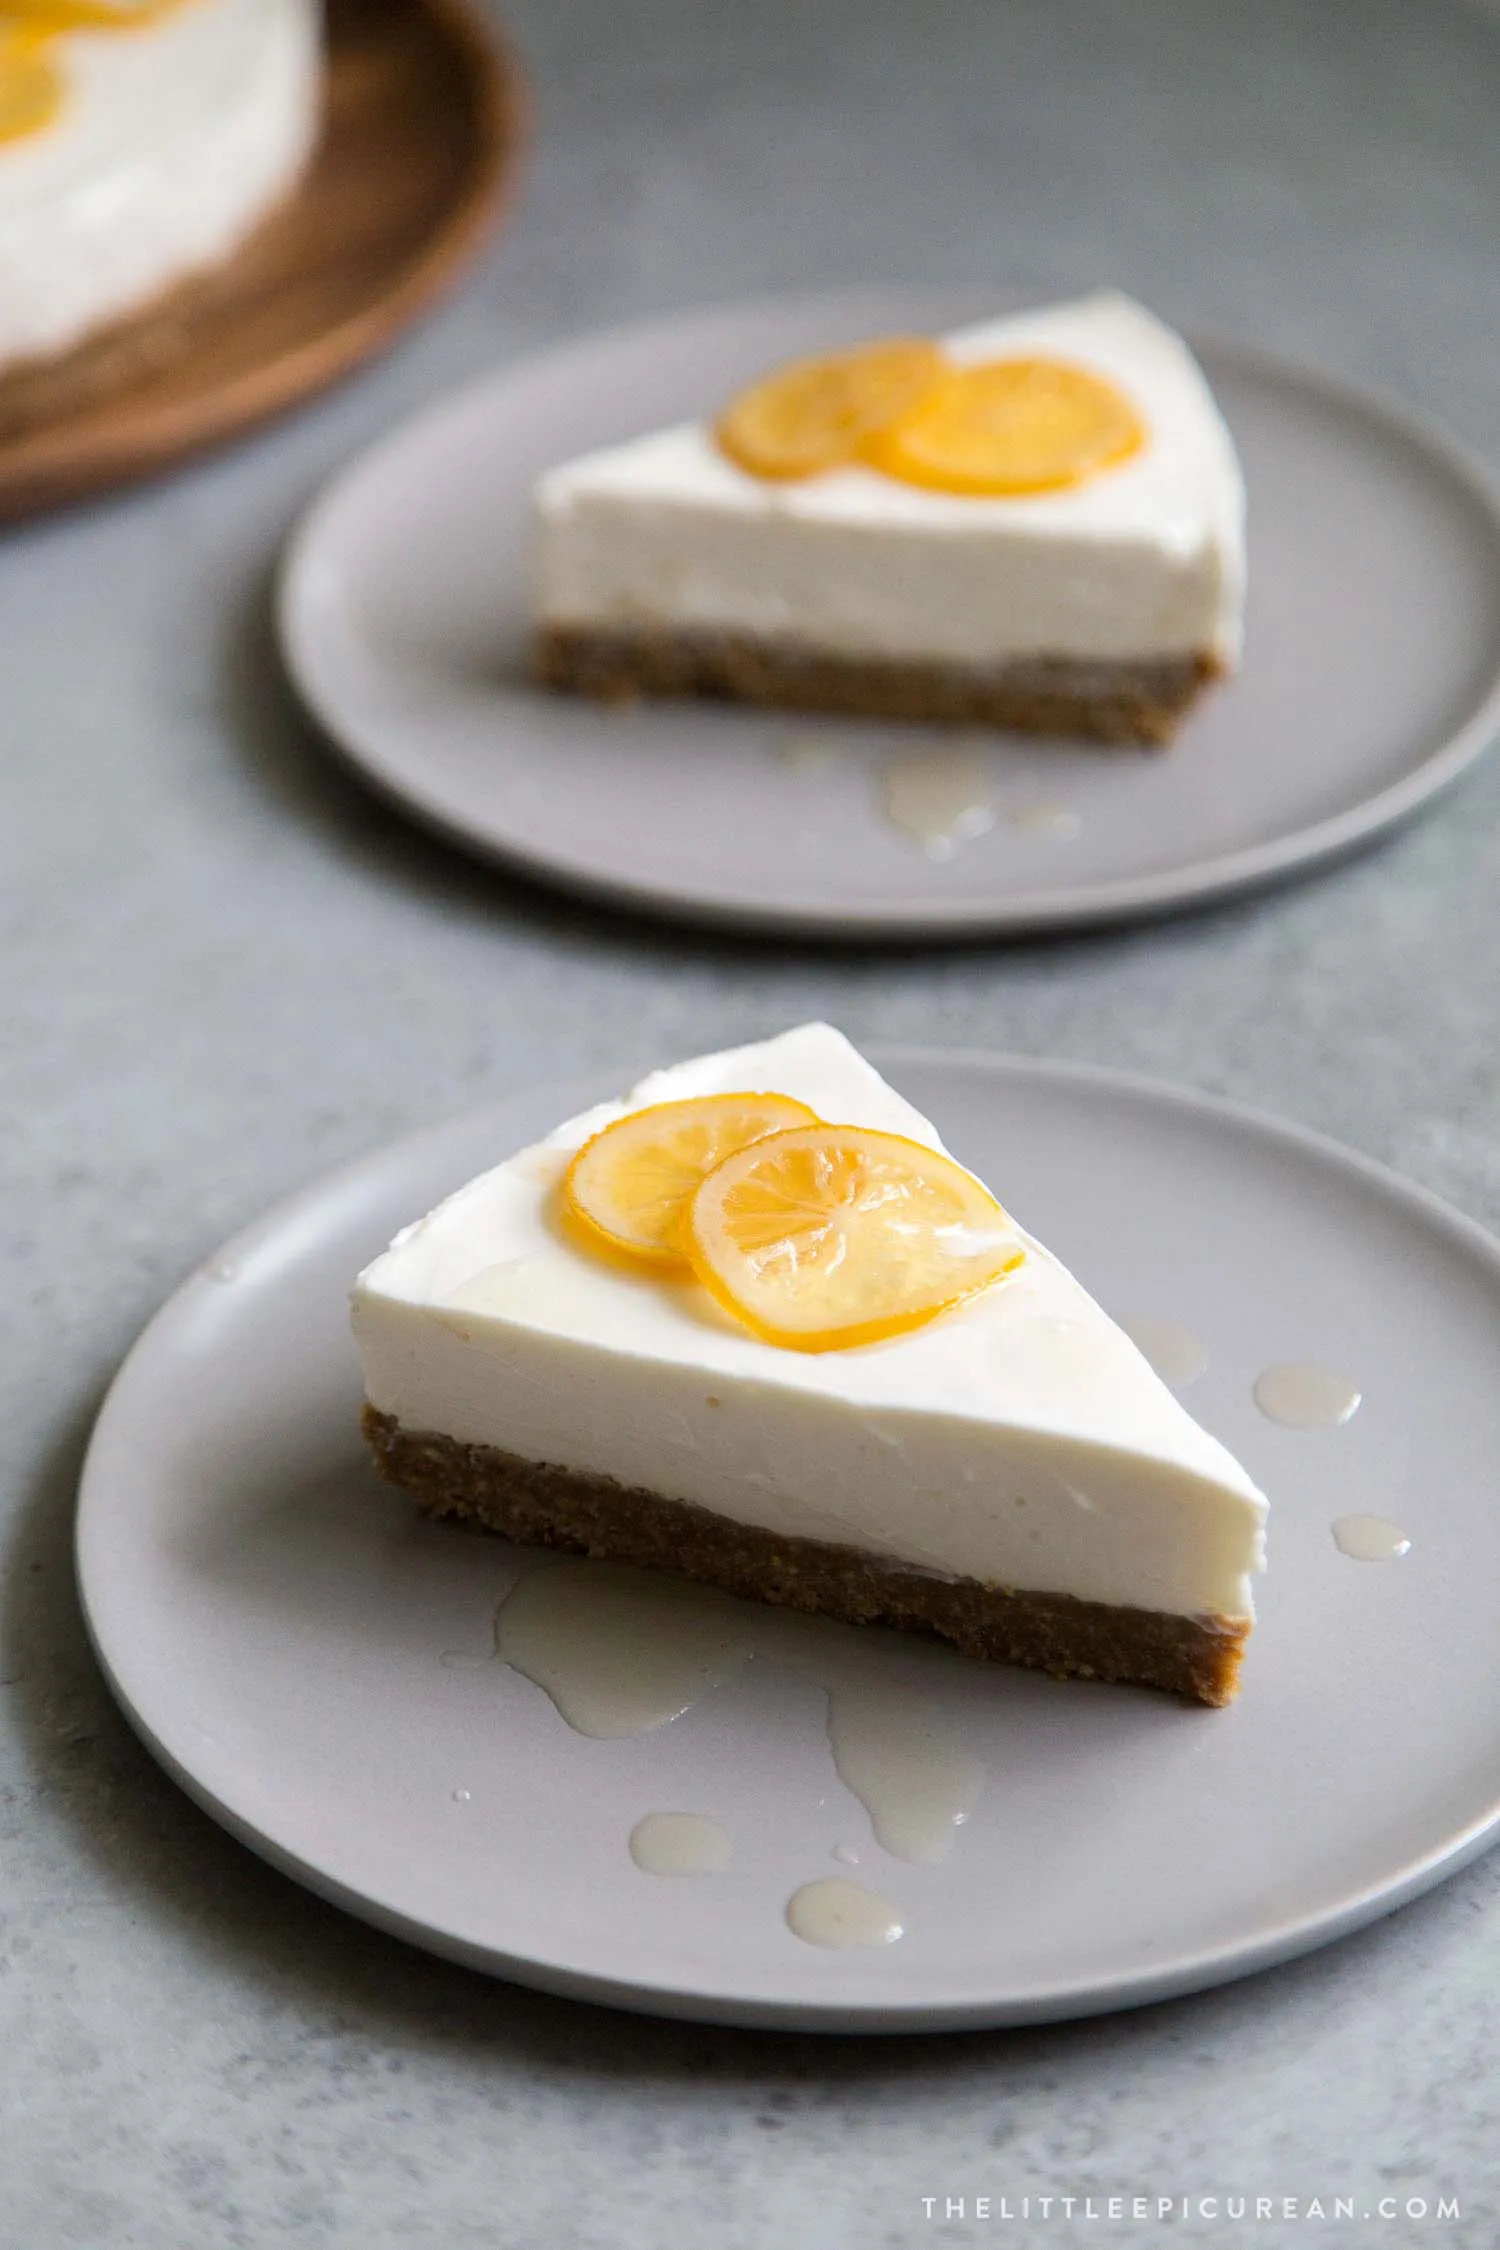
Indulge in the creamy, dreamy delight of a Greek Style No Bake Cheesecake with Yogurt that promises to elevate your dessert game without the fuss of baking! This luscious treat combines the tangy richness of Greek yogurt and cream cheese, sweetened to perfection, all nestled in a buttery graham cracker crust. Perfect for warm weather gatherings or a simple weeknight dessert, this cheesecake is not only easy to prepare but also a healthier alternative that will leave your taste buds singing. Ready to impress your friends and family with a dessert that’s as stunning as it is delicious? Let’s dive into this no-bake wonder!
Prep Time: 15 mins
Cook Time: -
Total Time: 15 mins
Cuisine: Greek
Serves: 8 servings
Ingredients
- 2 cups Greek yogurt
- 1/2 cup cream cheese
- 1/2 cup sugar
- 1 teaspoon vanilla extract
- 1 package graham cracker crust
- Fresh fruit for topping
Instructions
- Ensure all ingredients are at room temperature to help them blend smoothly and create a creamy texture.
- In a large mixing bowl, combine the Greek yogurt and cream cheese. Use an electric mixer to beat these ingredients together until completely smooth and free of lumps, approximately 2-3 minutes.
- Gradually add sugar to the yogurt and cream cheese mixture, continuing to mix on medium speed until the sugar is fully incorporated and the mixture becomes light and fluffy.
- Add vanilla extract and mix briefly to distribute the flavor evenly throughout the cheesecake mixture.
- If using a pre-made graham cracker crust, remove it from packaging. If making your own, press graham cracker crumbs mixed with melted butter into a 9-inch pie dish or springform pan.
- Pour the yogurt cheesecake mixture into the prepared graham cracker crust, using a spatula to spread it evenly and smooth the top.
- Cover the cheesecake with plastic wrap and refrigerate for at least 4 hours, preferably overnight, to allow it to set completely.
- Before serving, remove the cheesecake from the refrigerator and garnish with fresh seasonal fruits like strawberries, blueberries, or sliced peaches.
- For best results, slice with a clean, sharp knife and serve chilled. The cheesecake will keep in the refrigerator for up to 3-4 days.
Tips
- Room Temperature Ingredients: Ensure all your ingredients, especially the cream cheese, are at room temperature. This will help them blend smoothly, resulting in a creamy texture without any lumps.
- Mixing Technique: Use an electric mixer to beat the Greek yogurt and cream cheese together until completely smooth. This should take about 2-3 minutes; don’t rush this step for the best results!
- Sugar Gradually: When adding sugar, do it gradually while mixing on medium speed. This ensures the sugar is fully incorporated, making your cheesecake light and fluffy.
- Homemade Crust: If you’re feeling adventurous, make your own graham cracker crust by mixing crushed graham crackers with melted butter and pressing it into your pie dish. It adds a personal touch!
- Chill Time: For the cheesecake to set perfectly, cover it with plastic wrap and refrigerate for at least 4 hours, but overnight is ideal. Patience is key for that perfect slice!
- Garnish with Fresh Fruit: Before serving, elevate your cheesecake by garnishing it with fresh seasonal fruits like strawberries, blueberries, or sliced peaches. Not only does it add color, but it also enhances the flavor!
- Sharp Knife for Slicing: Use a clean, sharp knife to slice the cheesecake. This will give you neat, beautiful pieces and keep the presentation stunning.
- Storage: Your cheesecake can be stored in the refrigerator for up to 3-4 days, but trust us, it won’t last that long once your guests get a taste!
Nutrition Facts
Calories: 289kcal
Carbohydrates: g
Protein: g
Fat: g
Saturated Fat: g
Cholesterol: mg


