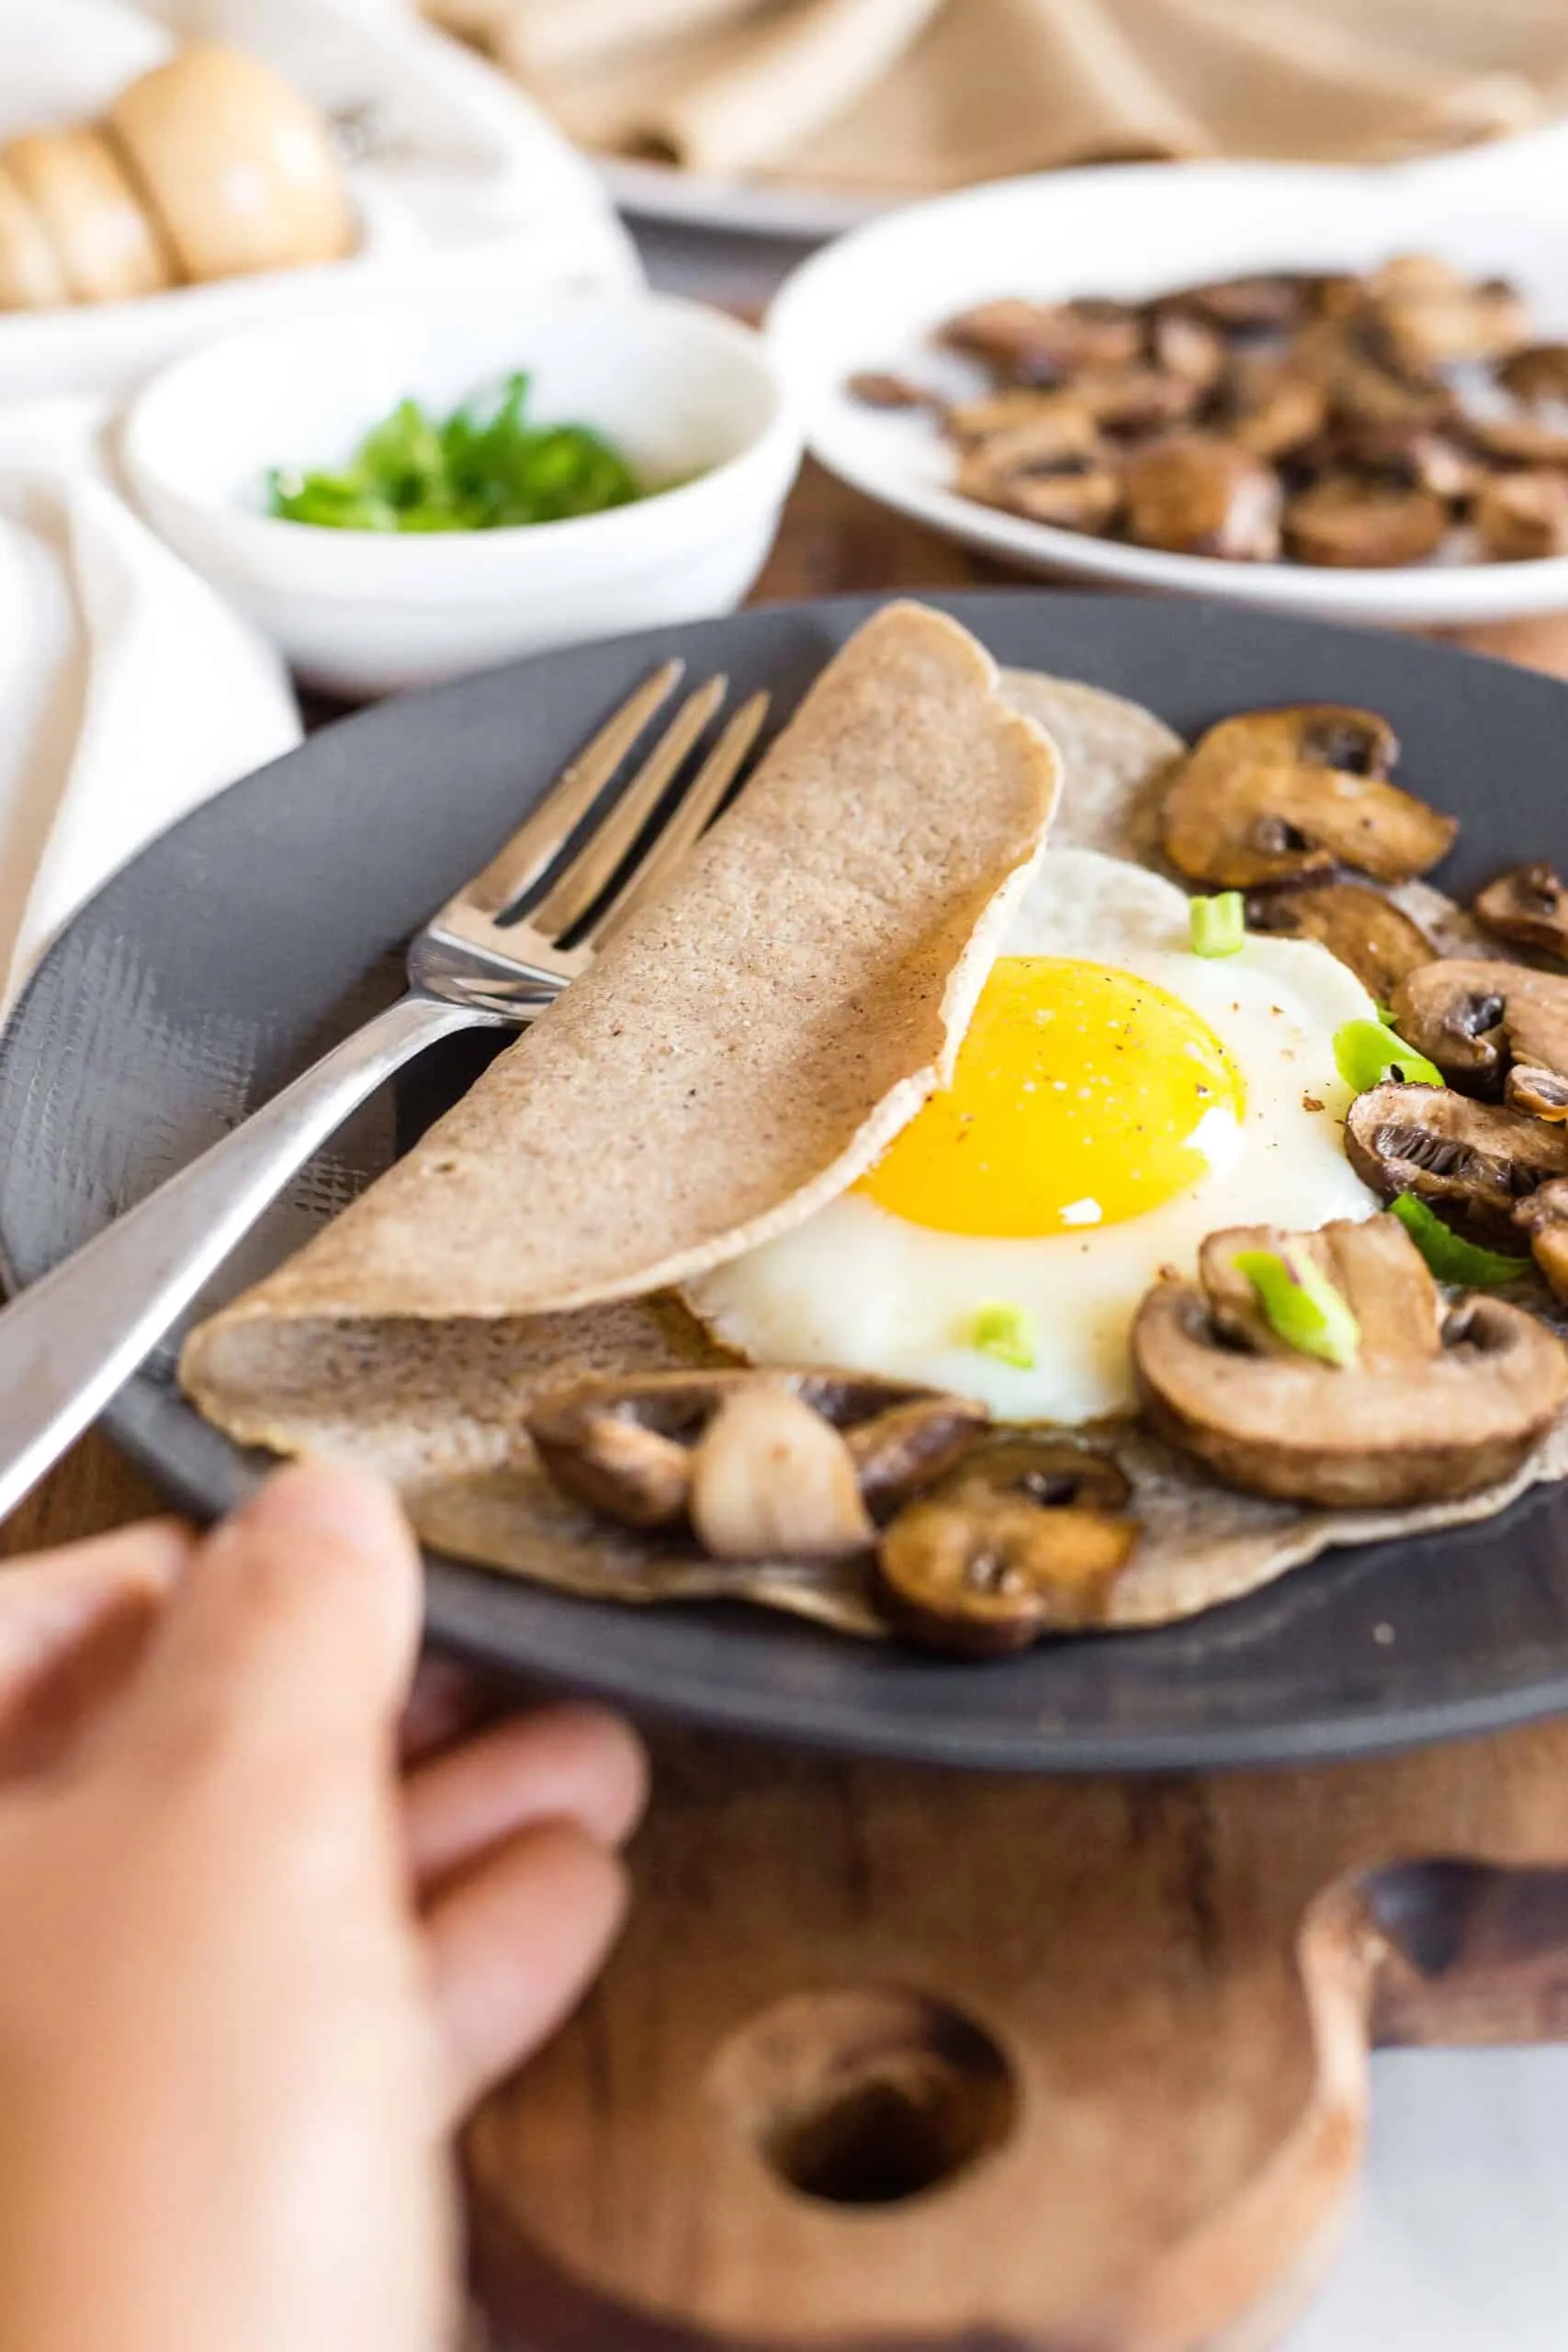
Prepare to revolutionize your breakfast and brunch game with these incredibly delicious and surprisingly easy gluten-free buckwheat crepes! Imagine creating restaurant-quality French-style crepes right in your own kitchen, without gluten, and with a nutty, rich flavor that will make your taste buds dance. Whether you're a gluten-sensitive foodie or simply looking to expand your culinary horizons, these crepes are about to become your new obsession – light, delicate, and versatile enough to satisfy both sweet and savory cravings.
Prep Time: 10 mins
Cook Time: 20 mins
Total Time: 30 mins
Cuisine: French
Serves: 8 crepes
Ingredients
- 1 cup buckwheat flour
- 2 large eggs
- 1 1/2 cups milk
- 1/4 teaspoon salt
- Butter for cooking
Instructions
- In a mixing bowl, combine 1 cup of buckwheat flour and 1/4 teaspoon of salt. Whisk together until well mixed.
- In a separate bowl, beat 2 large eggs until they are frothy. Gradually add 1 1/2 cups of milk to the eggs, whisking continuously to combine.
- Slowly pour the egg and milk mixture into the bowl with the buckwheat flour, whisking constantly to prevent lumps from forming. Continue whisking until the batter is smooth and has a pourable consistency. If the batter is too thick, you can add a little more milk to reach the desired consistency.
- Let the batter rest for about 10 minutes. This allows the buckwheat flour to hydrate and results in more tender crepes.
- Heat a non-stick skillet or crepe pan over medium heat. Add a small amount of butter to coat the bottom of the pan, allowing it to melt and foam.
- Once the butter is hot and bubbling, pour about 1/4 cup of the crepe batter into the center of the pan. Quickly tilt and swirl the pan to spread the batter evenly across the surface, forming a thin layer.
- Cook the crepe for about 1-2 minutes, or until the edges begin to lift and the bottom is lightly golden. Use a spatula to gently lift the crepe and check the color.
- Carefully flip the crepe over using the spatula or by inverting it onto a plate and then sliding it back into the pan. Cook the second side for an additional 1-2 minutes until it is set and lightly browned.
- Remove the cooked crepe from the pan and place it on a plate. Repeat the process with the remaining batter, adding more butter to the pan as needed to prevent sticking.
- Serve the crepes warm, with your choice of sweet or savory fillings, such as fresh fruits, whipped cream, cheese, or sautéed vegetables.
Tips
- Rest Your Batter: Don't skip the 10-minute resting period! This allows the flour to fully hydrate and ensures a smoother, more tender crepe.
- Master the Swirl: The key to thin, even crepes is quickly tilting and swirling the pan immediately after pouring the batter. Practice makes perfect!
- Temperature Control: Keep your pan at medium heat. Too hot, and your crepes will burn; too cool, and they'll be thick and gummy.
- Use the Right Pan: A non-stick skillet or dedicated crepe pan works best. Make sure it's well-seasoned or lightly buttered.
- First Crepe Rule: The first crepe is always a test – don't get discouraged if it doesn't turn out perfectly. The subsequent crepes will improve.
- Get Creative with Fillings: From classic Nutella and strawberries to savory ham and cheese, these crepes are your blank canvas!
Nutrition Facts
Calories: 68kcal
Carbohydrates: g
Protein: g
Fat: g
Saturated Fat: g
Cholesterol: 54mg


