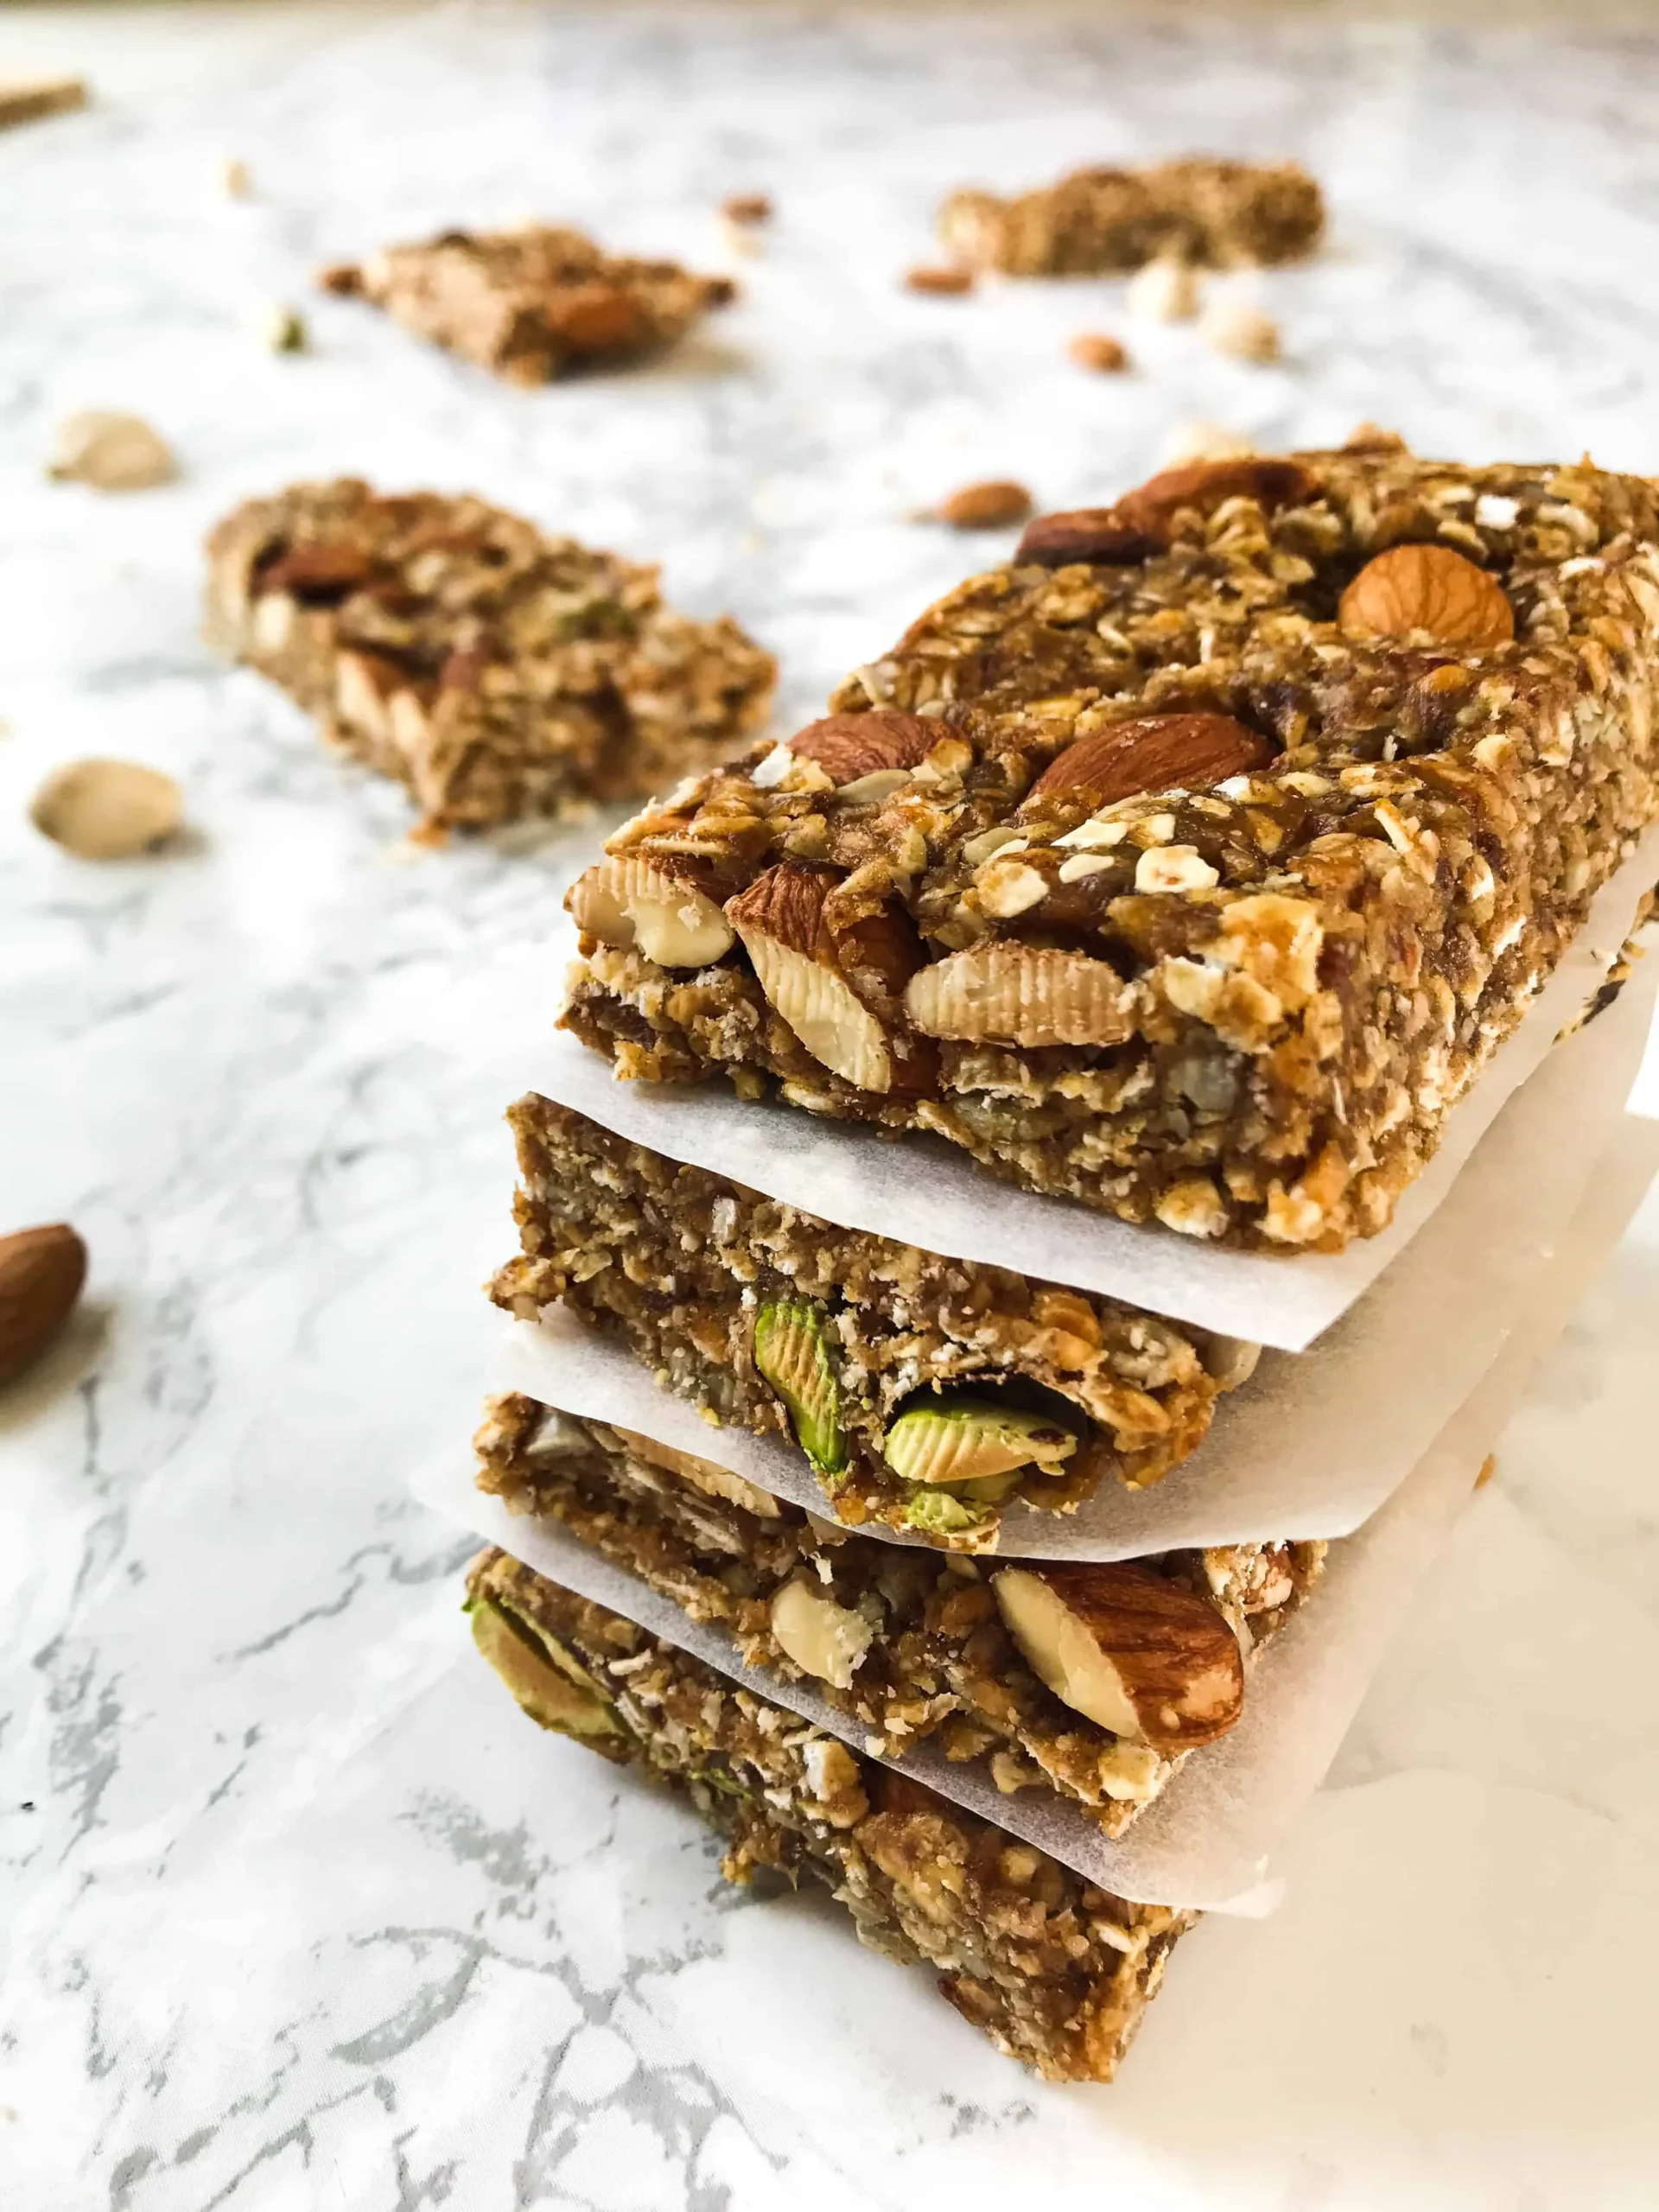
Looking for a delicious and healthy snack that you can whip up in no time? Say hello to your new favorite treat: Homemade Granola Nut Bars! Packed with wholesome ingredients like oats, nuts, and dried fruit, these bars are not only easy to make but also perfect for busy mornings or a quick energy boost during the day. Imagine biting into a chewy, nutty bar that satisfies your cravings without the guilt. With just a few simple steps, you can create a batch of these delightful snacks that will have everyone asking for more. Ready to dive into the recipe? Let’s get started!
Prep Time: 15 mins
Cook Time: 25 mins
Total Time: 40 mins
Cuisine: American
Serves: 10 bars
Ingredients
- 2 cups rolled oats
- 1/2 cup honey or maple syrup
- 1/2 cup nut butter (peanut, almond, etc.)
- 1/2 cup chopped nuts (almonds, walnuts, etc.)
- 1/2 cup dried fruit (raisins, cranberries, etc.)
- 1/4 teaspoon salt
Instructions
- Preheat your oven to 350°F (175°C). Line an 8x8 inch baking dish with parchment paper, leaving some overhang on the sides for easy removal later.
- In a large mixing bowl, combine the 2 cups of rolled oats, 1/2 cup of chopped nuts, 1/2 cup of dried fruit, and 1/4 teaspoon of salt. Stir well to ensure all the dry ingredients are evenly mixed.
- In a small saucepan over low heat, combine 1/2 cup of honey (or maple syrup) and 1/2 cup of nut butter. Stir continuously until the mixture is smooth and well combined. Remove from heat.
- Pour the warm honey and nut butter mixture over the dry ingredients in the mixing bowl. Using a spatula or wooden spoon, mix everything together until the dry ingredients are fully coated and the mixture holds together.
- Transfer the mixture into the prepared baking dish. Press it down firmly and evenly using the back of a spatula or your hands to ensure it is tightly packed.
- Bake in the preheated oven for about 20-25 minutes, or until the edges are golden brown. Keep an eye on them to prevent burning.
- Once baked, remove the granola bars from the oven and let them cool in the baking dish for about 10 minutes. Then, use the parchment paper overhang to lift the bars out of the dish and onto a cutting board.
- Allow the granola bars to cool completely before cutting them into 10 equal bars. This will help them hold their shape better.
- Store the granola bars in an airtight container at room temperature for up to one week, or in the refrigerator for longer freshness.
Tips
- Customize Your Ingredients: Feel free to mix and match your favorite nuts and dried fruits. Almonds, walnuts, cranberries, or even chocolate chips can add a unique twist to your bars.
- Don’t Skip the Parchment Paper: Lining your baking dish with parchment paper not only helps with easy removal but also prevents the bars from sticking, ensuring they come out perfectly every time.
- Press Firmly: When transferring the mixture to the baking dish, make sure to press it down firmly. This step is crucial for ensuring your bars hold together well after baking.
- Watch the Oven: Ovens can vary, so keep a close eye on your granola bars as they bake. You want the edges to be golden brown, but be careful not to let them burn!
- Cool Completely Before Cutting: Allow the bars to cool completely before slicing them. This will help them maintain their shape and texture, making for perfectly cut bars.
- Store for Freshness: To keep your granola bars fresh, store them in an airtight container. They can last up to a week at room temperature or longer in the refrigerator.
Nutrition Facts
Calories: 189kcal
Carbohydrates: 27g
Protein: 4g
Fat: 8g
Saturated Fat: 1g
Cholesterol: 0mg