Imagine transforming simple milk into a delicious, protein-packed cheese with just a few minutes of your time. This authentic Indian homemade paneer recipe is about to revolutionize your cooking, bringing restaurant-quality cheese straight to your kitchen! Whether you're a culinary adventurer or a home cook looking to impress, this simple yet magical recipe will have you creating creamy, fresh cheese that's miles better than anything store-bought.
Prep Time: 5 mins
Cook Time: 15 mins
Total Time: 20 mins
Cuisine: Indian
Serves: 4 servings
Ingredients
- 1 liter whole milk
- 1/4 cup lemon juice
- Salt to taste
Instructions
- Begin by gathering all your ingredients: 1 liter of whole milk, 1/4 cup of lemon juice, and salt to taste. Ensure you have a large pot, a wooden spoon, a strainer or cheesecloth, and a bowl to collect the whey.
- Pour the whole milk into the large pot and place it on medium heat. Stir the milk gently to prevent it from sticking to the bottom of the pot.
- As the milk heats up, keep an eye on it. You want to bring the milk to a gentle boil. This should take about 10-12 minutes. Stir occasionally to ensure even heating.
- Once the milk reaches a boil, reduce the heat to low. Gradually add the lemon juice while stirring the milk gently. You should see the milk curdling almost immediately, with the solids separating from the whey.
- Continue to stir gently for about 2-3 minutes until the curds are fully formed and the whey is clear. If the whey is still cloudy, you can add a bit more lemon juice to help the curdling process.
- Once the curds have formed, remove the pot from the heat. Place a strainer or cheesecloth over a bowl to catch the whey. Carefully pour the curds and whey into the strainer. Allow it to drain for a few minutes.
- After draining, you can rinse the curds under cold water to remove any residual lemon juice and to cool them down. This will also help to firm up the cheese.
- Gather the edges of the cheesecloth and twist to form a pouch. Squeeze out any excess whey to achieve your desired consistency. If you prefer a softer paneer, you can leave a bit more whey in.
- Once you have squeezed out the whey, you can add salt to taste while the cheese is still in the cheesecloth. Mix it gently to ensure even distribution.
- For a firmer paneer, place the wrapped cheese on a flat surface and place a heavy object on top for about 15-20 minutes. This will help it set into a block.
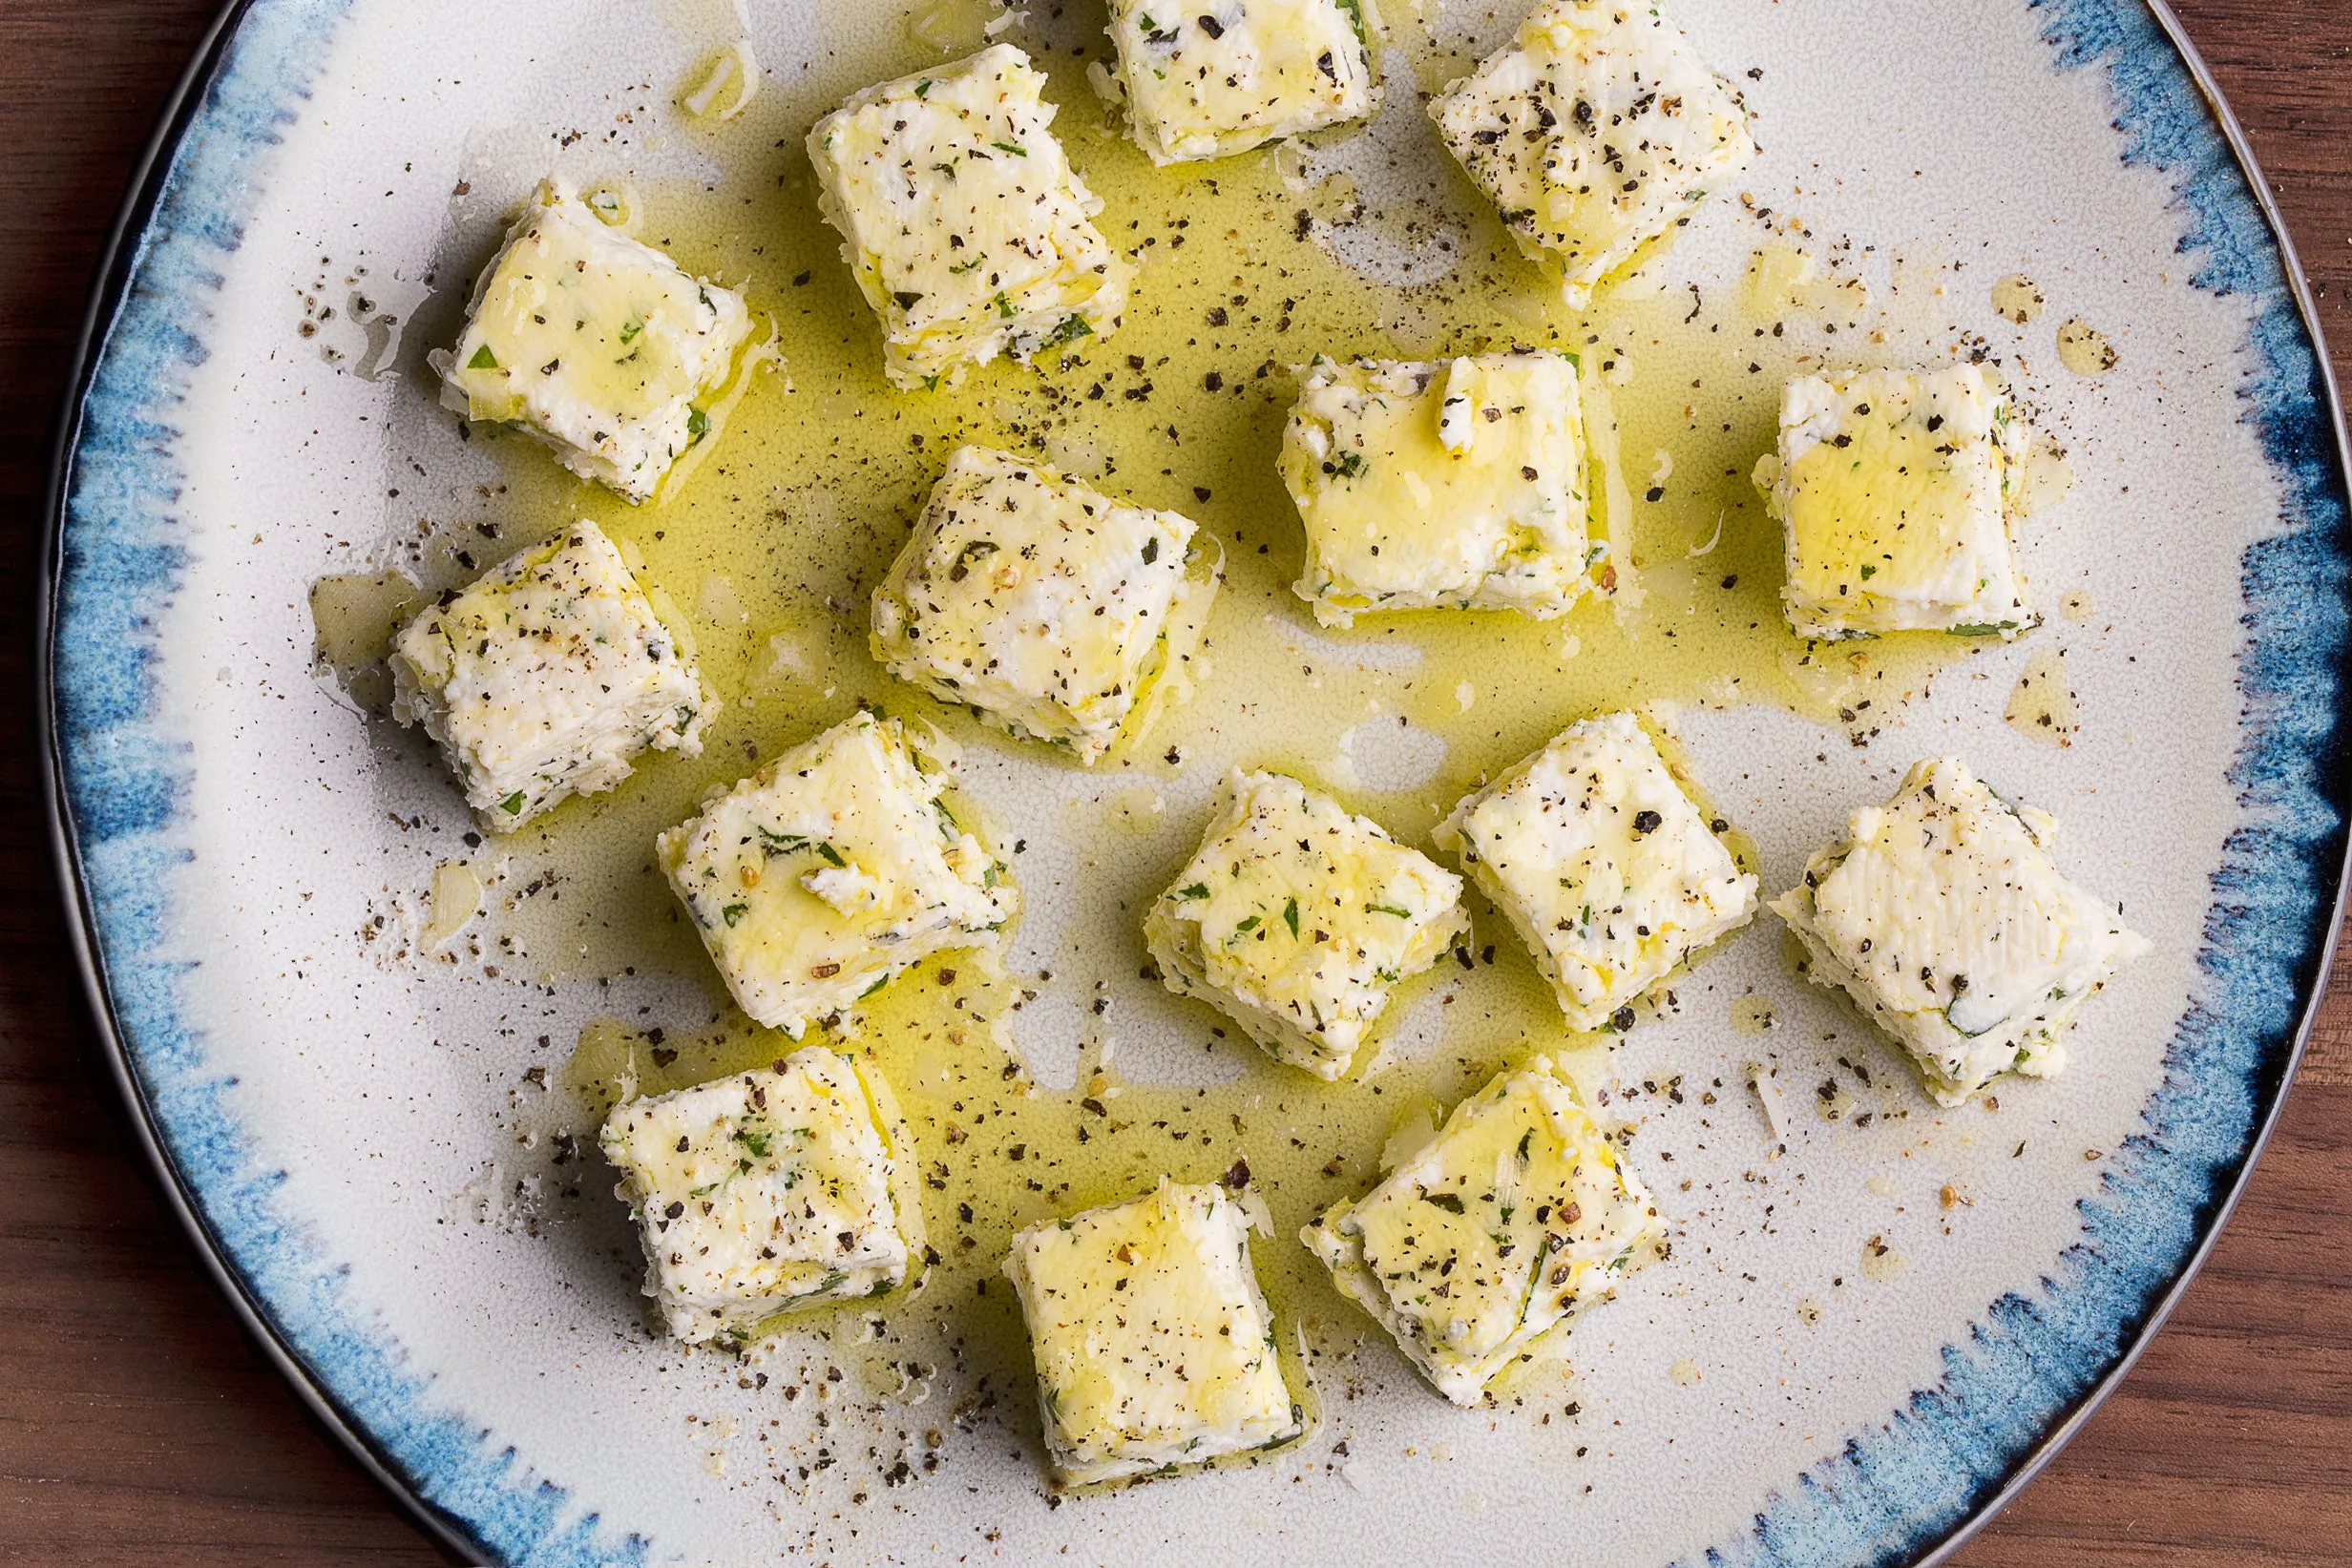
- After pressing, unwrap the paneer and cut it into cubes or your desired shape. Your homemade fresh cheese paneer is now ready to be used in various dishes or enjoyed fresh!
Tips
- Use whole milk for the richest and creamiest results - low-fat milk won't give you the same texture.
- Stir gently during the curdling process to ensure even separation of curds and whey.
- The temperature of the milk is crucial - aim for a gentle boil, not a rapid, aggressive one.
- Fresh lemon juice works best, but you can also use white vinegar as an alternative curdling agent.
- Don't discard the whey! It's nutritious and can be used in baking, making dough, or as a base for soups.
- For a firmer paneer, press it longer under a heavy weight.
- Store your homemade paneer in the refrigerator and use within 3-4 days for maximum freshness.
- Experiment with adding herbs or spices to the salt for extra flavor variations.
Nutrition Facts
Calories: 270kcal
Carbohydrates: 6g
Protein: 18g
Fat: 20g
Saturated Fat: 12g
Cholesterol: 70mg