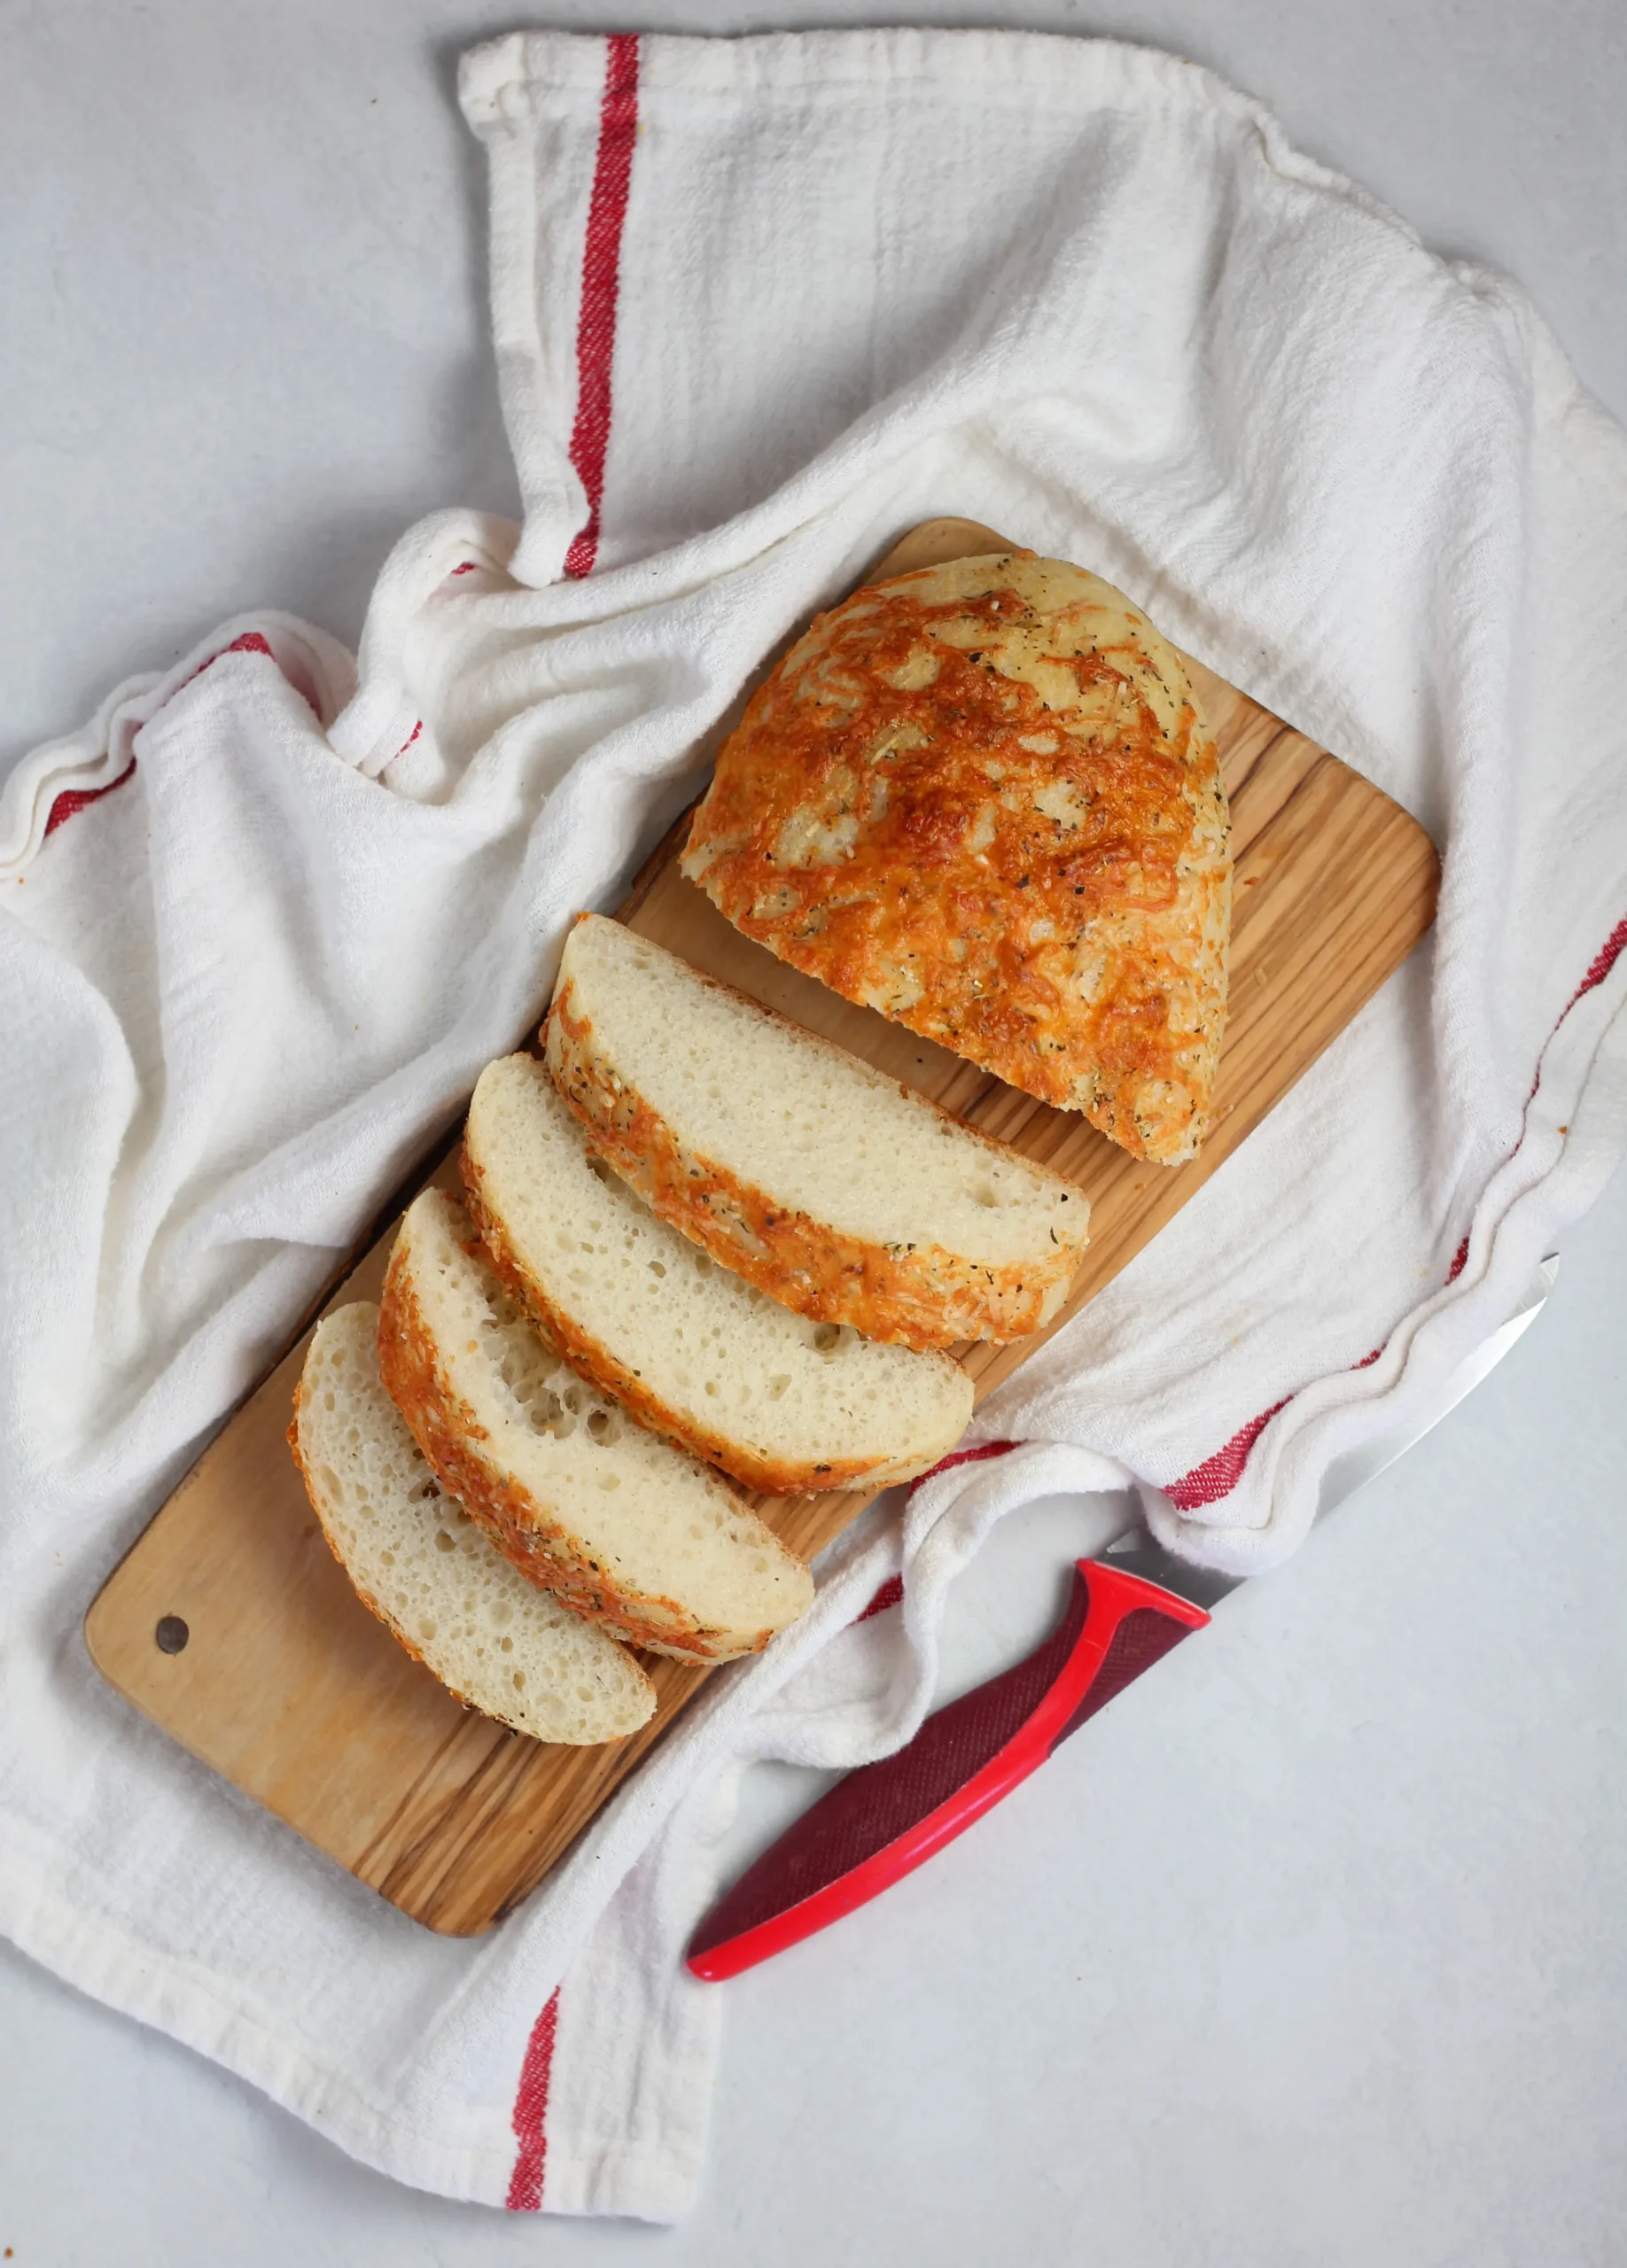
Imagine the aroma of freshly baked bread wafting through your kitchen, infused with the delightful flavors of Italian herbs and rich Parmesan cheese. This Italian Herb and Cheese Bread is not just any loaf; it’s a gluten-free masterpiece that will have your family and friends begging for seconds! With just a few simple ingredients and a little bit of your time, you can create a warm, crusty bread that pairs perfectly with soups, salads, or simply enjoyed on its own. Ready to embark on a delicious baking adventure? Let’s dive into the recipe that will elevate your bread-making game to new heights!
Prep Time: 10 mins
Cook Time: 30 mins
Total Time: 40 mins
Cuisine: Italian
Serves: 1 loaf
Ingredients
- 2 cups gluten-free flour blend
- 1 cup warm water
- 2 teaspoons yeast
- 1 teaspoon sugar
- 1 teaspoon salt
- 1 tablespoon mixed Italian herbs
- 1/2 cup grated Parmesan cheese
Instructions
- In a large mixing bowl, combine warm water, sugar, and yeast. Let the mixture sit for 5-7 minutes until it becomes foamy, indicating the yeast is active.
- In a separate bowl, whisk together the gluten-free flour blend, salt, and mixed Italian herbs until well combined.
- Gradually add the dry ingredient mixture to the yeast mixture, stirring with a wooden spoon or electric mixer until a soft, sticky dough forms.
- Fold in the grated Parmesan cheese, ensuring it is evenly distributed throughout the dough.
- Cover the bowl with a clean kitchen towel and let the dough rise in a warm, draft-free area for about 30 minutes or until it has doubled in size.
- Preheat the oven to 375°F (190°C) and line a baking sheet with parchment paper.
- Gently transfer the risen dough onto the prepared baking sheet, shaping it into a rustic loaf with your hands.
- Optional: Sprinkle additional Parmesan cheese and herbs on top of the loaf for extra flavor.
- Bake the bread for 25-30 minutes, or until the crust is golden brown and sounds hollow when tapped on the bottom.
- Remove from the oven and let the bread cool on a wire rack for at least 15 minutes before slicing and serving.
Tips
- Activate the Yeast: Make sure your water is warm, not hot, to properly activate the yeast. If it’s too hot, it can kill the yeast, preventing your bread from rising.
- Mixing the Dough: Don’t be afraid to get your hands messy! Kneading the dough helps develop its texture. If it feels too sticky, you can lightly flour your hands or the surface.
- Rising Time: For the best results, find a warm spot in your kitchen for the dough to rise. You can also turn on your oven for a minute, then turn it off and place the dough inside to create a cozy environment.
- Customize Your Flavors: Feel free to experiment with different herbs or cheeses. Adding garlic powder or crushed red pepper can give your bread an extra kick!
- Check for Doneness: Tap the bottom of the loaf after baking; it should sound hollow. If it doesn’t, return it to the oven for a few more minutes.
- Cooling: Allow the bread to cool completely on a wire rack to prevent it from becoming soggy. This step ensures a perfect crust!
- Serving Suggestions: This bread is delicious on its own, but try serving it with a drizzle of olive oil or a side of marinara sauce for dipping!
Nutrition Facts
Calories: 63kcal
Carbohydrates: g
Protein: g
Fat: 2g
Saturated Fat: 1g
Cholesterol: 8mg