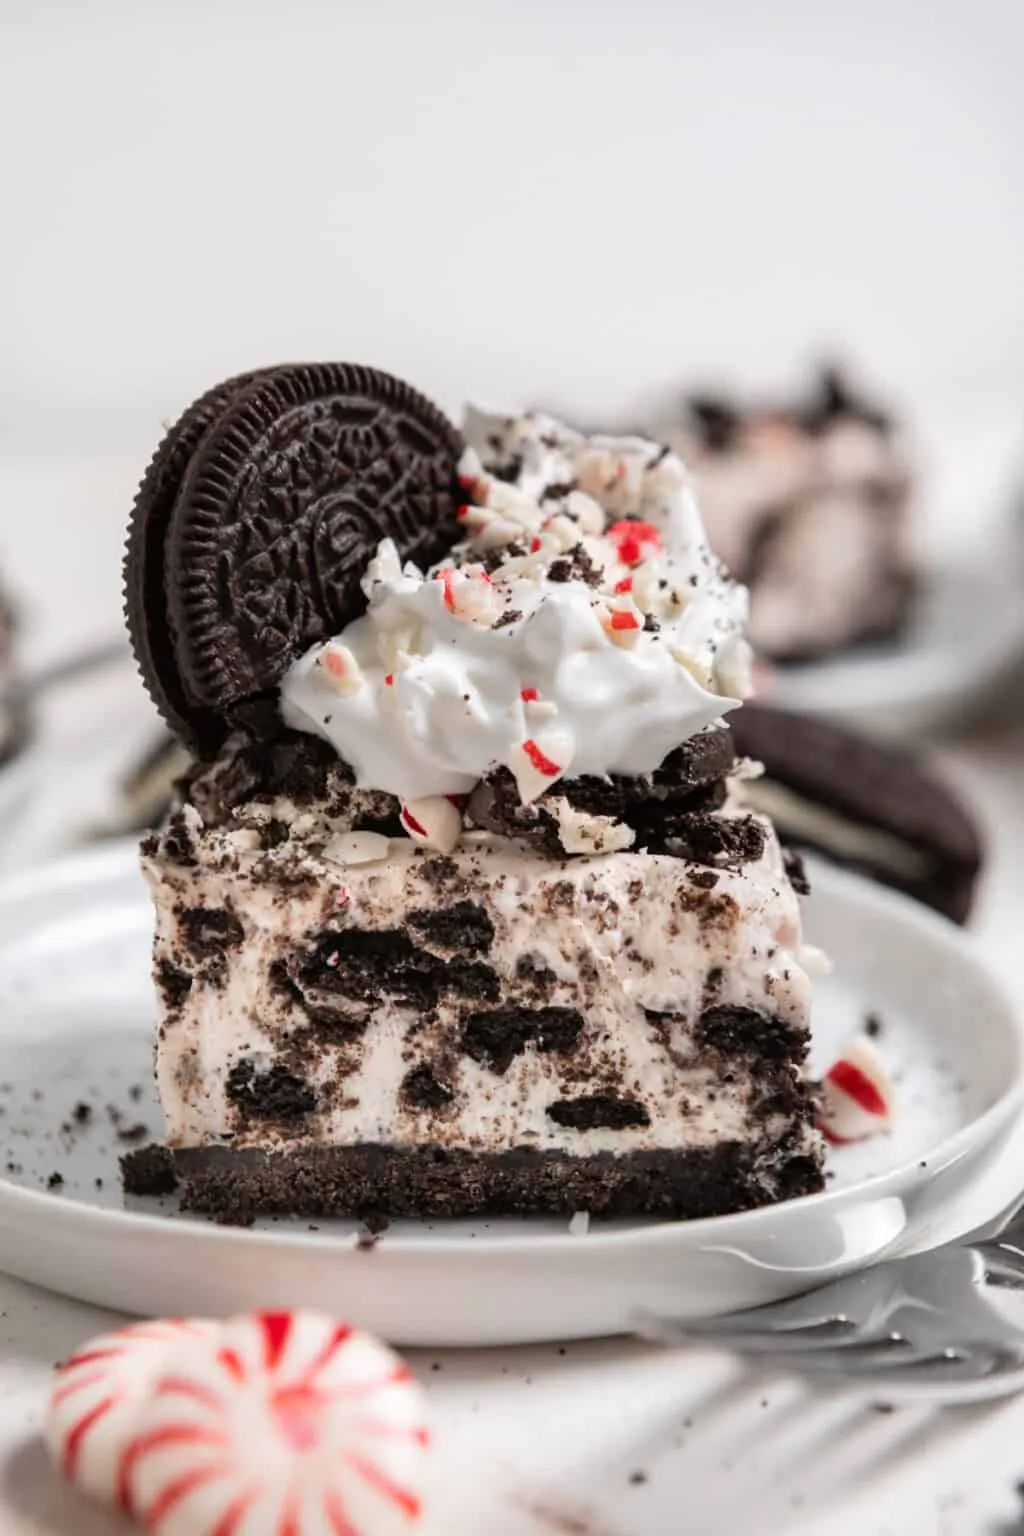
Get ready to experience a dessert that combines the irresistible crunch of Oreo cookies with the cool, refreshing kick of peppermint in a creamy, no-bake cheesecake that requires ZERO oven time! This show-stopping treat is perfect for holiday gatherings, summer parties, or when you're craving something absolutely divine without the hassle of baking. Imagine a velvety smooth cheesecake with a chocolate cookie crust that melts in your mouth and leaves you wanting more – this recipe is about to become your new obsession!
Prep Time: 20 mins
Cook Time: -
Total Time: 20 mins
Cuisine: American
Serves: 8 servings
Ingredients
- 24 Oreo cookies
- 1/4 cup unsalted butter, melted
- 16 oz cream cheese, softened
- 1 cup powdered sugar
- 1 tsp peppermint extract
- 1 cup whipped cream
- Extra crushed Oreos for topping
Instructions
- Prepare a 9-inch springform pan by lightly greasing the bottom and sides with cooking spray.
- Place 24 Oreo cookies in a food processor and pulse until they become fine, even crumbs. If you don't have a food processor, place cookies in a sealed plastic bag and crush with a rolling pin.
- Pour the melted butter over the Oreo cookie crumbs and mix thoroughly until the crumbs are completely coated and resemble wet sand.
- Press the Oreo crumb mixture firmly into the bottom of the prepared springform pan, creating an even, compact crust. Use the back of a spoon or a flat-bottomed measuring cup to ensure a smooth surface.
- In a large mixing bowl, beat the softened cream cheese using an electric mixer until smooth and creamy, with no visible lumps.
- Gradually add powdered sugar to the cream cheese, mixing on low speed until fully incorporated and smooth.
- Add peppermint extract to the cream cheese mixture and blend until evenly distributed.
- In a separate bowl, whip the cream until stiff peaks form. This can be done with an electric mixer or by hand using a whisk.
- Gently fold the whipped cream into the cream cheese mixture, using a spatula. Fold carefully to maintain the airiness of the whipped cream.
- Pour the cheesecake filling over the prepared Oreo crust, spreading it evenly with a spatula.
- Sprinkle additional crushed Oreos over the top of the cheesecake for decoration and added texture.
- Cover the cheesecake with plastic wrap and refrigerate for at least 4 hours, preferably overnight, to allow it to set completely.
- Before serving, run a knife around the edges of the springform pan to loosen the cheesecake, then remove the pan sides.
- Slice into 8 equal portions and serve chilled. Optional: garnish with additional whipped cream or mint leaves.
Tips
- Room Temperature is Key: Ensure your cream cheese is completely softened to achieve a smooth, lump-free filling. Take it out of the refrigerator at least 30 minutes before preparing.
- Crush Cookies Evenly: For the perfect crust, make sure your Oreo crumbs are uniform in size. A food processor works best, but a rolling pin and sealed bag can work in a pinch.
- Whip Cream Carefully: When whipping cream, use cold cream and a chilled bowl for the best volume. Stop whipping as soon as stiff peaks form to avoid turning it to butter.
- Fold, Don't Stir: When combining whipped cream with the cream cheese mixture, use a gentle folding motion to maintain the air and lightness of the whipped cream.
- Chilling is Crucial: Be patient and let the cheesecake set in the refrigerator for at least 4 hours, preferably overnight. This ensures the perfect texture and allows flavors to meld.
- Clean Cuts: For picture-perfect slices, run your knife under hot water and wipe dry between each cut.Pro Tip: This dessert can be made up to 2 days in advance, making it perfect for entertaining!
Nutrition Facts
Calories: 450kcal
Carbohydrates: 45g
Protein: 6g
Fat: 30g
Saturated Fat: 18g
Cholesterol: 85mg


