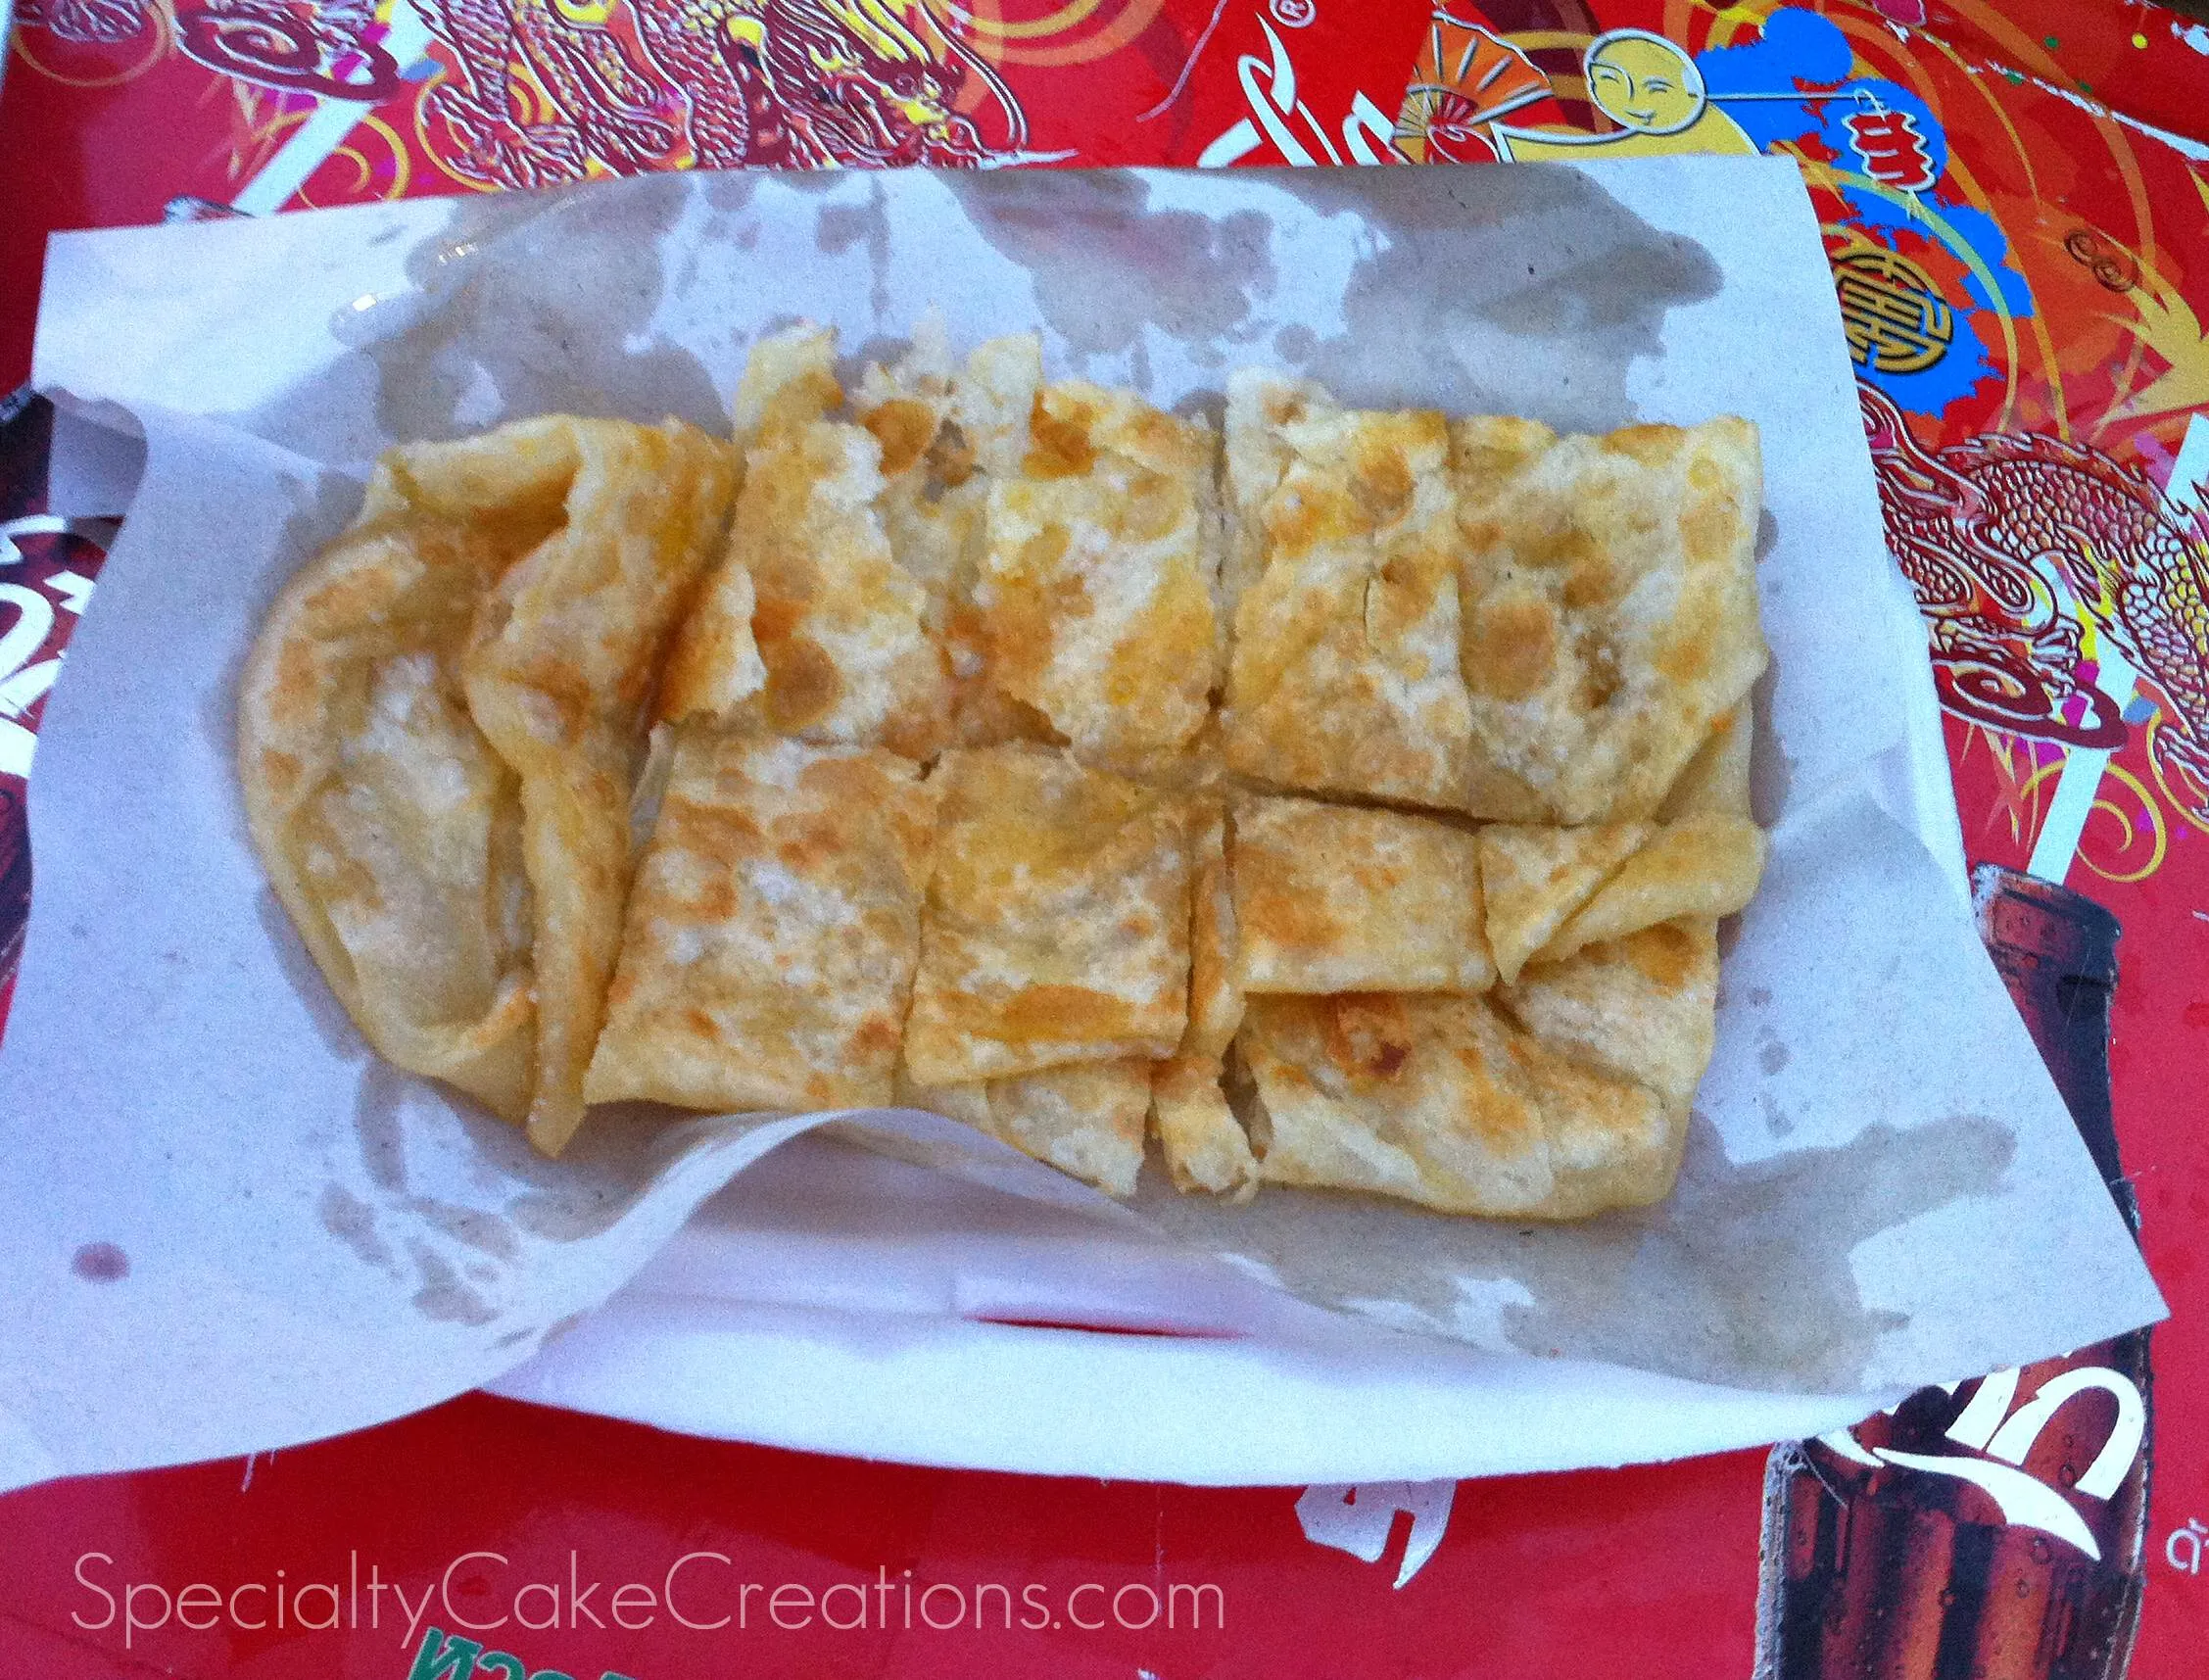
Imagine a golden, paper-thin pancake that's crispy on the outside, soft on the inside, and dripping with sweet, creamy condensed milk. Welcome to the world of Thai Roti - a street food delicacy that's about to revolutionize your culinary adventures! This beloved Thai treat is more than just a pancake; it's a cultural experience that combines simple ingredients with extraordinary technique, creating a mouthwatering delicacy that will have you craving more with every single bite.
Prep Time: 10 mins
Cook Time: 15 mins
Total Time: 25 mins
Cuisine: Thai
Serves: 4 servings
Ingredients
- 2 cups all-purpose flour
- 1/2 tsp salt
- 1 cup water
- 1 tbsp condensed milk (optional)
- Oil for cooking
- Sweetened condensed milk or sugar for serving
Instructions
- In a large mixing bowl, combine the all-purpose flour and salt. Mix thoroughly to distribute the salt evenly.
- Gradually add water and condensed milk (if using) to the flour mixture. Knead the dough until it becomes smooth and elastic, approximately 5-7 minutes. The consistency should be soft but not sticky.
- Cover the dough with a clean kitchen towel and let it rest at room temperature for 15-20 minutes. This resting period helps the gluten relax and makes the dough easier to stretch.
- Divide the dough into 4 equal portions. Shape each portion into a smooth ball.
- On a clean, lightly oiled surface, use your hands to flatten and stretch each dough ball into a very thin, almost translucent circle. The traditional method involves stretching the dough by hand, letting it become so thin you can almost see through it.
- Heat a flat griddle or non-stick pan over medium-high heat. Lightly brush with oil.
- Carefully transfer the stretched dough to the hot pan. Cook for 1-2 minutes until golden brown spots appear on the bottom.
- Flip the roti and cook the other side, adding a small amount of oil around the edges to create a crispy texture.
- Once both sides are golden and crispy, fold the roti into a triangular or square shape.
- Serve hot, drizzled with sweetened condensed milk or sprinkled with sugar. Some variations include adding banana or egg inside the roti before cooking.
Tips
- • The key to authentic roti is in the stretching technique - aim to make the dough so thin you can almost see through it! • Let your dough rest for the full 15-20 minutes to ensure maximum elasticity and easier stretching • Use a non-stick pan or well-seasoned griddle to prevent sticking • Don't rush the cooking process - medium-high heat is crucial for achieving those beautiful golden-brown spots • For extra indulgence, experiment with fillings like sliced bananas or a beaten egg before folding • Keep your oil light - you want to crisp the roti, not deep fry it • Serve immediately for the best texture and flavor experience
Nutrition Facts
Calories: 250kcal
Carbohydrates: 40g
Protein: 5g
Fat: 8g
Saturated Fat: 2g
Cholesterol: 5mg


