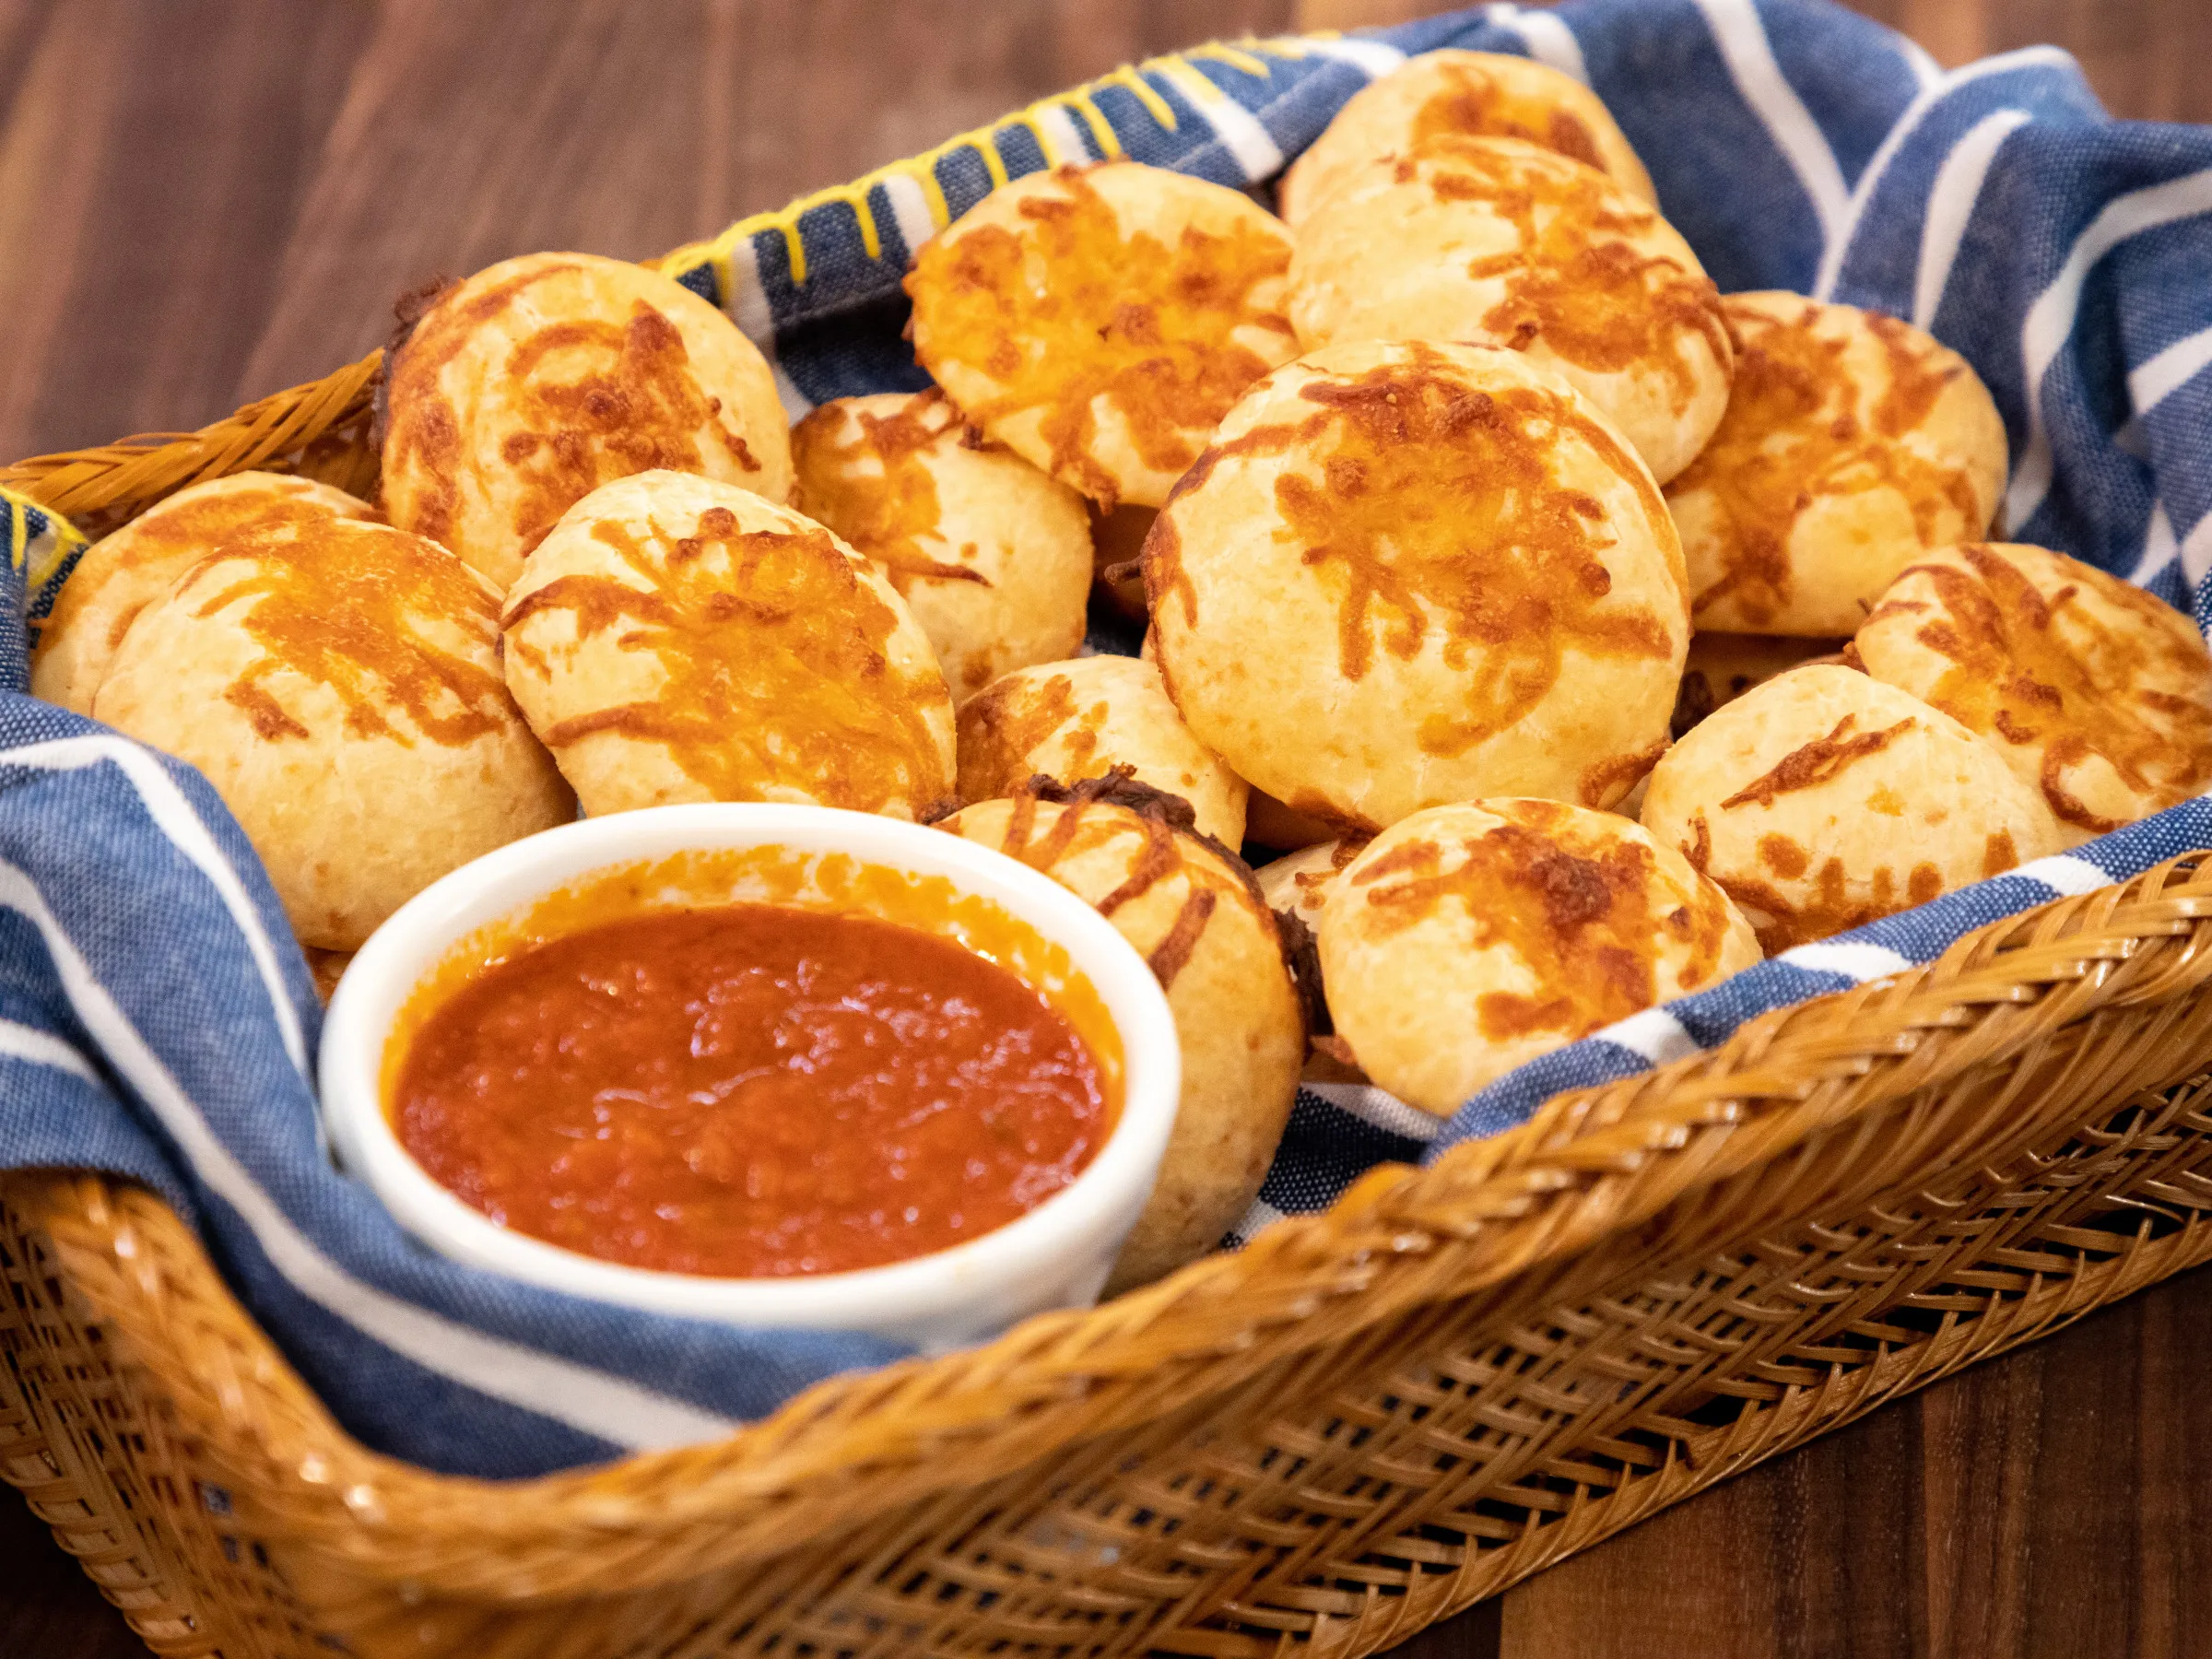
Get ready to indulge in a delightful treat that will transport your taste buds straight to Brazil! Chewy Brazilian Cheese Bread, or Pão de Queijo, is a mouthwatering snack that boasts a crispy exterior and a wonderfully chewy center, all infused with the rich flavor of Parmesan cheese. Perfect for breakfast, a snack, or even as a party appetizer, this recipe is not only easy to make but also gluten-free! With just a few simple ingredients and a quick 35 minutes of your time, you can whip up a batch of these irresistible rolls that will have everyone coming back for more. Trust us, once you try these cheesy delights, you won't be able to resist sharing the recipe!
Ingredients
- 2 cups tapioca flour
- 1 cup milk
- 1/2 cup vegetable oil
- 1 teaspoon salt
- 2 large eggs
- 1 cup grated Parmesan cheese
Instructions
- Preheat the oven to 400°F (200°C) and line a baking sheet with parchment paper or a silicone baking mat.
- In a medium saucepan, combine milk, vegetable oil, and salt. Heat the mixture over medium heat until it just begins to simmer, stirring occasionally to prevent scorching.
- Remove the milk mixture from heat and immediately add the tapioca flour, stirring vigorously with a wooden spoon until a smooth, sticky dough forms.
- Transfer the hot dough to a stand mixer or large mixing bowl and let it cool for 5 minutes, allowing the temperature to decrease slightly.
- Add eggs one at a time, mixing thoroughly after each addition until the dough becomes smooth and glossy.
- Fold in the grated Parmesan cheese, ensuring it is evenly distributed throughout the dough.
- Using wet hands or a small cookie scoop, form the dough into 12 equal-sized balls and place them on the prepared baking sheet, leaving space between each roll.
- Bake in the preheated oven for 18-20 minutes, or until the cheese bread is puffed and golden brown with slightly crispy edges.
- Remove from the oven and let cool on the baking sheet for 5 minutes before transferring to a wire rack.
- Serve warm for the best texture and flavor. These cheese breads are best enjoyed fresh but can be reheated in an oven or toaster oven.
Tips
- Use Fresh Ingredients: For the best flavor, opt for fresh Parmesan cheese rather than pre-grated. Grating it yourself will enhance the cheese's taste and texture in the bread.
- Don’t Skip the Cooling Step: Allowing the dough to cool for a few minutes before adding the eggs is crucial. This prevents the eggs from cooking and helps achieve a smooth, glossy dough.
- Wet Hands for Shaping: To easily shape the dough into balls without it sticking to your hands, wet them with a little water before forming the rolls.
- Watch the Baking Time: Ovens can vary, so keep an eye on your cheese bread as it bakes. They should be puffed up and golden brown—perfectly crispy on the outside and chewy on the inside!
- Serve Warm: These rolls are best enjoyed fresh out of the oven. If you have leftovers, reheat them in the oven or a toaster oven to regain their delightful texture.
Nutrition Facts
Calories: 150kcal
Carbohydrates: 12g
Protein: 5g
Fat: 10g
Saturated Fat: 3g
Cholesterol: 35mg


