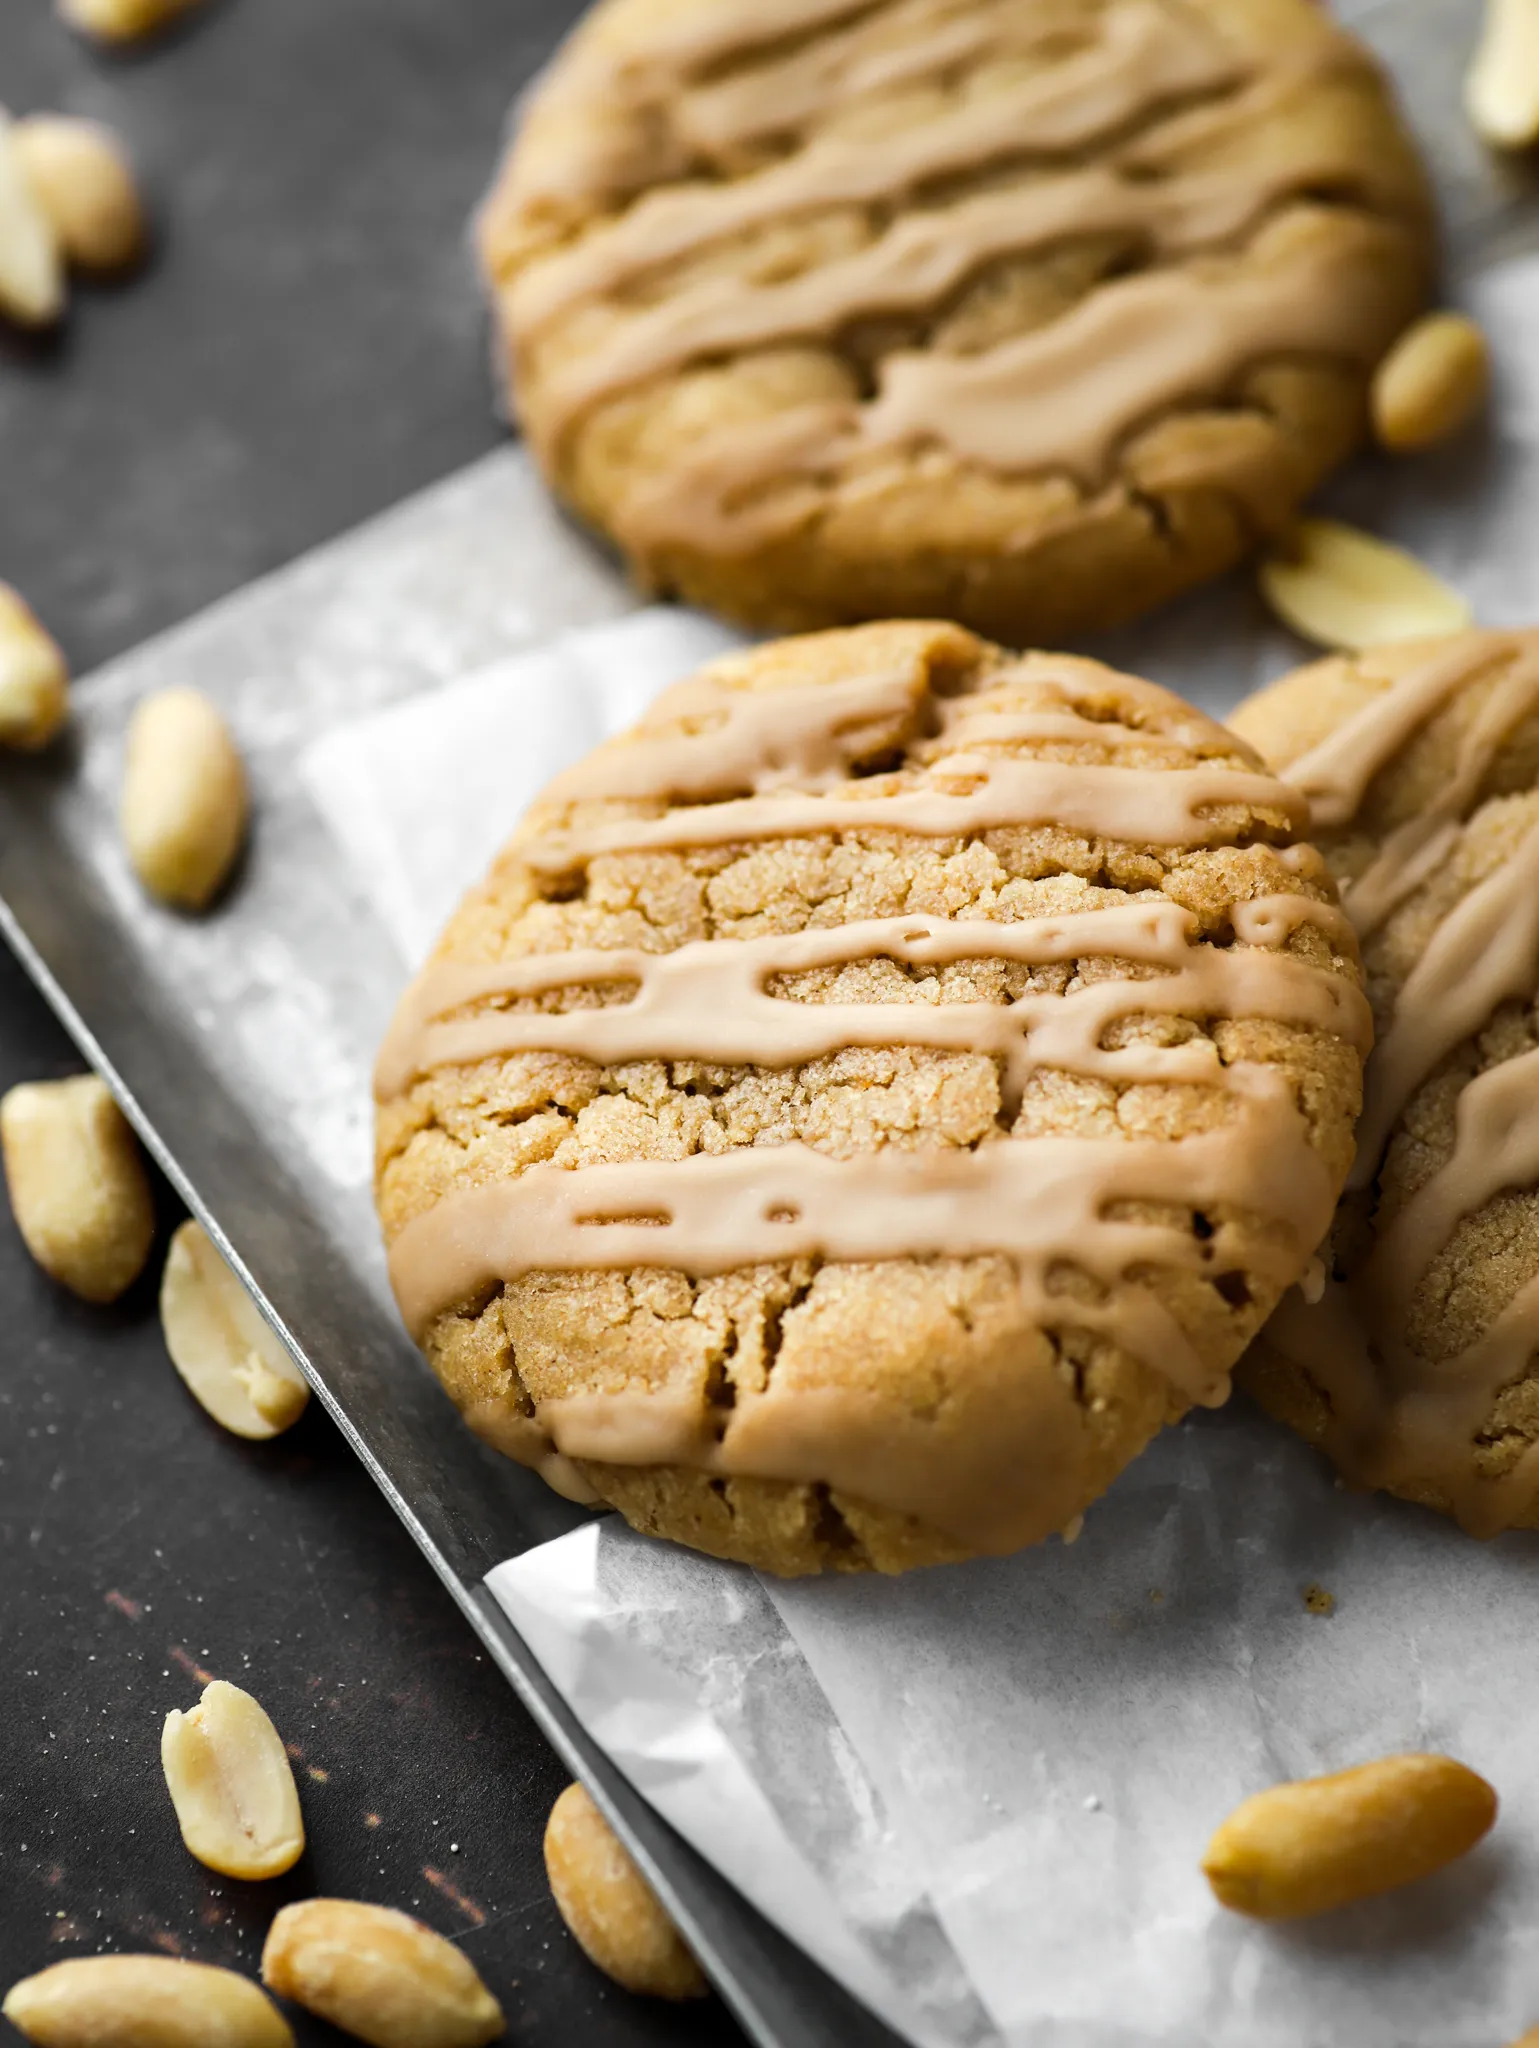
Get ready to transform your baking game with these irresistible Maple Peanut Butter Cut Out Sugar Cookies that are about to become your new obsession! Imagine biting into a perfectly crisp, golden-edged cookie that combines the rich, nutty flavor of peanut butter with the sweet, luxurious essence of maple syrup. These aren't just ordinary cookies - they're a culinary adventure that will make your taste buds dance and your guests beg for the recipe!
Prep Time: 15 mins
Cook Time: 10 mins
Total Time: 25 mins
Cuisine: Dessert
Serves: 24 cookies
Ingredients
- 1 cup all-purpose flour
- 1/2 cup peanut butter
- 1/2 cup maple syrup
- 1/4 teaspoon baking soda
- 1/4 teaspoon salt
- 1 teaspoon vanilla extract
Instructions
- Preheat your oven to 350°F (175°C). Line a baking sheet with parchment paper to prevent the cookies from sticking.
- In a medium bowl, combine the all-purpose flour, baking soda, and salt. Whisk together until well mixed. This will help to evenly distribute the baking soda and salt throughout the flour.
- In a separate large bowl, mix the peanut butter and maple syrup together using a hand mixer or a whisk until smooth and creamy. Make sure there are no lumps and the mixture is well combined.
- Add the vanilla extract to the peanut butter and maple mixture, and mix until fully incorporated.
- Gradually add the dry ingredients from the medium bowl to the wet ingredients in the large bowl. Stir gently with a spatula or wooden spoon until the dough comes together. Be careful not to overmix; it’s okay if there are a few small lumps.
- Once the dough is formed, cover it with plastic wrap and refrigerate for about 10 minutes. This will make it easier to roll out and cut the cookies.
- After chilling, remove the dough from the refrigerator and place it on a lightly floured surface. Roll it out to about 1/4-inch thickness using a rolling pin.
- Use cookie cutters to cut out shapes from the rolled dough and place them on the prepared baking sheet, leaving about 1 inch of space between each cookie.
- Bake the cookies in the preheated oven for 8-10 minutes, or until the edges are lightly golden. Keep an eye on them, as baking times may vary slightly depending on your oven.
- Once baked, remove the cookies from the oven and let them cool on the baking sheet for 5 minutes. Then transfer them to a wire rack to cool completely.
- Once the cookies are completely cooled, you can enjoy them as is or decorate them with icing or a sprinkle of powdered sugar if desired. Store any leftovers in an airtight container at room temperature for up to a week.
Tips
- Chill the Dough: Don't skip the refrigeration step! Chilling the dough for 10 minutes makes it much easier to roll out and helps prevent spreading during baking.
- Flour Your Surface: When rolling out the dough, use a light dusting of flour to prevent sticking and ensure clean cookie cut-outs.
- Even Thickness Matters: Try to roll the dough to a consistent 1/4-inch thickness for uniform baking and perfect texture.
- Watch Carefully While Baking: Ovens can vary, so keep a close eye on your cookies. The golden edges are your signal that they're perfectly done.
- Cooling is Crucial: Allow the cookies to cool on the baking sheet for 5 minutes before transferring to a wire rack. This helps them set and prevents breaking.
- Storage Tip: Store these delightful cookies in an airtight container to maintain their freshness for up to a week - if they last that long!
Nutrition Facts
Calories: 100kcal
Carbohydrates: 10g
Protein: 3g
Fat: 6g
Saturated Fat: 1g
Cholesterol: 0mg


