Imagine a crispy, savory pancake that's packed with flavor, texture, and the soul of Japanese street cuisine - that's okonomiyaki! This mouthwatering dish is more than just a meal; it's a culinary adventure that transforms simple ingredients into a crispy, golden masterpiece that will transport your taste buds straight to the bustling streets of Osaka. Whether you're a curious foodie or an adventurous home cook, this recipe will show you how to create a restaurant-quality okonomiyaki that's guaranteed to impress and satisfy your deepest comfort food cravings.
Prep Time: 20 mins
Cook Time: 15 mins
Total Time: 35 mins
Cuisine: Japanese
Serves: 4 servings
Ingredients
- 2 cups all-purpose flour
- 1 1/2 cups dashi stock
- 2 cups shredded cabbage
- 4 green onions, chopped
- 4 eggs
- 1/2 cup sliced cooked pork belly
- Japanese mayonnaise for topping
- Okonomiyaki sauce for drizzling
Instructions
- In a large mixing bowl, sift the all-purpose flour to remove any lumps and ensure a smooth batter.
- Gradually whisk in the dashi stock, creating a smooth, slightly thick batter. The consistency should be similar to pancake batter - not too runny, not too thick.
- Finely shred the cabbage using a sharp knife or mandoline, ensuring uniform thin cuts for even distribution in the pancake.
- Chop the green onions into small, fine rings, separating some for garnishing later.
- Crack the eggs into the batter and whisk thoroughly to incorporate, creating a rich and binding mixture.
- Add the shredded cabbage and most of the chopped green onions to the batter, mixing gently to distribute evenly.
- Heat a large non-stick skillet or griddle over medium heat, lightly brushing with oil to prevent sticking.
- Pour approximately 1 cup of batter into the pan, spreading it into a circular shape about 1/2 inch thick.
- Arrange sliced cooked pork belly pieces on top of the pancake while the bottom is cooking.
- Cook for 4-5 minutes until the bottom is golden brown and crispy, then carefully flip the pancake using a wide spatula.
- Cook the other side for an additional 3-4 minutes until golden and cooked through.
- Transfer the cooked okonomiyaki to a serving plate.
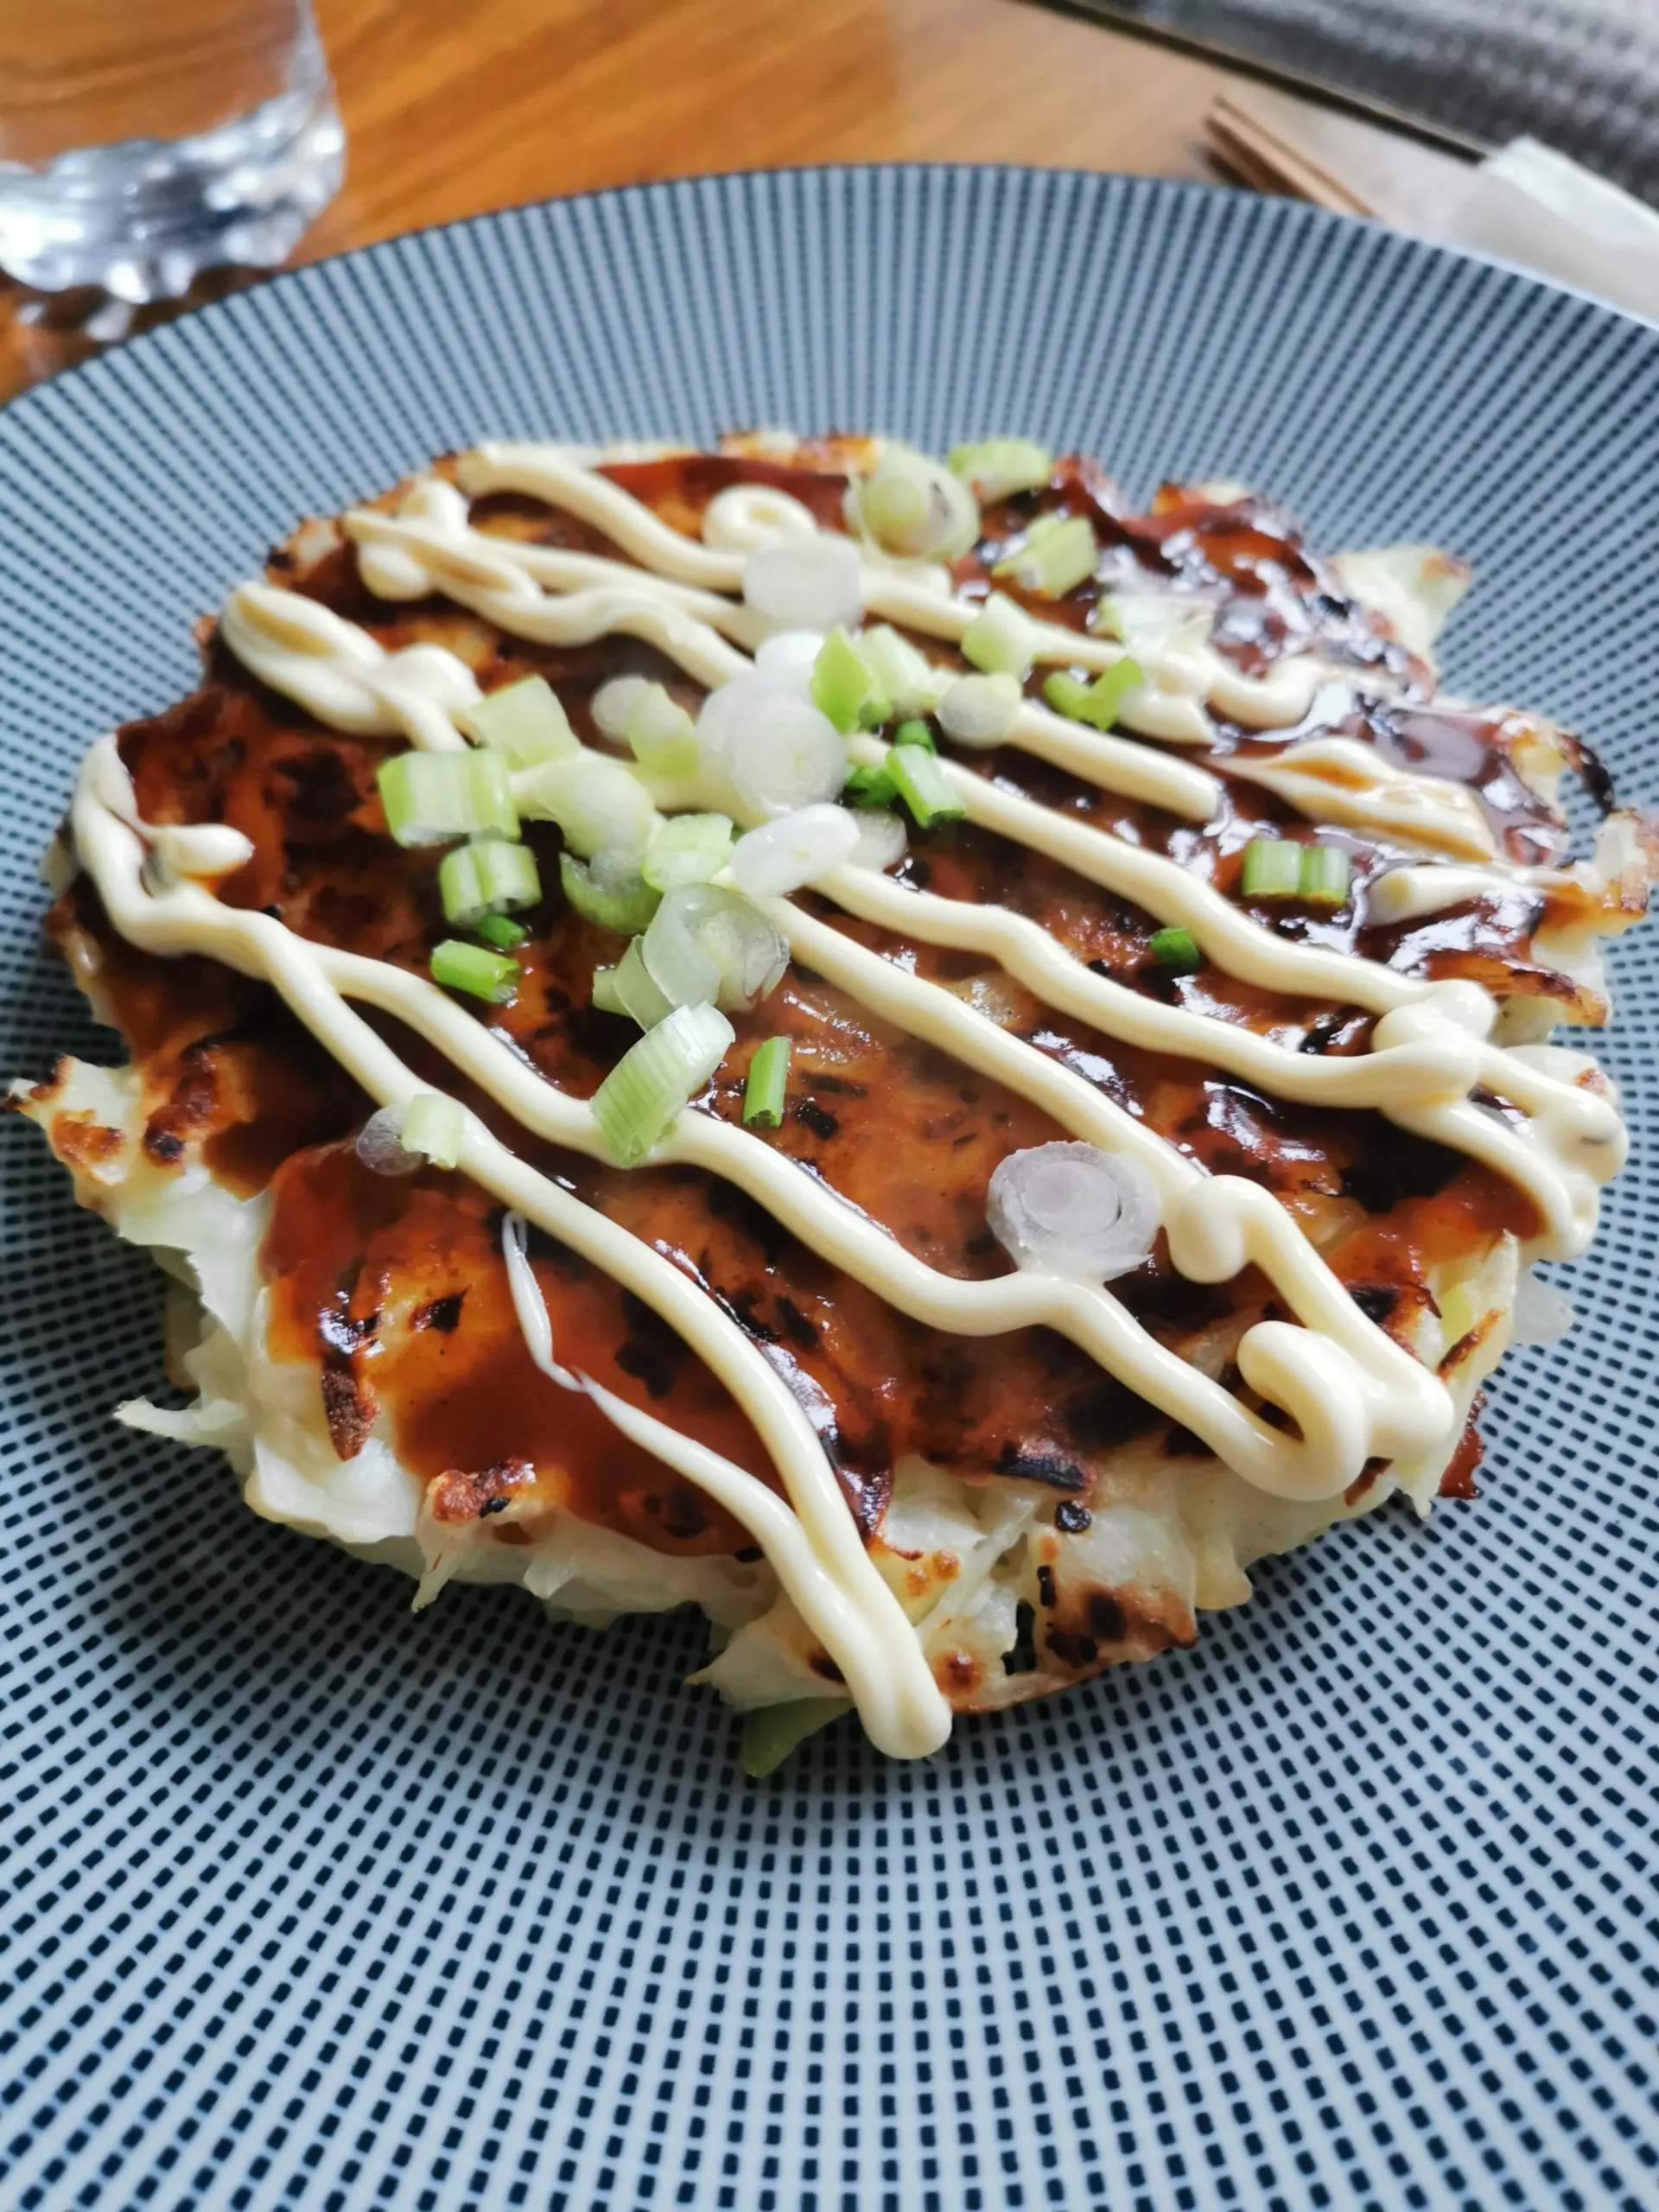
- Drizzle generously with homemade Japanese mayonnaise and okonomiyaki sauce in a cross-hatch pattern.
- Sprinkle remaining fresh green onions on top as a garnish.
- Cut into wedges and serve immediately while hot and crispy.
Tips
- Consistency is Key: Your batter should be smooth and have a pancake-like thickness. If it's too thick, add a little more dashi stock; if too thin, sprinkle in a bit more flour.
- Cabbage Matters: Shred the cabbage finely and evenly to ensure it distributes well throughout the batter and cooks uniformly.
- Temperature Control: Use medium heat to achieve that perfect golden-brown exterior without burning. A non-stick pan or well-seasoned griddle is crucial.
- Don't Overcrowd: Cook one okonomiyaki at a time to maintain proper heat and ensure crispy edges.
- Toppings are Personal: While traditional toppings include pork belly, feel free to experiment with seafood, chicken, or even make a vegetarian version.
- Sauce Drizzling: For the most Instagram-worthy presentation, use squeeze bottles to create a beautiful cross-hatch pattern with mayonnaise and okonomiyaki sauce.
- Serve Immediately: Okonomiyaki is best enjoyed hot and crispy right off the pan, so time your cooking and serving carefully.
Nutrition Facts
Calories: 380kcal
Carbohydrates: 35g
Protein: 18g
Fat: 19g
Saturated Fat: 6g
Cholesterol: 210mg