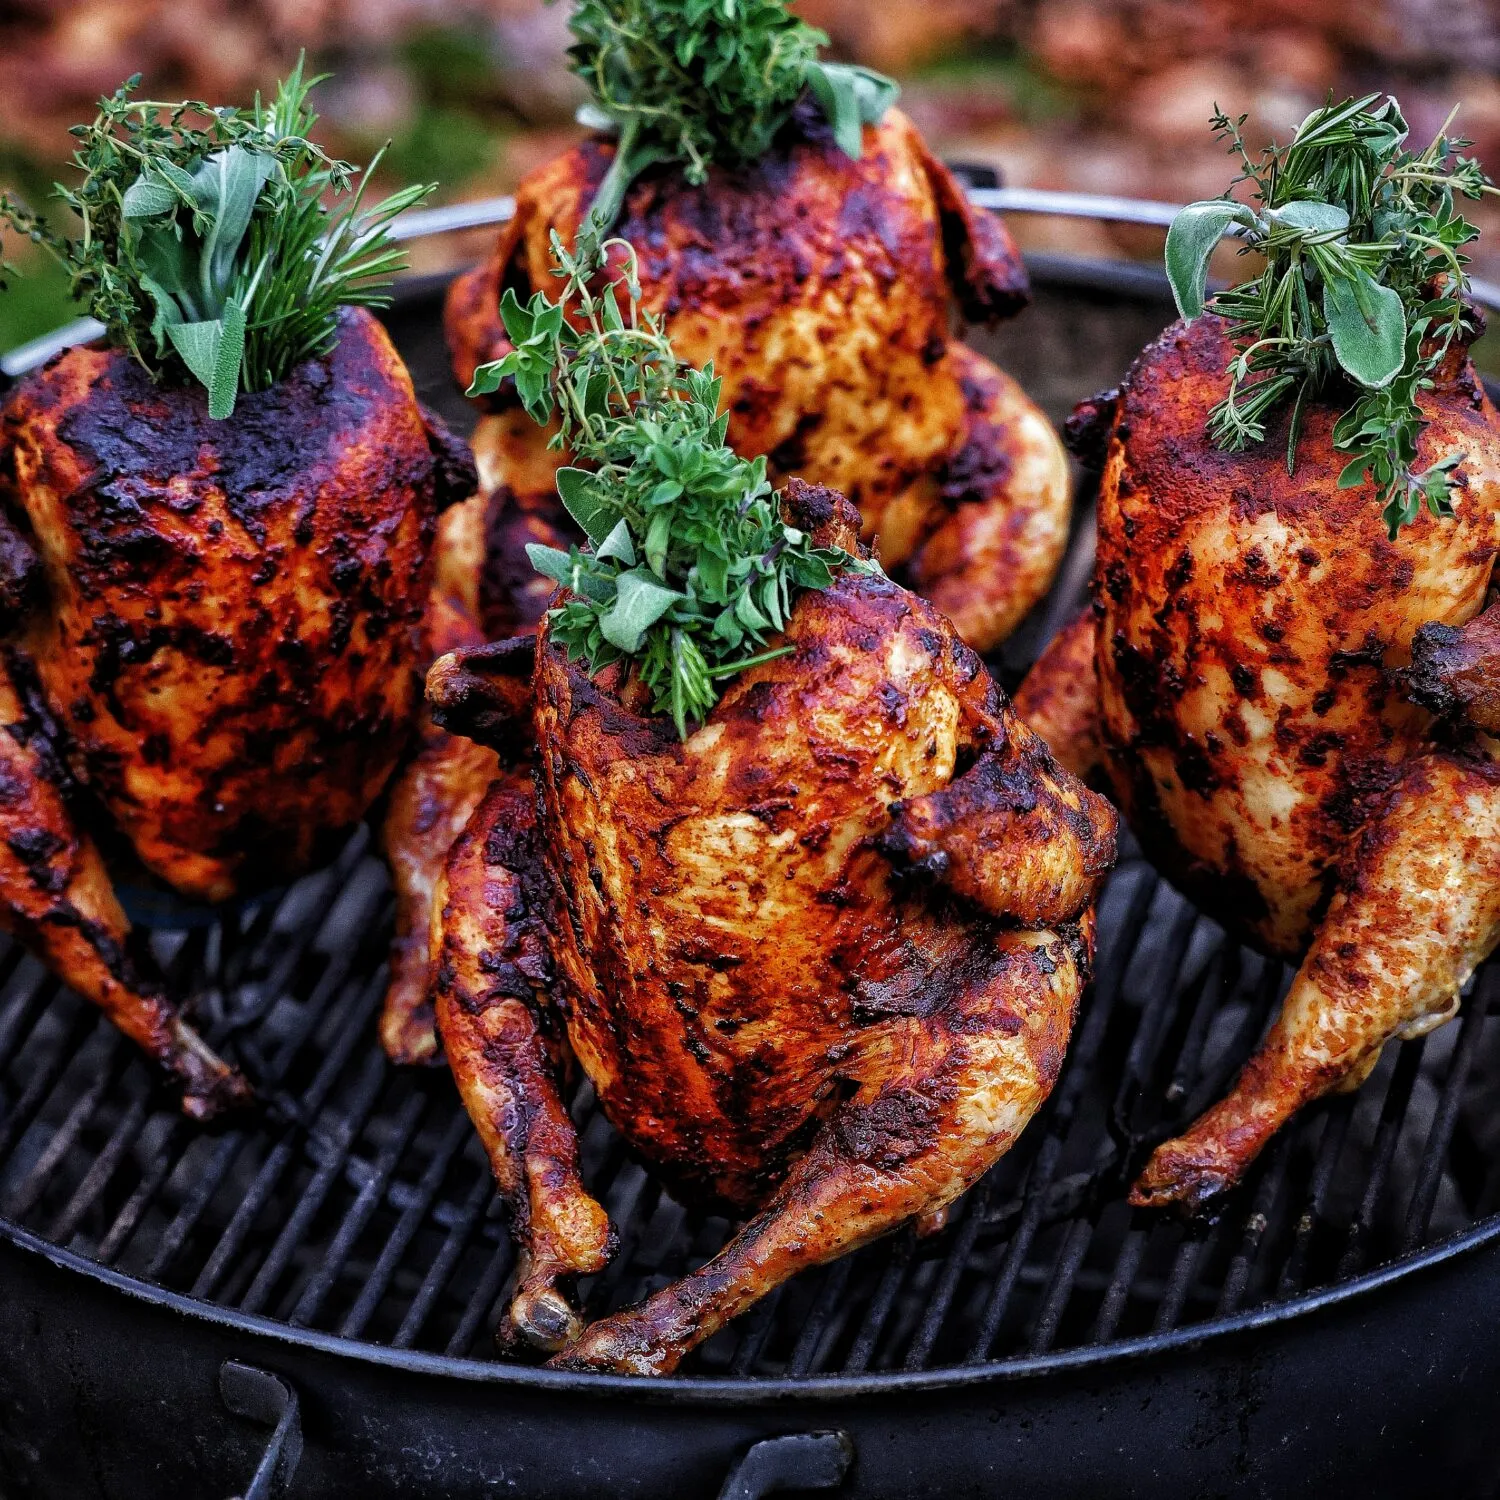
Imagine a chicken so tender, so flavorful, that it literally falls off the bone and makes your guests beg for your secret recipe. This Beer Brined Beer Can Chicken is not just a meal, it's a culinary experience that transforms an ordinary dinner into a mouthwatering masterpiece. By combining the magic of beer brining and the ingenious beer can cooking method, you'll create a dish that's crispy on the outside, incredibly juicy on the inside, and packed with robust, complex flavors that will have everyone at your table asking for seconds.
Prep Time: 30 mins
Cook Time: 1 hrs 30 mins
Total Time: 2 hrs
Cuisine: American
Serves: 4 servings
Ingredients
- 1 whole chicken (about 4-5 pounds)
- 1 can of beer
- 1/2 cup salt
- 1/2 cup brown sugar
- 1 tablespoon black pepper
- 1 tablespoon garlic powder
- 1 tablespoon onion powder
- 1 tablespoon paprika
Instructions
- In a large mixing bowl, combine salt, brown sugar, black pepper, garlic powder, onion powder, and paprika to create the brine mixture.
- Add 4 cups of cold water to the spice mixture and stir until salt and sugar completely dissolve, creating a homogeneous brine solution.
- Rinse the whole chicken thoroughly under cold water, removing any internal giblets from the cavity.
- Submerge the entire chicken in the brine solution, ensuring it is completely covered. Refrigerate and let it brine for 2-4 hours for optimal flavor absorption.
- Remove chicken from brine after brining time, pat dry completely with paper towels to ensure crispy skin.
- Open the beer can and drink or discard about half the liquid. Create additional punctures in the can top for better steam release.
- Carefully place the beer can on a sturdy baking sheet or cast-iron skillet, then position the chicken vertically onto the can, so the can supports the chicken in an upright position.
- Preheat the grill or oven to 375°F (190°C), ensuring indirect heat method for even cooking.
- Season the exterior of the chicken with additional dry rub, massaging spices into the skin for enhanced flavor.
- Place the chicken-on-can setup in the preheated cooking environment, ensuring it stands upright and is not directly over flame or heating element.
- Cook for approximately 1 hour and 15-30 minutes, or until internal chicken temperature reaches 165°F (74°C) at the thickest part of the thigh.
- Use a meat thermometer to verify doneness, checking multiple locations to ensure consistent temperature.
- Once cooked, carefully remove chicken from beer can, letting it rest for 10-15 minutes before carving to allow juices to redistribute.
- Carve the chicken and serve hot, accompanying with your favorite sides like roasted vegetables or fresh salad.
Tips
- Choose the right beer: A medium-bodied lager or amber ale works best for adding subtle flavor without overpowering the chicken.
- Temperature is key: Always use a meat thermometer to ensure the chicken reaches 165°F (74°C) for food safety.
- Brine timing matters: Don't over-brine; 2-4 hours is the sweet spot for maximum flavor absorption without making the meat too salty.
- Pat the chicken dry thoroughly before cooking to achieve that coveted crispy skin.
- Use a sturdy vertical roasting setup to prevent tipping, and place a drip pan underneath to catch flavorful juices.
- Let the chicken rest after cooking to allow juices to redistribute, ensuring maximum tenderness.
- Experiment with different dry rub combinations to customize your flavor profile.
Nutrition Facts
Calories: 650kcal
Carbohydrates: g
Protein: g
Fat: g
Saturated Fat: g
Cholesterol: 125mg