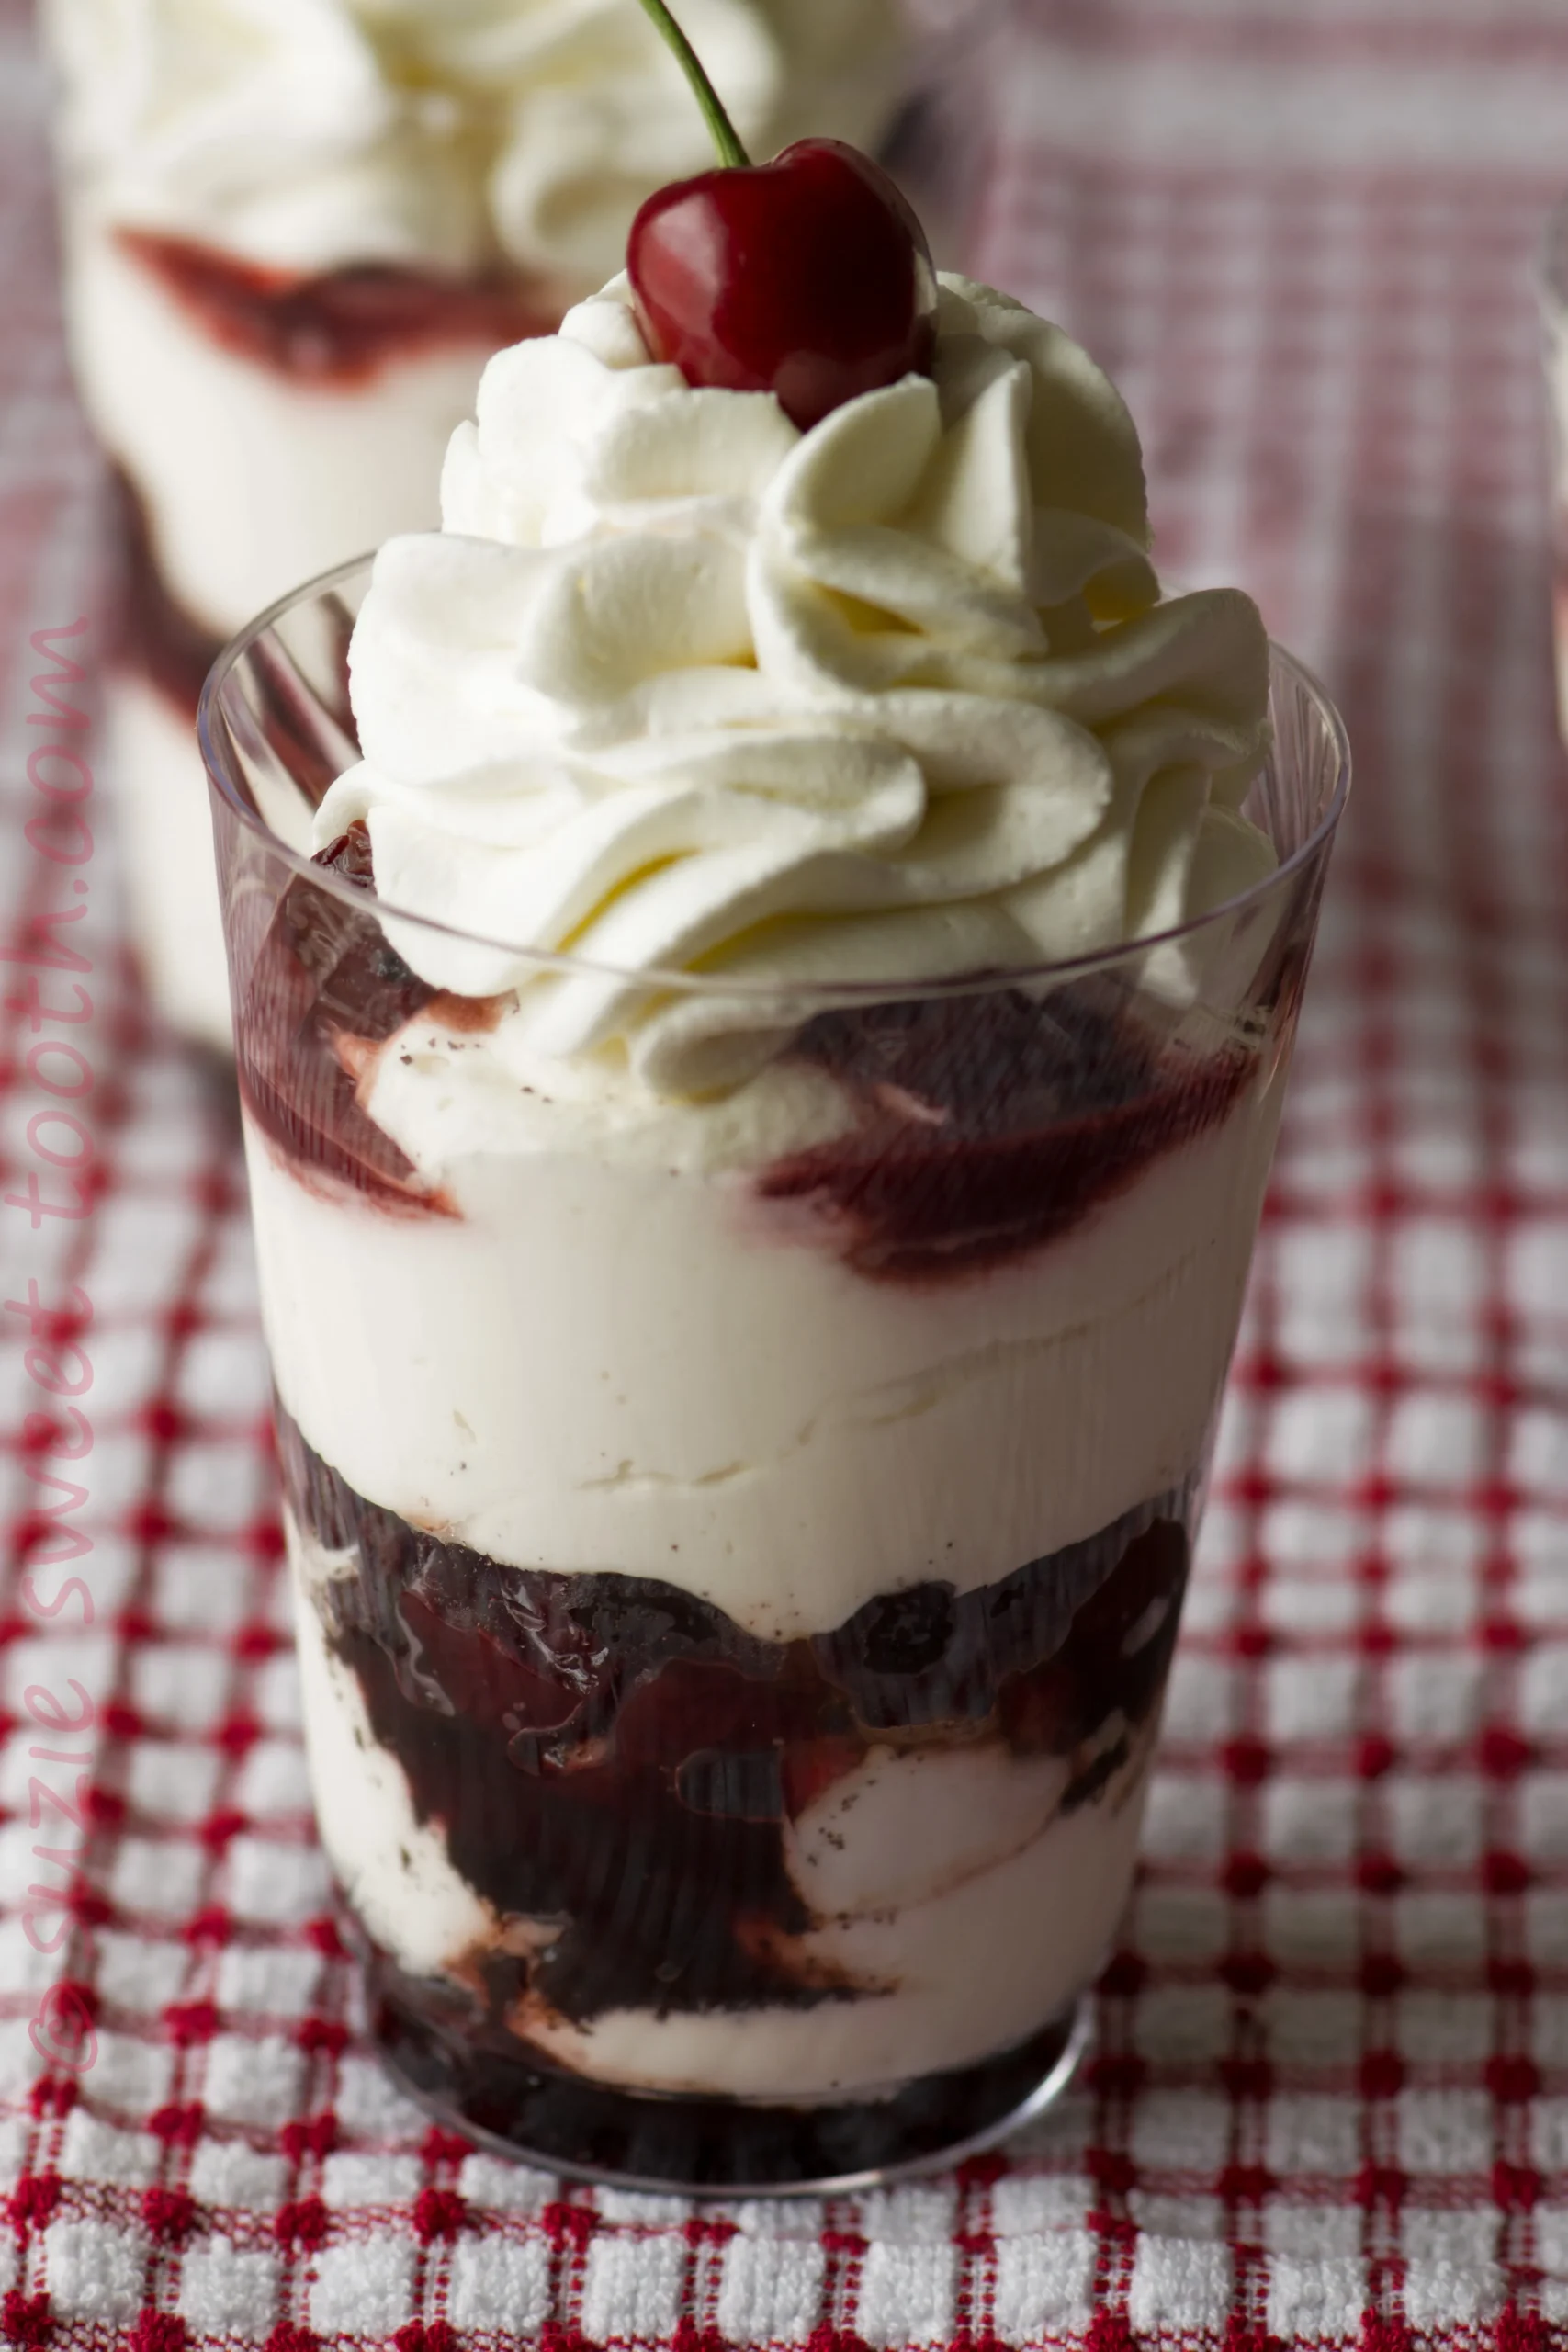
Prepare to embark on a culinary journey that combines the rich, luxurious flavors of Black Forest cake with the creamy decadence of cheesecake in a show-stopping parfait. These stunning desserts are not just a treat for your taste buds, but a visual masterpiece that will have your guests swooning with every spoonful. Imagine layers of velvety cream cheese, moist chocolate cake, and luscious cherry filling, all elegantly assembled in a glass that promises pure dessert perfection. Whether you're looking to impress at a dinner party or simply indulge in a moment of pure bliss, these Black Forest Cheesecake Parfaits are about to become your new obsession!
Ingredients
- 8 oz cream cheese, softened
- 1/2 cup powdered sugar
- 1 cup heavy cream
- 1 cup chocolate cake, crumbled
- 1 cup cherry pie filling
- Chocolate shavings for garnish
Instructions
- Begin by gathering all your ingredients: 8 oz of softened cream cheese, 1/2 cup of powdered sugar, 1 cup of heavy cream, 1 cup of crumbled chocolate cake, 1 cup of cherry pie filling, and chocolate shavings for garnish.
- In a mixing bowl, combine the softened cream cheese and powdered sugar. Using an electric mixer, beat them together on medium speed until the mixture is smooth and creamy, with no lumps remaining. This should take about 2-3 minutes.
- In a separate bowl, pour in the heavy cream. Using a clean electric mixer, whip the heavy cream on high speed until stiff peaks form. This usually takes about 3-5 minutes. Be careful not to over-whip, as it can turn into butter.
- Gently fold the whipped heavy cream into the cream cheese mixture using a spatula. Start by adding a small amount of whipped cream to lighten the cream cheese mixture, then gradually fold in the rest. Be careful to maintain the light and airy texture of the whipped cream.
- Once the cream cheese and whipped cream are fully combined, you can begin assembling your parfaits. Take 4 serving glasses or bowls and start with a layer of crumbled chocolate cake at the bottom of each glass.
- Next, add a layer of the cream cheese mixture on top of the chocolate cake layer, smoothing it out gently with a spatula or the back of a spoon.
- Follow this with a layer of cherry pie filling, spreading it evenly over the cream cheese layer.
- Repeat the layers: add another layer of crumbled chocolate cake, followed by the cream cheese mixture, and finish with another layer of cherry pie filling. You can do this until you reach the top of the glasses, but aim for at least two layers of each component.
- Once assembled, chill the parfaits in the refrigerator for at least 10 minutes to allow the flavors to meld and the cheesecake to set slightly.
- Before serving, garnish the top of each parfait with chocolate shavings for an elegant touch.
- Serve immediately and enjoy your delicious Black Forest Cheesecake Parfaits!
Tips
- Ensure your cream cheese is truly softened at room temperature to avoid lumps when mixing.
- When whipping cream, use a chilled bowl and beaters for the best volume and stability.
- Fold the whipped cream gently to maintain its light, airy texture - overmixing can deflate the cream.
- For the most visually appealing parfaits, use clear glasses to showcase the beautiful layers.
- Make chocolate shavings by running a vegetable peeler along the edge of a chocolate bar.
- Chill the parfaits for at least 10 minutes before serving to allow flavors to meld and set slightly.
- For a professional touch, use a piping bag to create neat, even layers of cream cheese mixture.
- You can prepare the components ahead of time and assemble just before serving for maximum freshness.
Nutrition Facts
Calories: 450kcal
Carbohydrates: 35g
Protein: 6g
Fat: 32g
Saturated Fat: 19g
Cholesterol: 100mg


