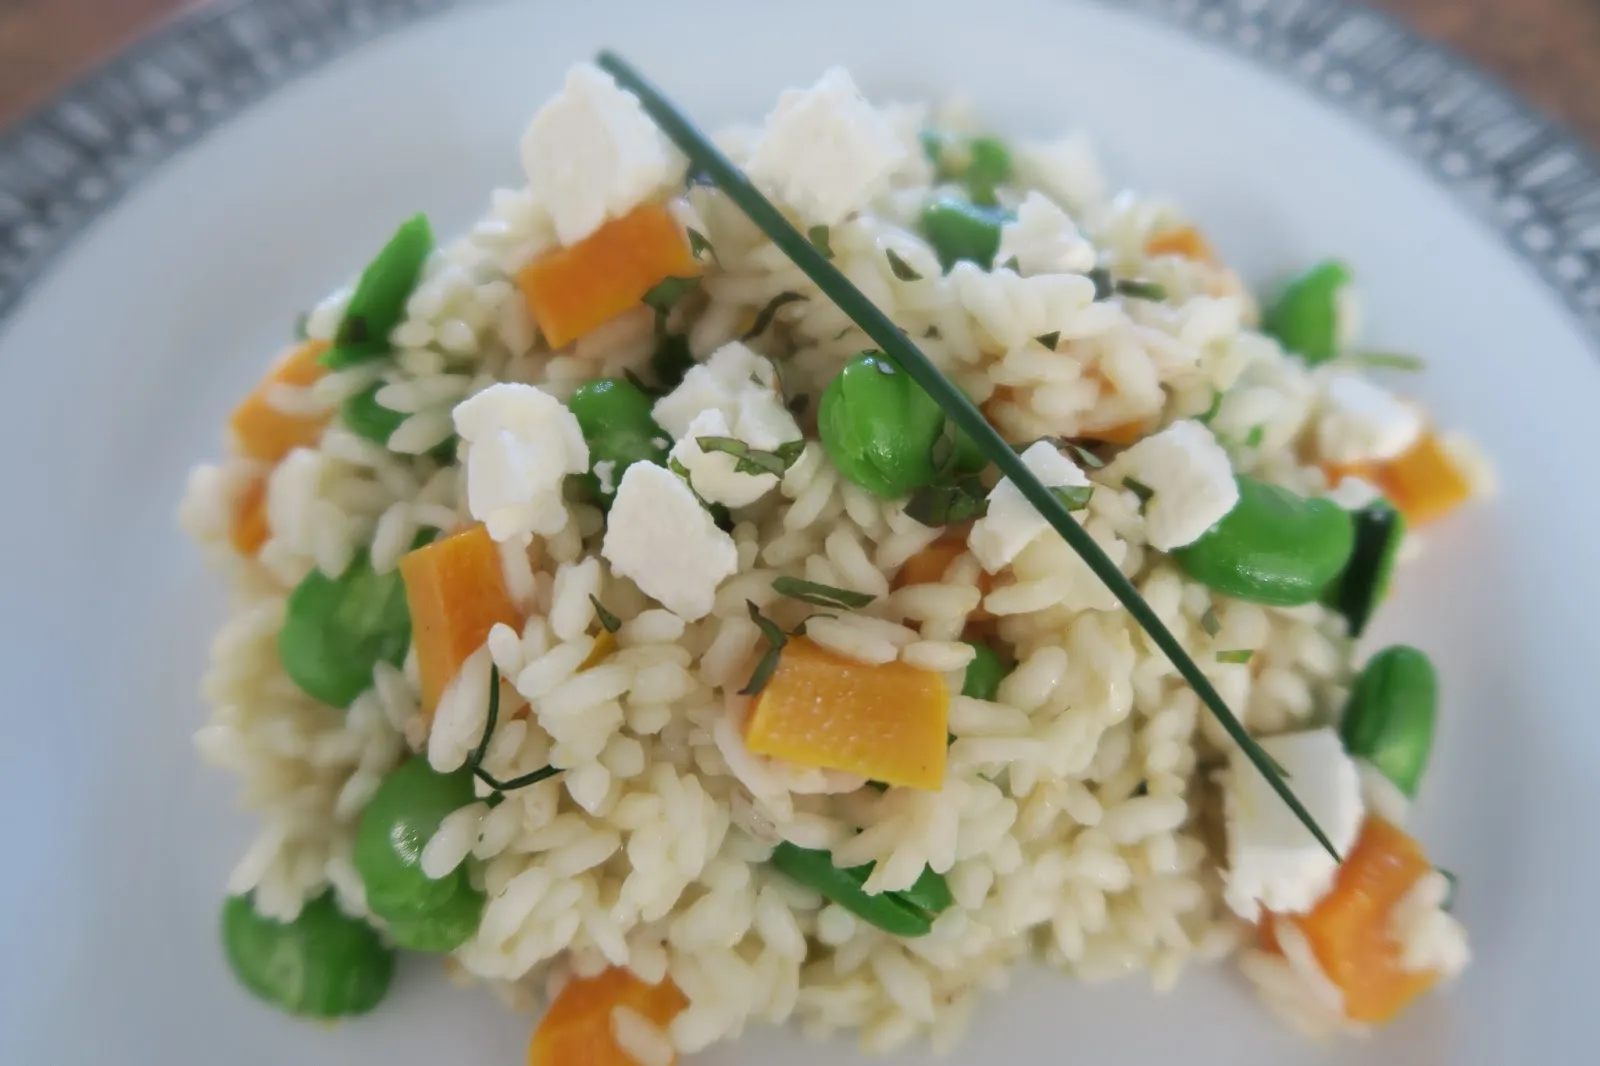
Imagine transforming a classic risotto into crispy, golden-brown cakes that will make your taste buds dance with joy! These Broccoli, Broad Bean, and Feta Risotto Cakes are not just a meal, they're a culinary adventure that combines creamy arborio rice, vibrant vegetables, and tangy feta cheese into the most irresistible vegetarian dish you'll ever experience. Perfect for a quick lunch, impressive dinner, or even a show-stopping appetizer, these risotto cakes will elevate your cooking game and leave everyone asking for seconds!
Prep Time: 15 mins
Cook Time: 25 mins
Total Time: 40 mins
Cuisine: Vegetarian
Serves: 4 servings
Ingredients
- 1 cup arborio rice
- 2 cups vegetable broth
- 1 cup broccoli, chopped
- 1 cup broad beans
- 1/2 cup feta cheese, crumbled
- 1 egg, beaten
- Salt and pepper to taste
Instructions
- Prepare the ingredients by washing and chopping the broccoli into small florets. Shell the broad beans if using fresh, or drain if using frozen.
- In a medium saucepan, heat the vegetable broth and keep it simmering on low heat. This will be used for cooking the risotto.
- In a separate large pan, toast the arborio rice over medium heat for 2-3 minutes, stirring constantly to prevent burning. This helps release the rice's natural starches.
- Gradually add the hot vegetable broth to the rice, one ladleful at a time. Stir continuously and allow each ladleful to be absorbed before adding the next. This process should take about 15-18 minutes.
- When the rice is almost cooked and creamy, add the chopped broccoli and broad beans. Cook for an additional 3-4 minutes until the vegetables are tender but still vibrant.
- Remove the risotto from heat and stir in the crumbled feta cheese. Season with salt and pepper to taste. Allow the mixture to cool completely, about 15-20 minutes.
- Once cooled, mix in the beaten egg, which will help bind the risotto cakes.
- Shape the mixture into compact patties, approximately 3 inches in diameter and 1/2 inch thick.
- Heat a non-stick skillet with a little olive oil over medium heat. Carefully place the risotto cakes in the pan and cook for 3-4 minutes on each side until golden brown and crispy.
- Remove from the pan and place on a paper towel to absorb excess oil. Let them rest for 2-3 minutes before serving.
- Serve hot, garnished with fresh herbs like parsley or chives if desired. These risotto cakes pair well with a light salad or yogurt dip.
Tips
- Use cold, day-old risotto for the best texture and binding - the rice firms up and makes shaping easier.
- Ensure your risotto is completely cooled before adding the egg and forming patties to prevent them from falling apart.
- Use a non-stick skillet and moderate heat to achieve a crispy, golden-brown exterior without burning.
- Don't overcrowd the pan when frying - cook risotto cakes in batches to maintain their shape and crispiness.
- Let the cakes rest for a few minutes after cooking to help them set and make them easier to handle.
- Experiment with additional herbs like fresh dill or mint to add extra flavor complexity.
- For a gluten-free version, ensure all your ingredients are certified gluten-free.
Nutrition Facts
Calories: 280kcal
Carbohydrates: 45g
Protein: 10g
Fat: 8g
Saturated Fat: 4g
Cholesterol: 45mg


