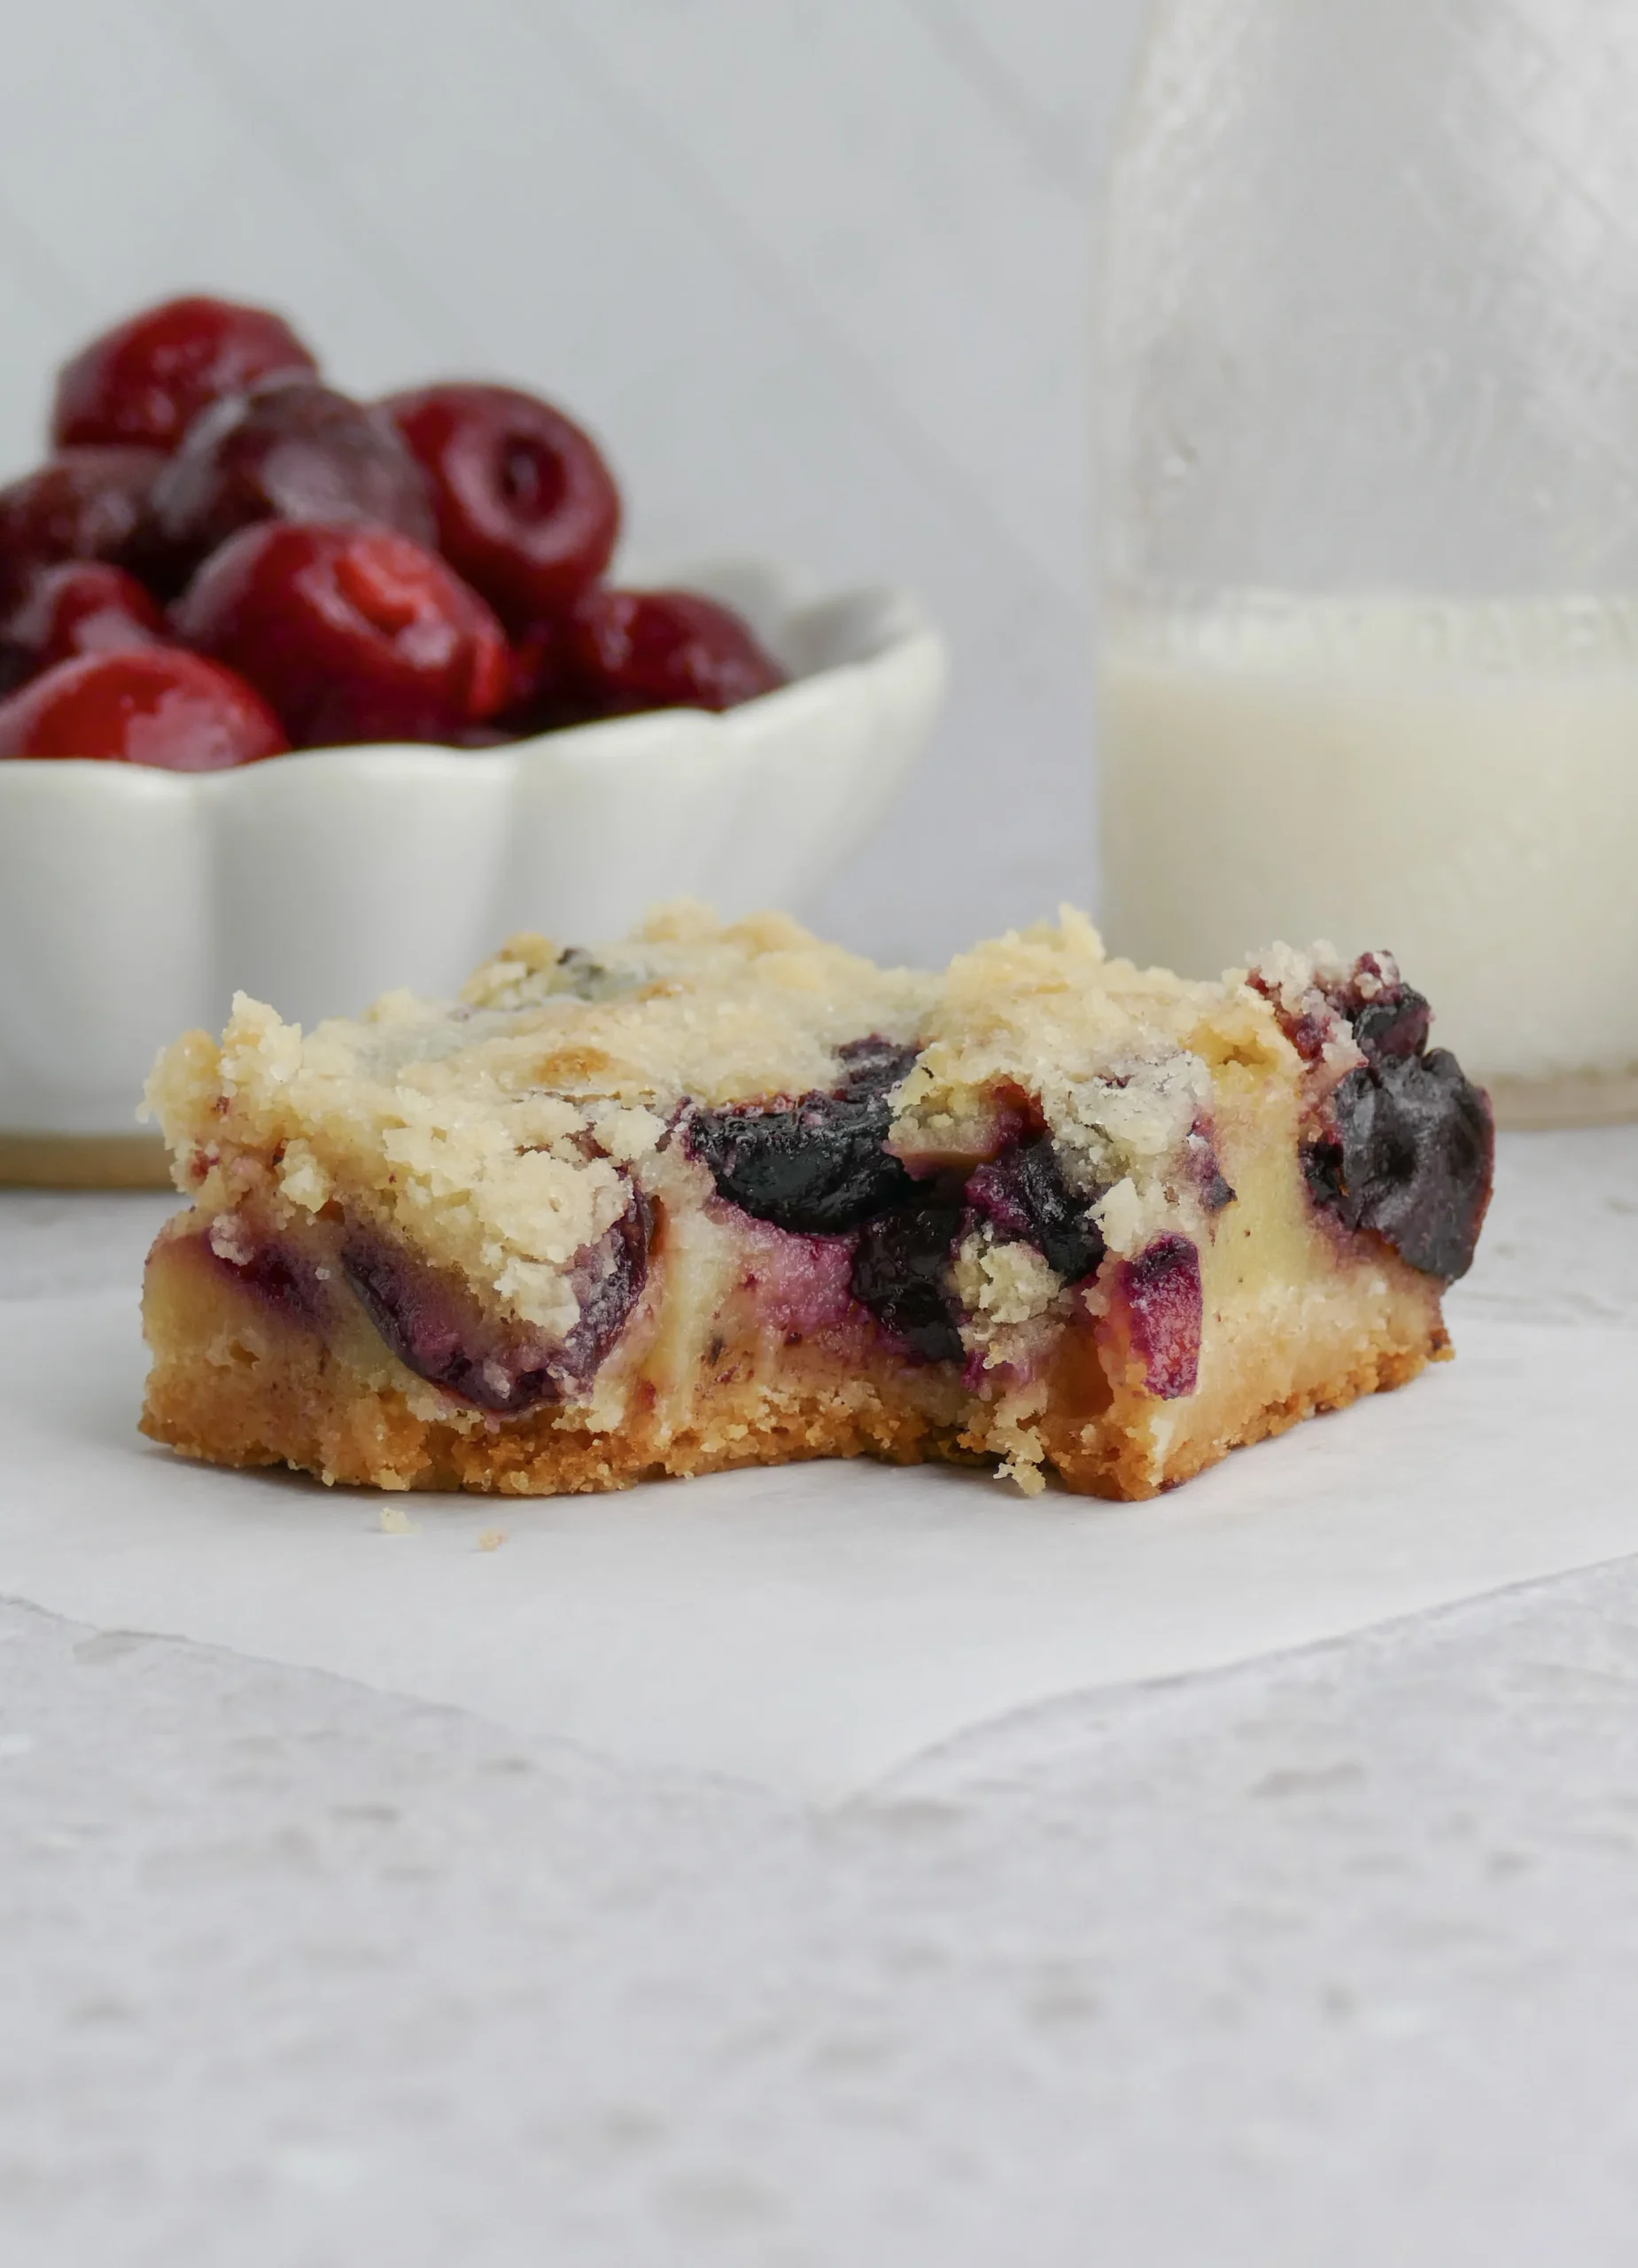
Get ready to transform your ordinary baking routine into an extraordinary culinary adventure! These Cherry Pie Bars are not just another dessert—they're a slice of heaven that combines the classic charm of cherry pie with the irresistible texture of a crumbly, buttery crust. Whether you're a seasoned baker or a weekend kitchen warrior, this recipe promises to deliver a show-stopping treat that will have everyone begging for seconds. Imagine biting into a perfectly balanced bar with a golden, crispy top and a luscious cherry filling that bursts with almond-infused flavor—pure dessert magic awaits!
Prep Time: 20 mins
Cook Time: 40 mins
Total Time: 1 hrs
Cuisine: American
Serves: 16 bars
Ingredients
- 2 cups all-purpose flour
- 1 cup sugar
- 1/2 cup butter, softened
- 1 can cherry pie filling
- 1 teaspoon almond extract
- 1/4 teaspoon salt
Instructions
- Preheat the oven to 350°F (175°C). Grease a 9x13 inch baking pan thoroughly with butter or line with parchment paper for easy removal.
- In a large mixing bowl, combine the all-purpose flour, sugar, and salt. Mix these dry ingredients until well blended.
- Add the softened butter to the dry ingredients. Using a pastry cutter or your fingers, work the butter into the flour mixture until it resembles coarse crumbs with a sandy texture.
- Press approximately two-thirds of the crumb mixture firmly into the prepared baking pan, creating an even base layer. Use the back of a measuring cup or spatula to compact the crust.
- In a separate small bowl, mix the cherry pie filling with the almond extract, stirring gently to distribute the flavor evenly throughout the filling.
- Spread the cherry pie filling carefully over the pressed crust, ensuring an even distribution that covers the entire surface.
- Sprinkle the remaining crumb mixture over the top of the cherry filling, creating a rustic, crumbly topping.
- Place the pan in the preheated oven and bake for 35-40 minutes, or until the top is golden brown and the edges are slightly crisp.
- Remove from the oven and let the bars cool completely in the pan for at least 1 hour. This cooling time allows the bars to set and makes cutting easier.
- Once cooled, cut into 16 even bars using a sharp knife. For clean cuts, wipe the knife between each slice.
- Optional: Dust with powdered sugar or drizzle with a light glaze before serving for extra sweetness and presentation.
Tips
- Room Temperature Matters: Ensure your butter is truly softened but not melted for the perfect crumb texture.
- Don't Overmix: When combining the crumb mixture, stop when it looks like coarse sand to maintain a light, flaky crust.
- Even Distribution is Key: Use the back of a spatula or measuring cup to press the crust evenly and create a uniform base.
- Cool Completely: Patience is crucial—let the bars cool entirely to allow them to set and make cutting easier.
- Clean Cuts: Wipe your knife between slices for picture-perfect bars.
- Optional Elegance: A light dusting of powdered sugar or a delicate glaze can elevate the presentation.
- Storage Tip: These bars keep well at room temperature for 2-3 days in an airtight container, making them perfect for make-ahead desserts.
Nutrition Facts
Calories: 250kcal
Carbohydrates: 38g
Protein: 3g
Fat: 10g
Saturated Fat: 6g
Cholesterol: 25mg