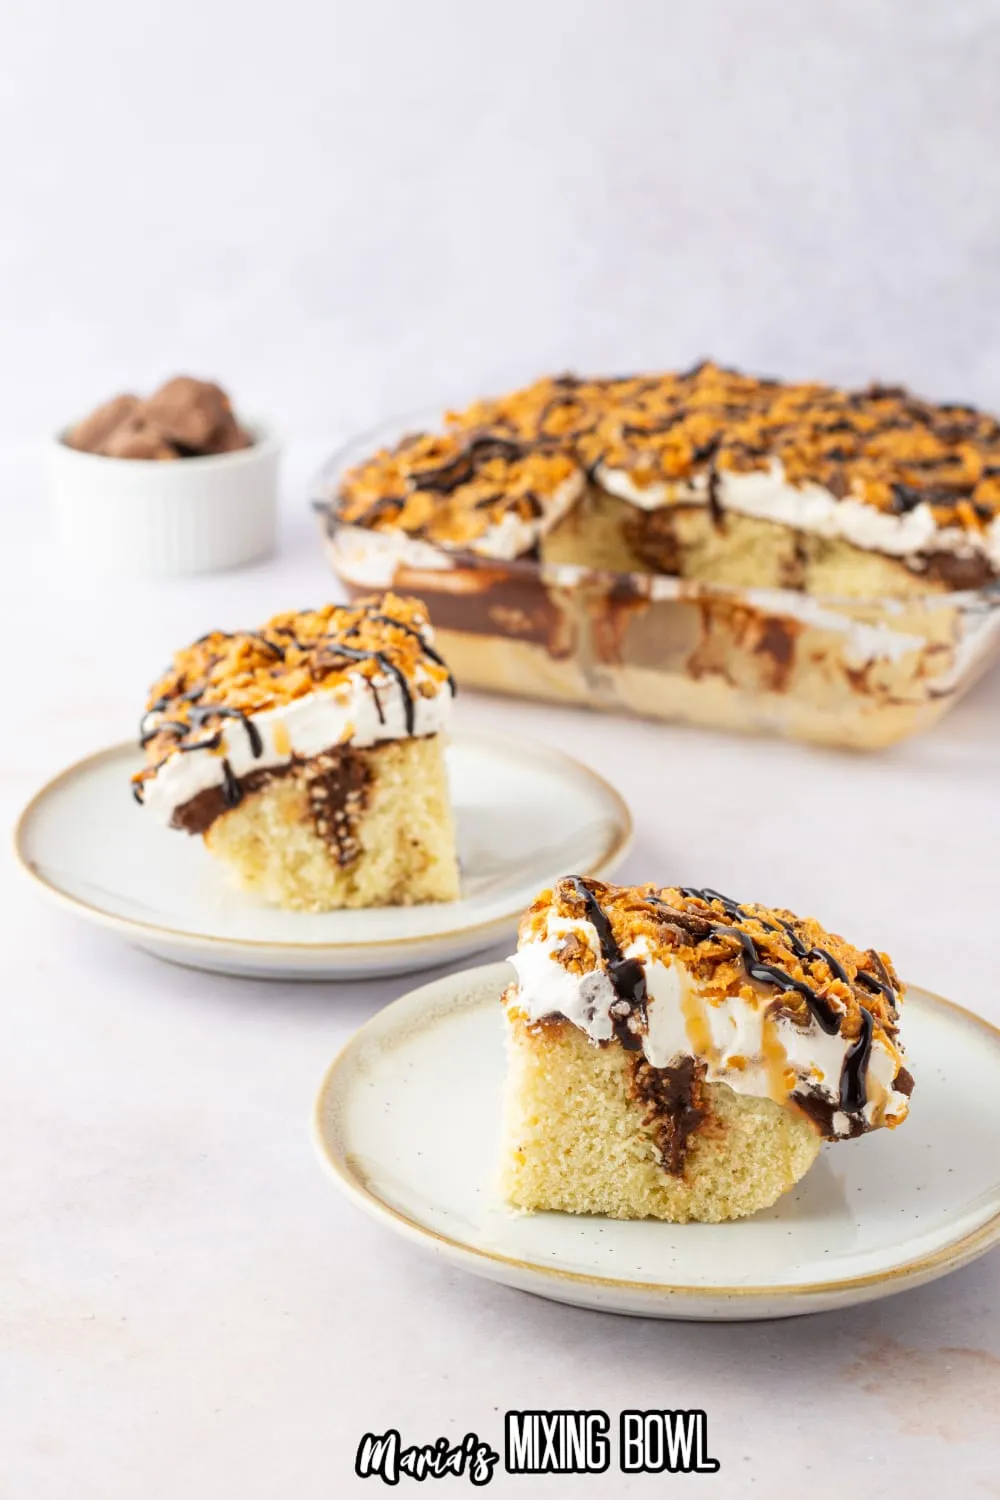
Indulge your sweet tooth with a dessert that’s as decadent as it is delightful: the Chocolate Butterfinger Poke Cake! This irresistible treat combines the rich flavors of chocolate cake with the crunchy, buttery goodness of Butterfinger candy bars, creating a mouthwatering experience that will have everyone coming back for seconds. Perfect for any occasion, this poke cake is not only easy to make but also a guaranteed crowd-pleaser. Ready to impress your friends and family? Let’s dive into this simple yet sensational recipe that will elevate your dessert game to new heights!
Prep Time: 15 mins
Cook Time: 30 mins
Total Time: 45 mins
Cuisine: American
Serves: 12 servings
Ingredients
- 1 box chocolate cake mix
- 1 cup Butterfinger candy bars, crushed
- 1 cup chocolate syrup
- 1 cup whipped topping
- 1/2 cup milk
Instructions
- Preheat the oven to 350°F (175°C). Grease a 9x13 inch baking pan thoroughly with butter or cooking spray.
- Prepare the chocolate cake mix according to package directions. Typically, this involves combining the cake mix with eggs, oil, and water in a large mixing bowl. Mix with an electric mixer on medium speed for 2-3 minutes until smooth and well combined.
- Pour the prepared cake batter into the greased baking pan, spreading it evenly with a spatula to ensure uniform thickness.
- Bake the cake in the preheated oven for 25-30 minutes. Test for doneness by inserting a toothpick into the center - it should come out clean or with just a few moist crumbs.
- Remove the cake from the oven and let it cool for 5-10 minutes. Using the handle of a wooden spoon or a similar round object, poke holes evenly across the entire surface of the warm cake.
- Slowly pour the chocolate syrup over the warm cake, ensuring it seeps into the holes, which will help the cake absorb the syrup and add extra moisture.
- Crush the Butterfinger candy bars into small pieces using a rolling pin or food processor. Reserve some pieces for topping.
- Sprinkle most of the crushed Butterfinger pieces over the cake, allowing them to settle into the holes and cover the surface.
- In a separate bowl, mix the whipped topping with milk to create a smooth, spreadable frosting. Gently spread this mixture over the entire cake.
- Sprinkle the remaining crushed Butterfinger pieces on top of the whipped topping as a decorative and crunchy garnish.
- Refrigerate the cake for at least 2 hours to allow the flavors to meld and the cake to set completely.
- Before serving, let the cake sit at room temperature for 10-15 minutes. Cut into 12 even squares and serve chilled.
Tips
- Prep Ahead: To save time, you can prepare the cake batter and poke it in advance. Just store it in the fridge until you're ready to add the toppings.
- Perfect Poking: Use the handle of a wooden spoon to create holes that are evenly spaced. This ensures that the chocolate syrup seeps in nicely, making every bite moist and flavorful.
- Chill for Flavor: Don’t skip the refrigeration step! Allowing the cake to chill for at least 2 hours helps the flavors meld together and enhances the overall taste.
- Topping Variations: Feel free to get creative with the toppings! Try adding crushed nuts, chocolate shavings, or even a drizzle of caramel sauce for an extra layer of flavor.
- Serving Suggestion: For an extra indulgent treat, serve each slice with a dollop of whipped cream or a scoop of vanilla ice cream.
Nutrition Facts
Calories: 238kcal
Carbohydrates: 37g
Protein: 2g
Fat: 6g
Saturated Fat: 2g
Cholesterol: 1mg


