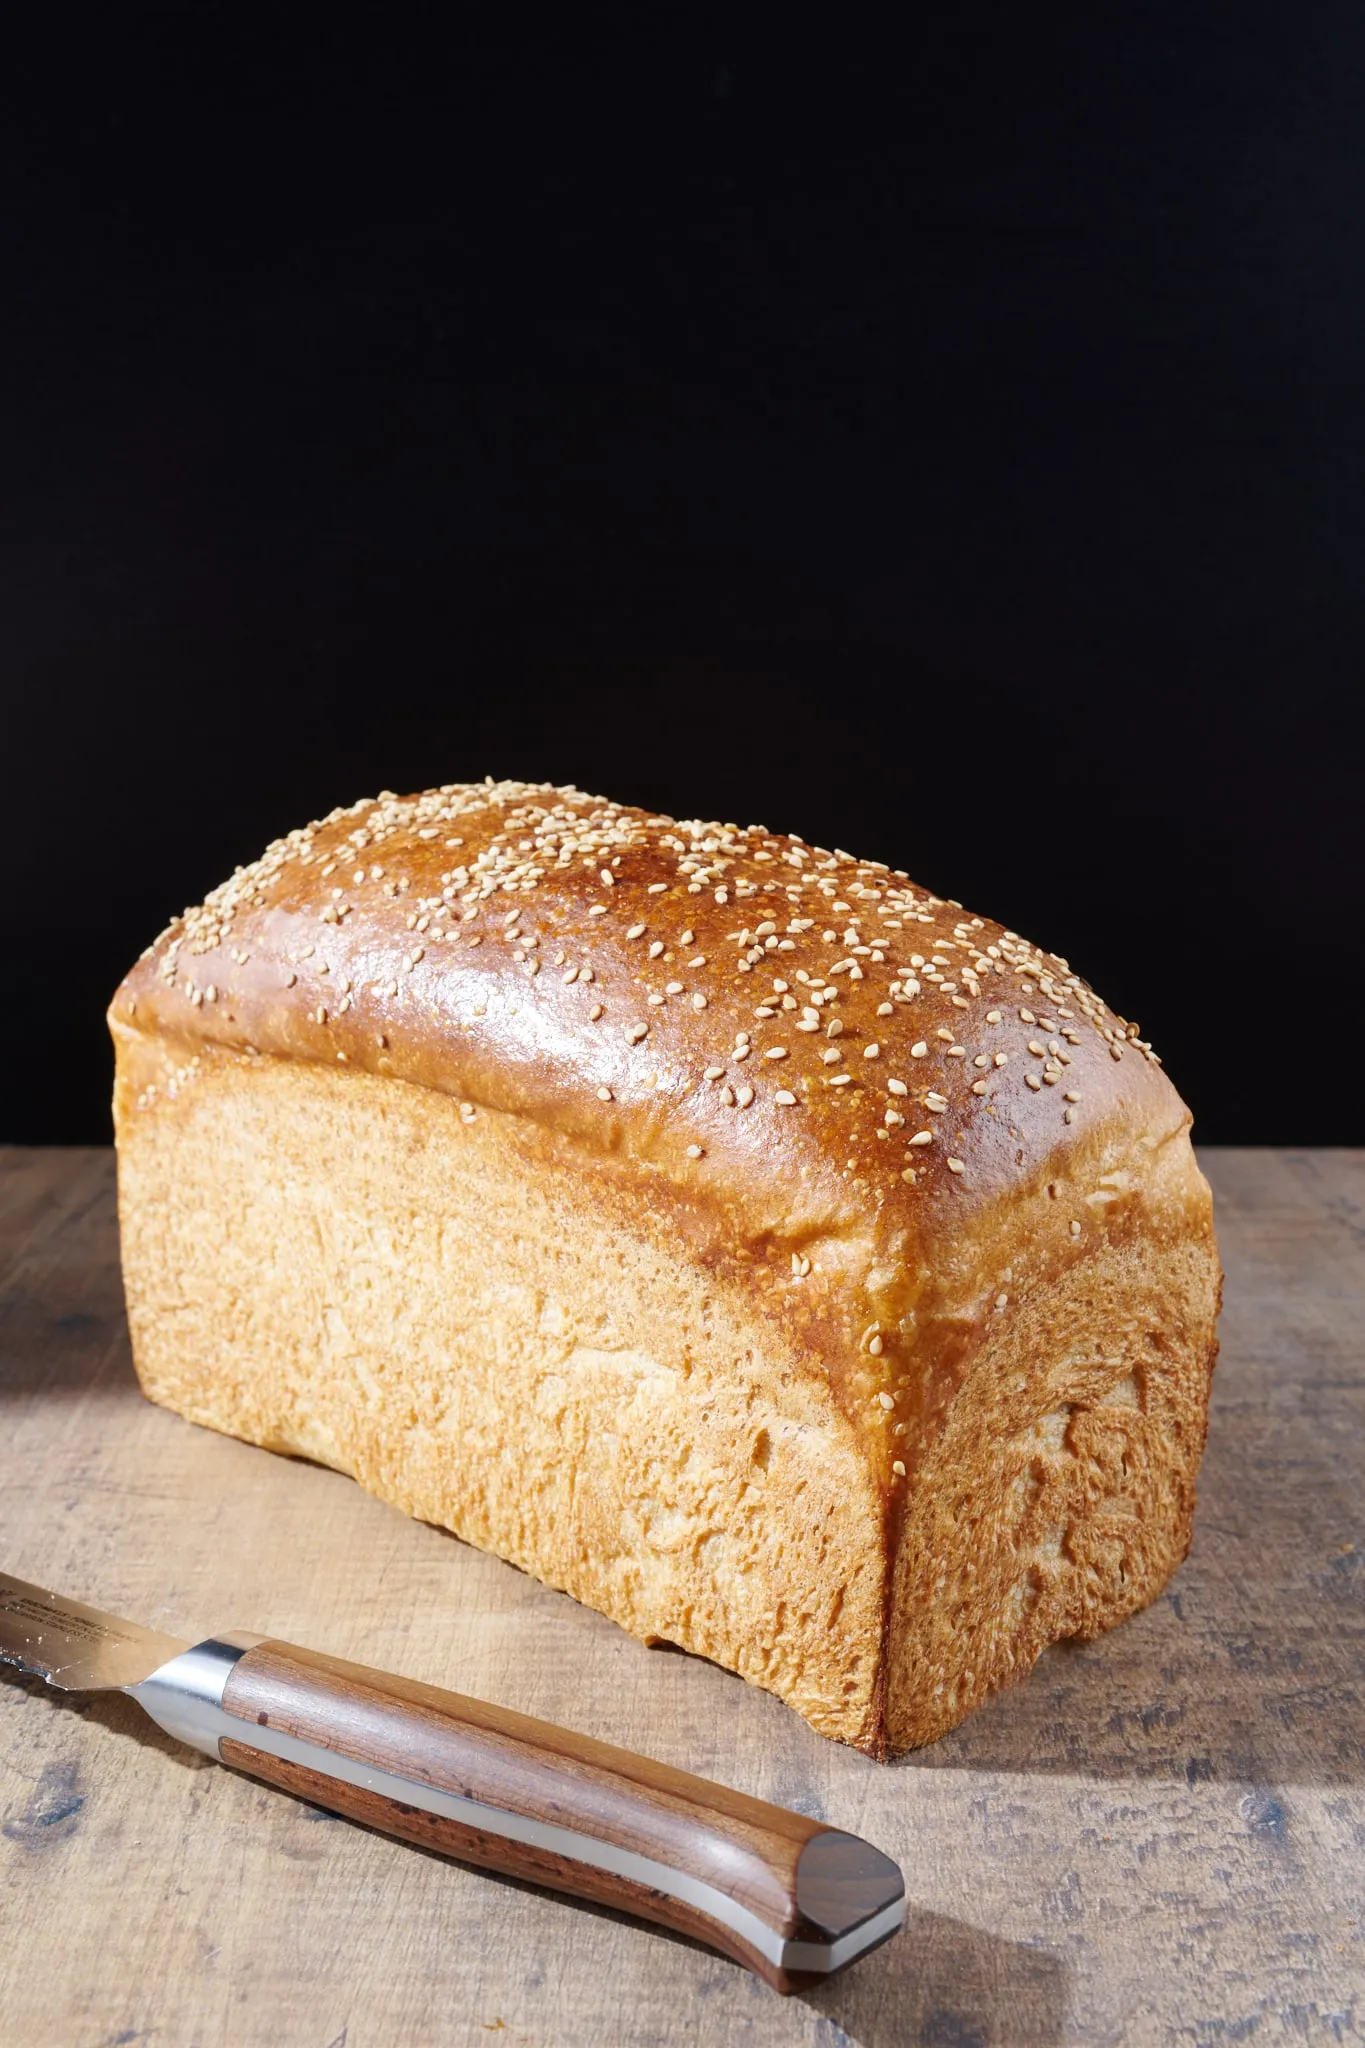
Imagine pulling a golden, aromatic loaf of bread from your oven, its crisp crust crackling as you slice into the soft, honey-infused interior. This isn't just any bread - this is a rustic, wholesome masterpiece that will make your kitchen smell like a artisan bakery and your taste buds dance with pure joy. Our Crusty Honey Whole Wheat Bread is the ultimate recipe for home bakers who want to elevate their bread-making skills and impress family and friends with minimal effort and maximum flavor.
Prep Time: 15 mins
Cook Time: 30 mins
Total Time: 45 mins
Cuisine: American
Serves: 1 loaf
Ingredients
- 2 cups whole wheat flour
- 1/4 cup honey
- 1 teaspoon salt
- 1 packet active dry yeast
- 1 cup warm water
- 1 tablespoon olive oil
Instructions
- In a large mixing bowl, dissolve the active dry yeast in warm water (around 110°F) and let it sit for 5-7 minutes until it becomes frothy and activated.
- Add honey and olive oil to the yeast mixture, stirring gently to combine all liquid ingredients thoroughly.
- In a separate bowl, mix whole wheat flour and salt together, creating a dry ingredient blend.
- Gradually add the dry flour mixture into the wet ingredients, stirring with a wooden spoon or spatula until a shaggy dough begins to form.
- Turn the dough onto a lightly floured surface and knead for 8-10 minutes, developing gluten and creating a smooth, elastic texture. The dough should become slightly tacky but not sticky.
- Place the kneaded dough in a lightly oiled bowl, cover with a clean kitchen towel, and let rise in a warm, draft-free area for approximately 1 hour or until the dough has doubled in size.
- Punch down the risen dough to release air bubbles, then shape into a round loaf on a baking sheet lined with parchment paper.
- Cover the shaped loaf and let it rise again for 30-45 minutes until it becomes puffy and increases in volume.
- Preheat the oven to 375°F (190°C) during the second rise.
- Optional: Make a few shallow diagonal slashes across the top of the loaf to allow for expansion during baking.
- Bake the bread for 25-30 minutes, or until the crust is golden brown and the loaf sounds hollow when tapped on the bottom.
- Remove from oven and let cool on a wire rack for at least 30 minutes before slicing to allow the internal structure to set.
Tips
- Temperature is Key: Ensure your water is precisely warm (around 110°F) when activating the yeast. Too hot, and you'll kill the yeast; too cool, and it won't activate properly.
- Kneading Technique: When kneading, use the heel of your hand to push and fold the dough. This develops gluten and creates that perfect, stretchy texture.
- Rising Environment: Choose a warm, draft-free spot for rising - near a preheating oven or in a slightly warm oven (turned off) works perfectly.
- Slash with Purpose: Those diagonal slashes aren't just decorative - they help the bread expand and prevent uneven rising during baking.
- Cooling is Crucial: Resist the temptation to slice immediately! Letting the bread cool allows the internal structure to set, ensuring a perfect texture.
- Storage Tip: Store your freshly baked bread in a paper bag at room temperature to maintain its crisp crust, and consume within 2-3 days for optimal freshness.
Nutrition Facts
Calories: 180kcal
Carbohydrates: 36g
Protein: 6g
Fat: 3g
Saturated Fat: g
Cholesterol: 0mg