Looking for a refreshing dessert that will wow your guests and tantalize your taste buds? Look no further than this vibrant Dragon Fruit and Berry Icebox Cake! Bursting with colorful fruits and luscious whipped cream, this no-bake treat is not only a feast for the eyes but also a delightful fusion of flavors that will leave everyone asking for seconds. With just 20 minutes of prep time, you can create a stunning dessert that’s perfect for summer gatherings, picnics, or simply indulging at home. Dive into our recipe and discover how to make this dreamy icebox cake that’s as easy to assemble as it is delicious!
Prep Time: 20 mins
Cook Time: -
Total Time: 20 mins
Cuisine: Fusion
Serves: 8 servings
Ingredients
- 2 cups whipped cream
- 1 cup dragon fruit, diced
- 1 cup mixed berries
- 1 package ladyfinger cookies
- 1 tablespoon honey (optional)
Instructions
- Prepare the fruits by washing and carefully dicing the dragon fruit into small, uniform cubes. Gently rinse the mixed berries and pat them dry with paper towels.
- In a large mixing bowl, whip the cream until it forms stiff, stable peaks. If desired, fold in the honey to add a subtle sweetness to the whipped cream.
- Select a rectangular or square serving dish that will accommodate layering the ladyfinger cookies and cream.
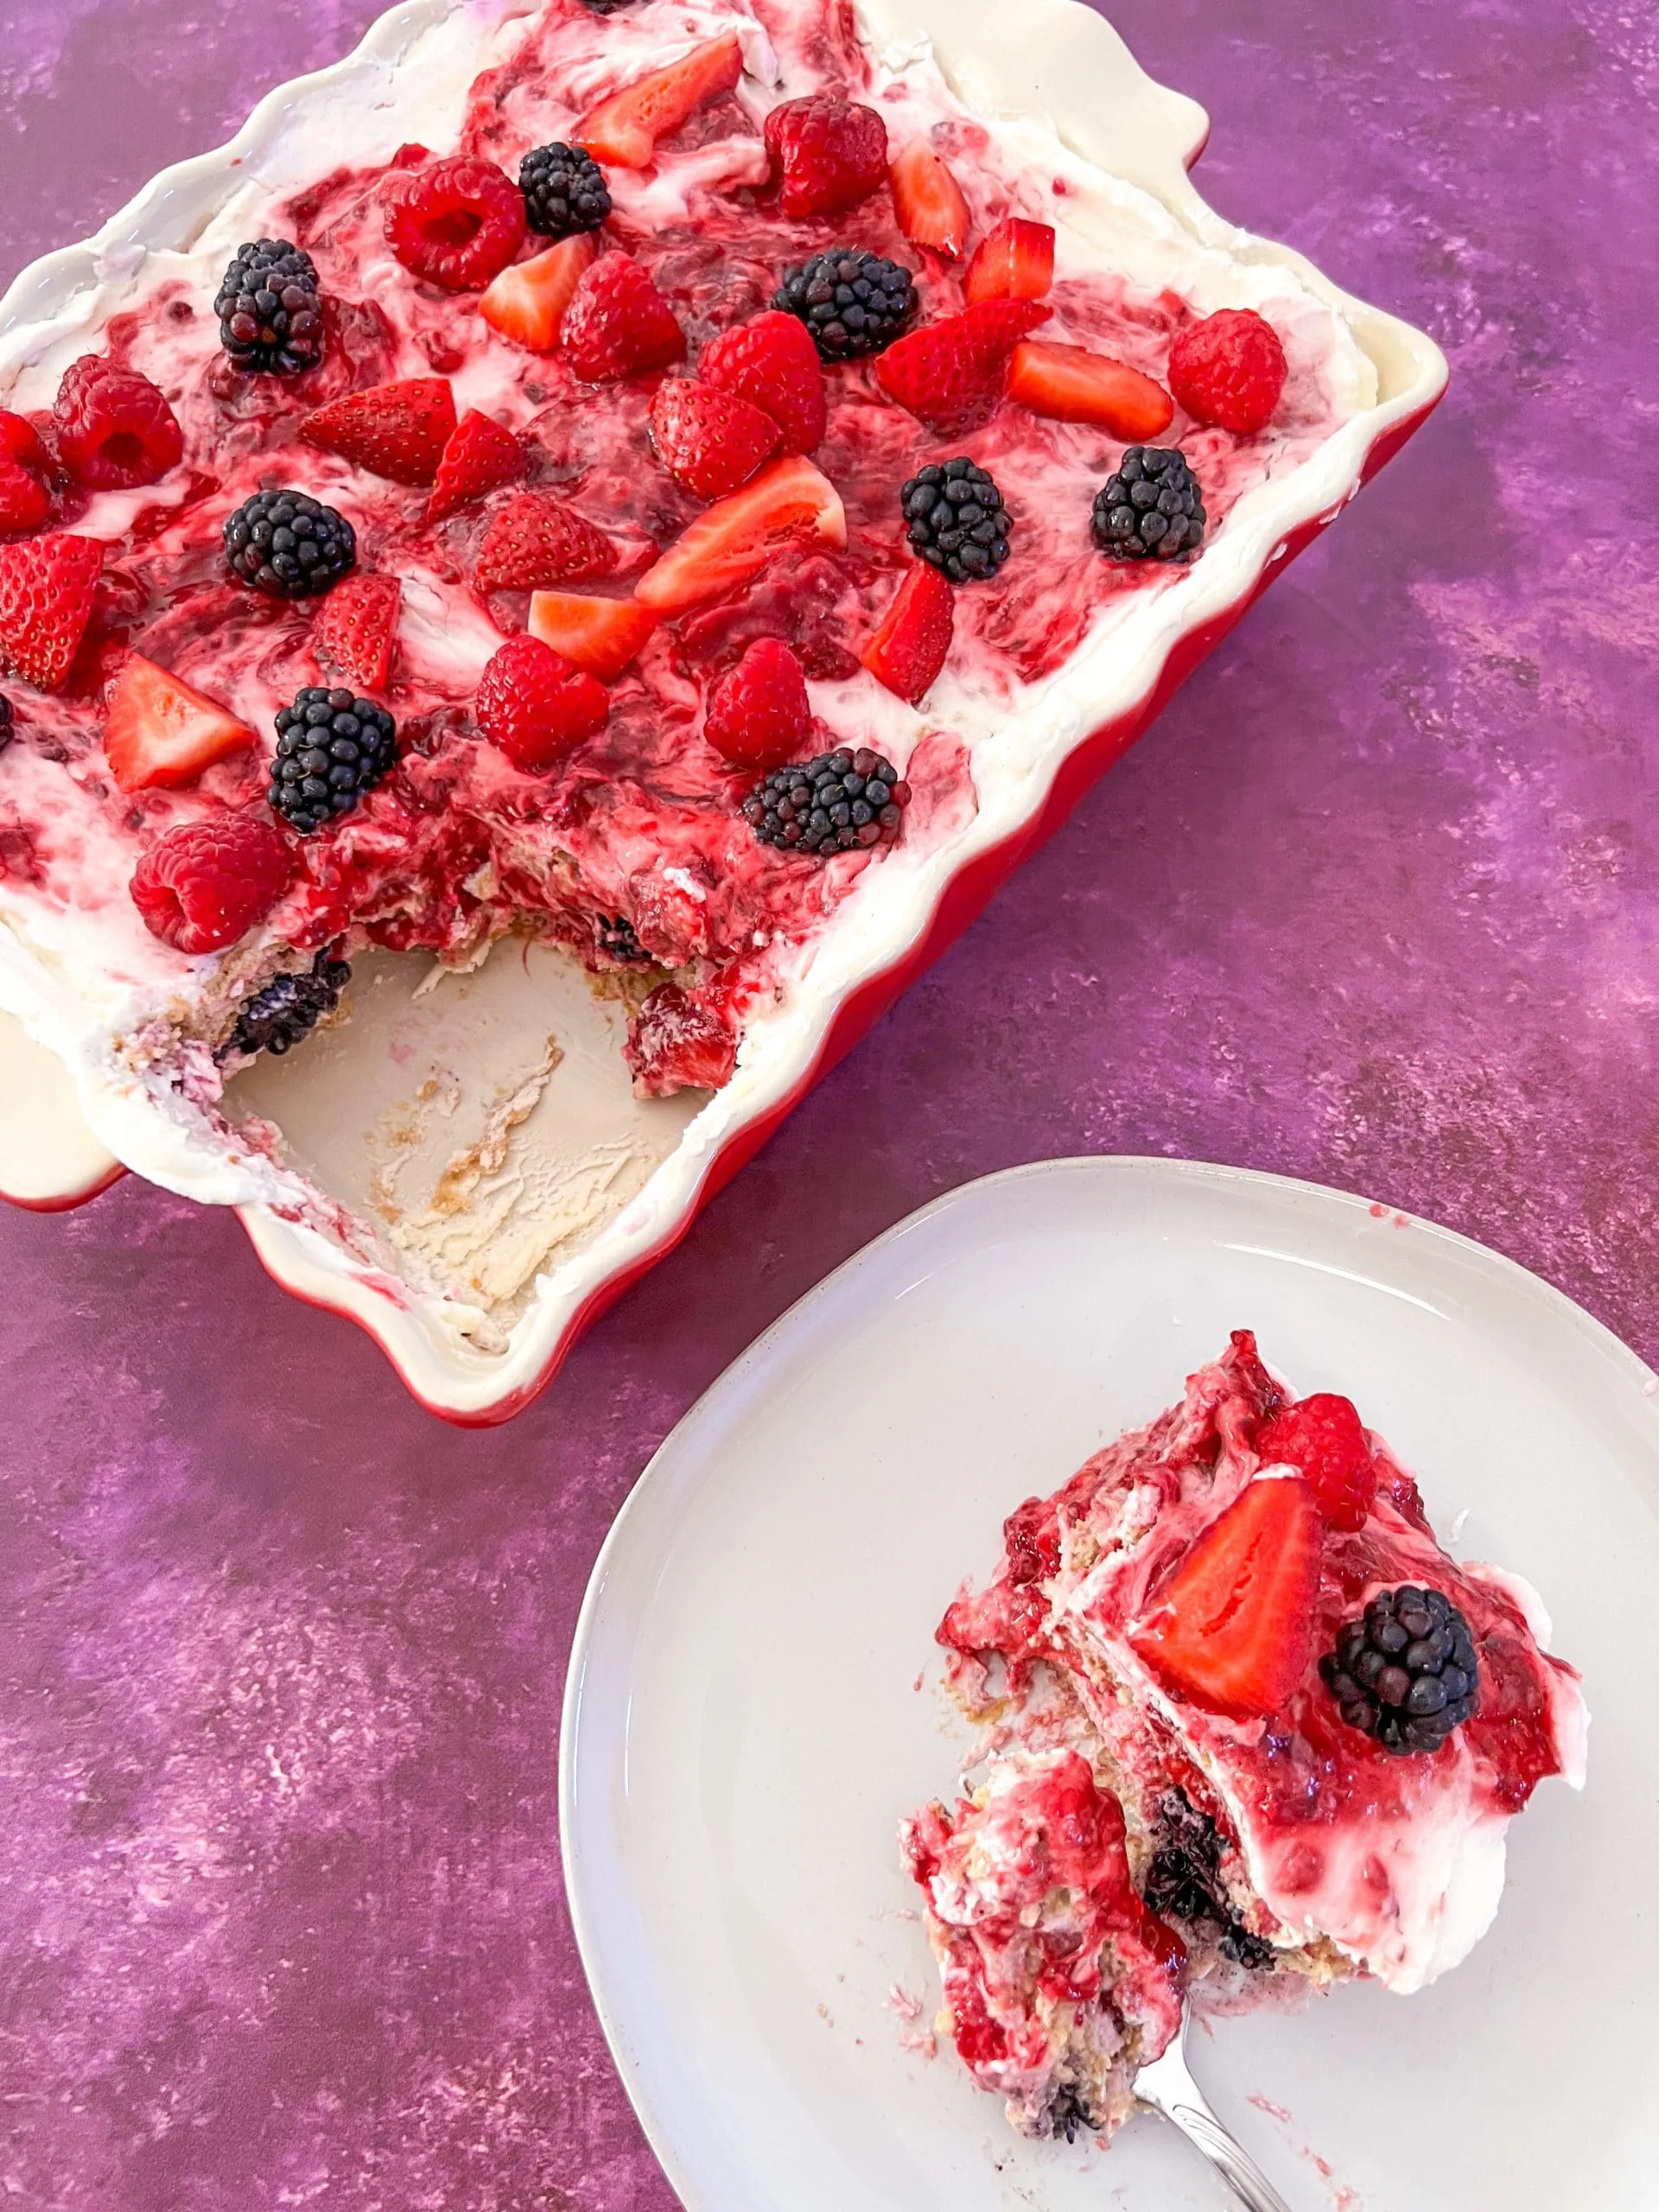
- Begin assembling the icebox cake by creating a base layer of ladyfinger cookies, arranging them side by side to cover the bottom of the dish completely.
- Spread a generous layer of whipped cream over the ladyfingers, ensuring even coverage and filling any small gaps between the cookies.
- Sprinkle diced dragon fruit and mixed berries evenly across the cream layer, creating a colorful and vibrant distribution of fruit.
- Repeat the layering process: add another layer of ladyfingers, followed by whipped cream, and then more fruit.
- Continue layering until you've used all ingredients, with the top layer being whipped cream and fruit.
- Cover the dish with plastic wrap and refrigerate for at least 4-6 hours, or preferably overnight, to allow the cookies to soften and flavors to meld.
- Before serving, garnish with additional fresh berries and dragon fruit cubes for extra visual appeal.
- Slice and serve chilled, enjoying the creamy, fruity, and delicate texture of the icebox cake.
Tips
- Choose Ripe Fruits: For the best flavor, select ripe dragon fruit and mixed berries. The sweetness of the fruit will elevate your icebox cake, making it even more enjoyable.
- Whip Cream to Perfection: Make sure to whip the cream until it forms stiff peaks. This will give your cake a light and airy texture that contrasts beautifully with the dense ladyfinger cookies.
- Layering Technique: When layering, be sure to press down gently on each layer to ensure the ingredients stick together, creating a cohesive dessert that holds its shape when served.
- Chill Time is Key: Allow the cake to chill for at least 4-6 hours, but overnight is even better. This resting period helps the flavors meld and the ladyfingers soften, resulting in a creamy, dreamy texture.
- Garnish for Presentation: Don’t forget to garnish the top with extra berries and dragon fruit just before serving. It adds a pop of color and makes for an Instagram-worthy dessert that’s sure to impress!
Nutrition Facts
Calories: 154kcal
Carbohydrates: 13g
Protein: 1g
Fat: 11g
Saturated Fat: g
Cholesterol: 30mg