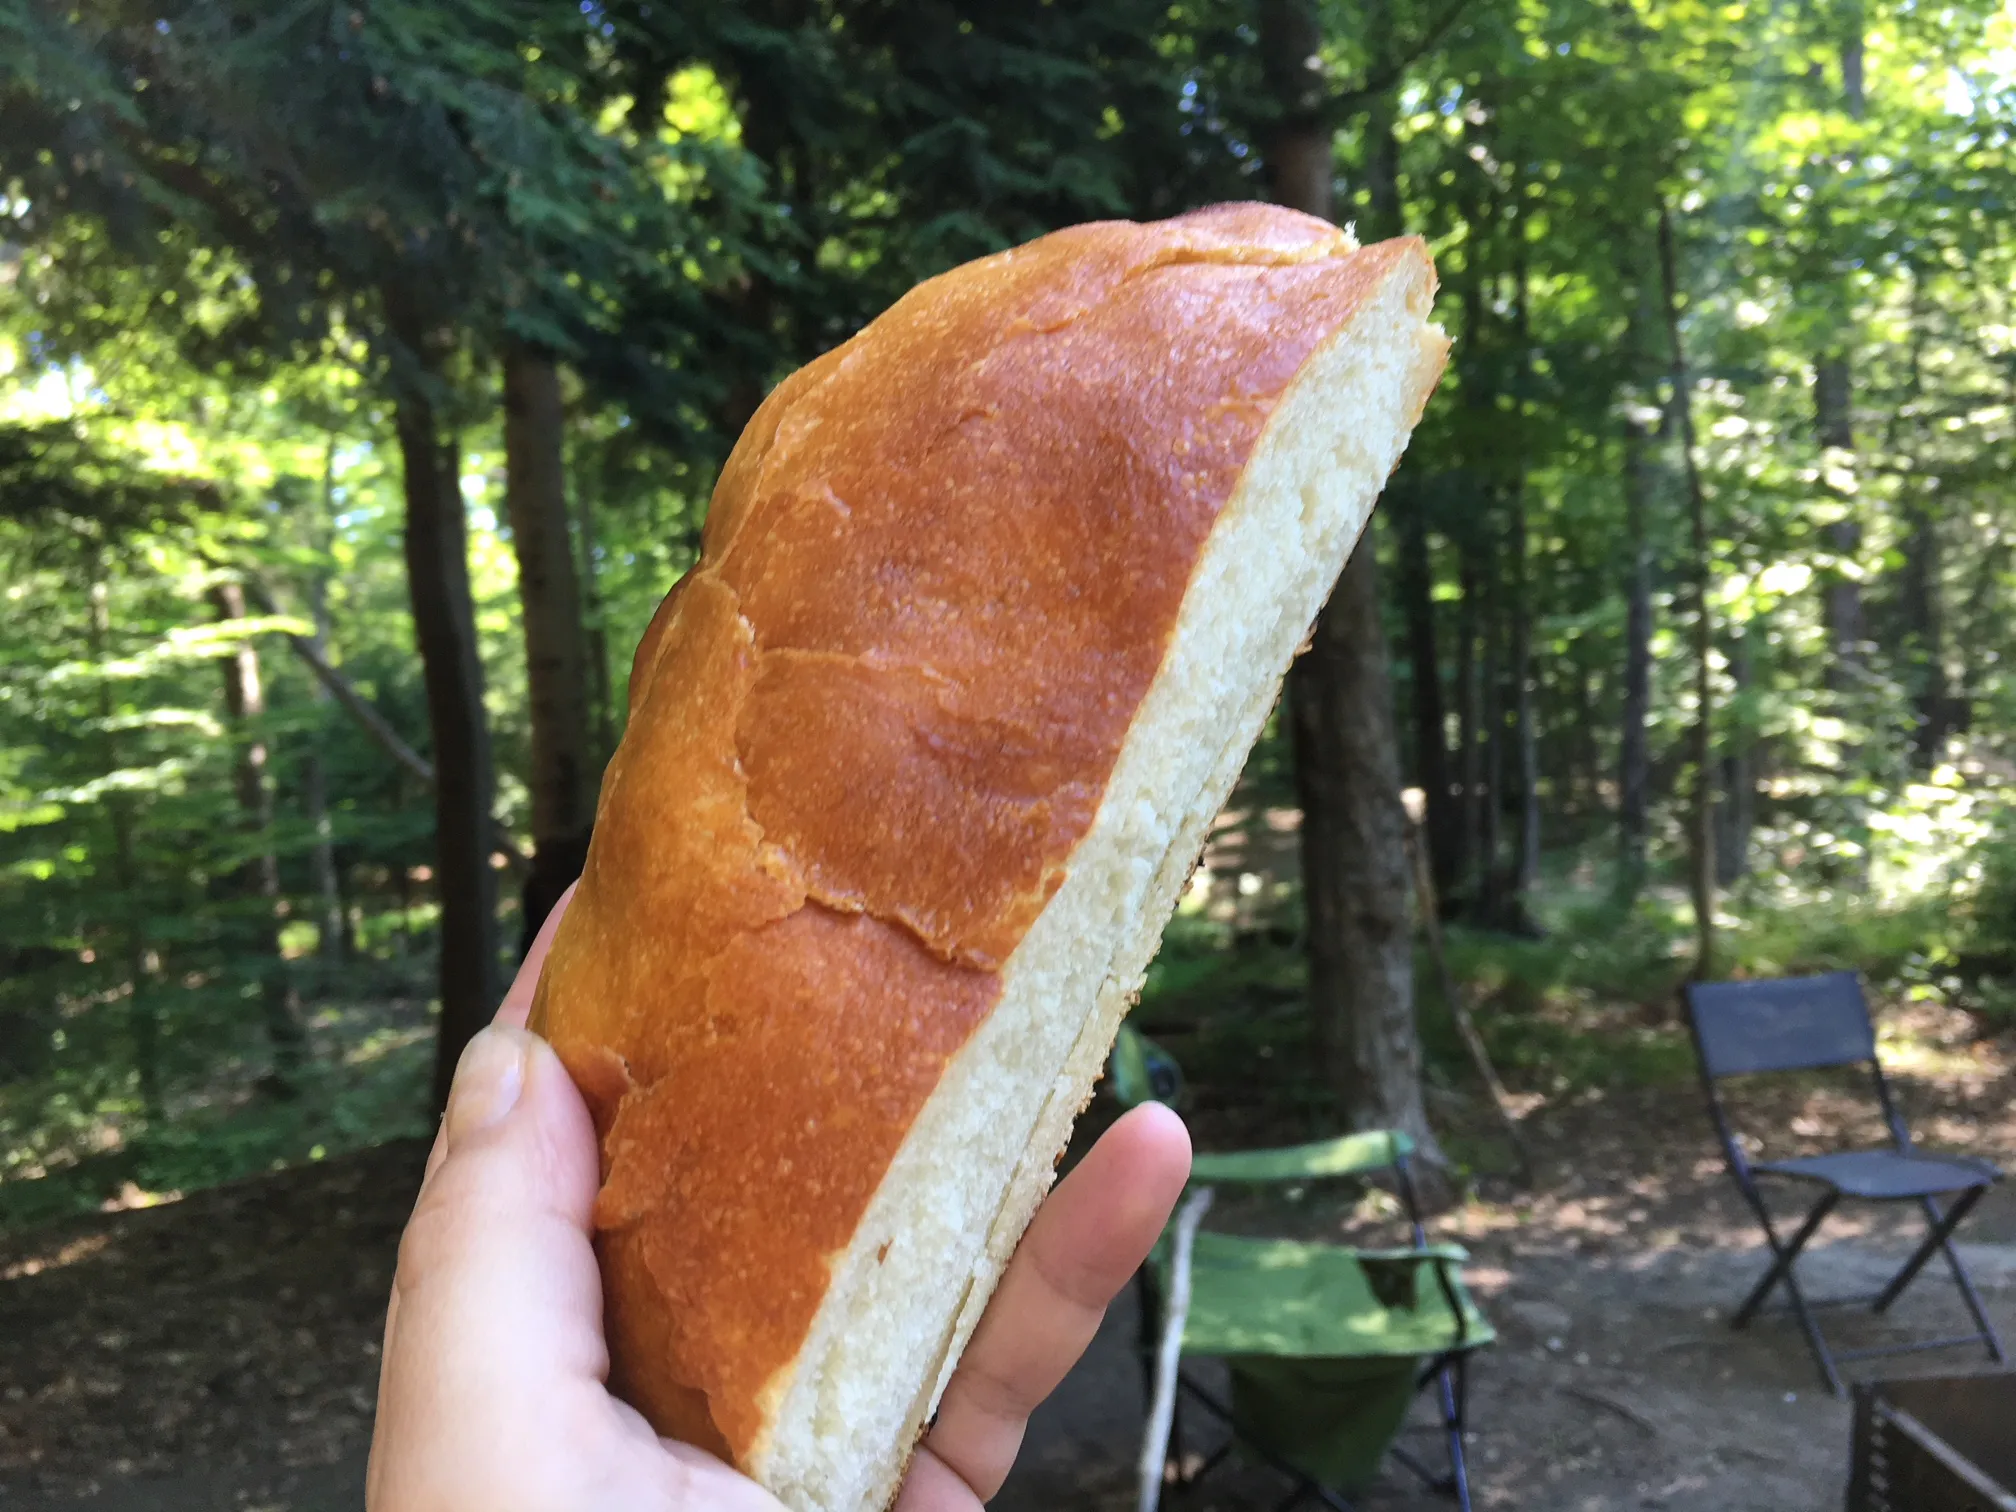
Imagine the crackling sounds of a campfire, the scent of woodsmoke mingling with the aroma of freshly baked bread wafting through the air. With just a few simple ingredients and a trusty Dutch oven, you can create a rustic loaf of Artisan Bread that will impress even the most discerning palates. This Dutch Oven Campfire Artisan Bread is not just a recipe; it's an experience that brings the joy of baking into the great outdoors. So grab your gear, gather your friends, and get ready to embark on a culinary adventure that will elevate your camping meals to a whole new level!
Prep Time: 3 hrs
Cook Time: 45 mins
Total Time: 3 hrs 45 mins
Cuisine: American
Serves: 1 loaf
Ingredients
- 3 cups all-purpose flour
- 1 1/2 teaspoons salt
- 1/2 teaspoon instant yeast
- 1 1/2 cups water
Instructions
- In a large mixing bowl, combine 3 cups of all-purpose flour, 1 1/2 teaspoons of salt, and 1/2 teaspoon of instant yeast. Stir the dry ingredients together until they are evenly mixed.
- Gradually add 1 1/2 cups of room temperature water to the dry ingredients. Use a wooden spoon or your hands to mix until a shaggy dough forms. Ensure that all the flour is incorporated, but do not overmix.
- Cover the bowl with plastic wrap or a clean kitchen towel. Allow the dough to rest at room temperature for about 2 hours. This resting period allows the yeast to activate and the gluten to develop.
- After the resting period, the dough should have risen and become bubbly. Lightly flour a clean surface and turn the dough out onto it. Gently shape the dough into a round loaf by folding it over itself a few times, being careful not to deflate it too much.
- Prepare your Dutch oven by placing it over the campfire or on a grill grate. If using a campfire, ensure the coals are hot and evenly distributed. Allow the Dutch oven to preheat for about 15 minutes.
- While the Dutch oven is heating, let the shaped dough rise for another 30 minutes, covered with a towel to prevent it from drying out.
- Once the dough has risen, carefully remove the preheated Dutch oven from the fire using heat-resistant gloves. If desired, you can sprinkle a little flour or cornmeal on the bottom to prevent sticking.
- Gently place the dough into the hot Dutch oven. You can score the top with a sharp knife to allow steam to escape and create a beautiful crust.
- Cover the Dutch oven with its lid and return it to the campfire. Cook for approximately 30 minutes with the lid on, allowing the bread to steam and rise.
- After 30 minutes, carefully remove the lid and continue to bake the bread for an additional 15 minutes, or until the crust is golden brown and the bread sounds hollow when tapped on the bottom.
- Once done, carefully remove the Dutch oven from the fire and transfer the bread to a wire rack to cool for at least 15 minutes before slicing. This cooling period helps the texture set properly.
- Enjoy your freshly baked Dutch Oven Campfire Artisan Bread warm, with butter, olive oil, or your favorite spread!
Tips
- Use Fresh Ingredients: For the best flavor and texture, make sure your flour and yeast are fresh. Old ingredients can lead to disappointing results.
- Temperature Matters: Ensure that your water is at room temperature to help activate the yeast effectively. If it's too hot or too cold, it can hinder the rising process.
- Patience is Key: Allowing the dough to rest and rise is crucial for developing flavor and texture. Don’t rush through the resting periods!
- Preheat Your Dutch Oven: This step is essential for achieving that perfect crust. A hot Dutch oven will help create steam, which is vital for a crispy exterior.
- Keep It Covered: When letting the dough rise, cover it with a towel or plastic wrap to prevent it from drying out. This will help retain moisture and encourage a good rise.
- Experiment with Scoring: Scoring the top of your loaf not only looks beautiful but also allows steam to escape during baking, preventing the bread from bursting unexpectedly.
- Check for Doneness: To ensure your bread is fully baked, tap the bottom of the loaf; it should sound hollow. If it doesn’t, give it a few more minutes in the Dutch oven.
- Cool Before Slicing: Resist the temptation to slice into your bread right away! Letting it cool for at least 15 minutes helps set the texture and enhances the flavor.
Nutrition Facts
Calories: 120kcal
Carbohydrates: 25g
Protein: g
Fat: g
Saturated Fat: g
Cholesterol: 0mg