Looking for a fun and creative twist on breakfast that will delight both kids and adults? Say hello to "Egg Cups from Plastic Easter Eggs"! This whimsical recipe not only transforms ordinary ingredients into a delightful dish but also brings a playful element to your kitchen. Perfect for brunch gatherings or a festive holiday breakfast, these egg cups are as delicious as they are adorable. With just a few simple ingredients and a dash of creativity, you can whip up a batch of these tasty treats in no time. Ready to impress your family and friends? Let’s dive into this unique recipe that’s sure to be the highlight of your next meal!
Prep Time: 10 mins
Cook Time: 15 mins
Total Time: 25 mins
Cuisine: American
Serves: 12 egg cups
Ingredients
- 6 large eggs
- 1/2 cup milk
- 1/2 cup diced vegetables (bell peppers, spinach, etc.)
- 1/2 cup shredded cheese
- Salt and pepper to taste
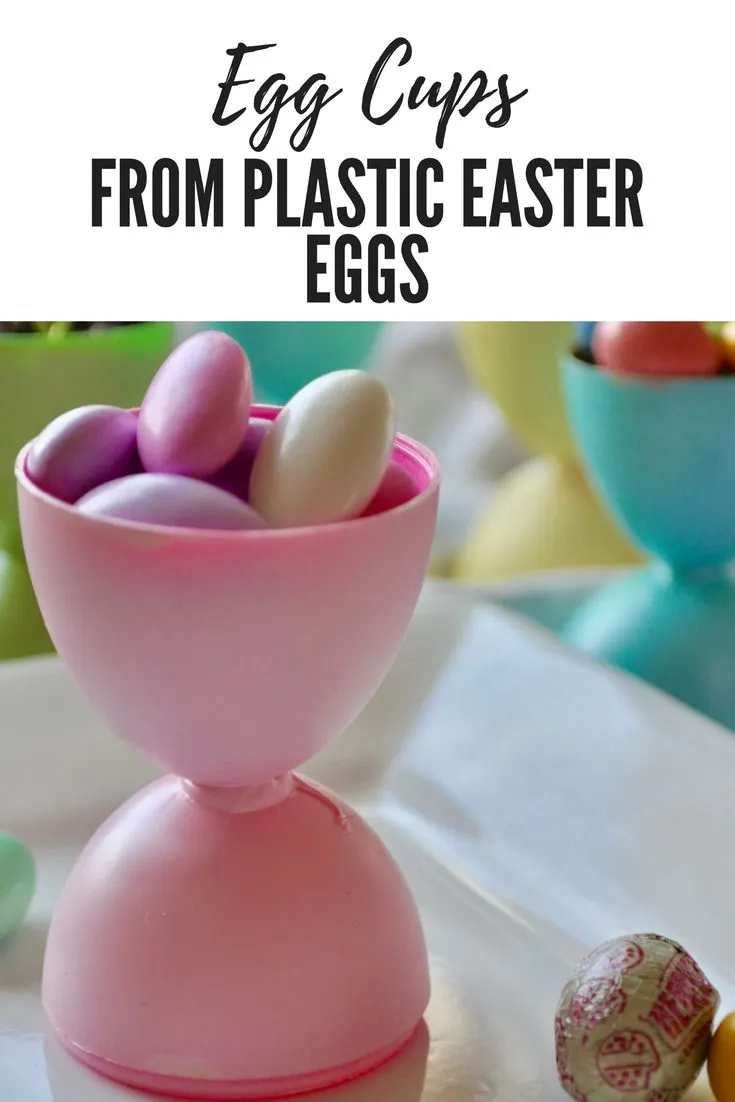
- Plastic Easter eggs (for baking)
Instructions
- Thoroughly wash and sanitize plastic Easter eggs, ensuring they are food-safe and heat-resistant. Lightly coat the inside of each egg with cooking spray or butter to prevent sticking.
- Preheat the oven to 375°F (190°C). Arrange the prepared plastic Easter eggs on a baking sheet, open side facing upward.
- In a large mixing bowl, crack the eggs and whisk them together with milk. Season with salt and pepper, mixing until well combined.
- Dice the selected vegetables into small, uniform pieces. Recommended vegetables include bell peppers, spinach, onions, or any preferred mix.
- Distribute the diced vegetables evenly among the plastic egg molds, filling approximately one-third of each cavity.
- Sprinkle shredded cheese over the vegetables in each egg mold, ensuring even coverage.
- Carefully pour the whisked egg and milk mixture into each plastic egg, filling to about 3/4 full to allow room for expansion during baking.
- Place the baking sheet with filled eggs into the preheated oven and bake for 12-15 minutes, or until eggs are set and slightly golden on top.
- Remove from oven and let cool for 2-3 minutes. Carefully remove egg cups from plastic molds using a spoon or small spatula.
- Serve warm and garnish with additional fresh herbs or a sprinkle of extra cheese if desired.
Tips
- Sanitize Your Eggs: Before you start, make sure to thoroughly wash and sanitize the plastic Easter eggs to ensure they are food-safe and heat-resistant. This step is crucial for a safe cooking experience!
- Use Cooking Spray: Lightly coat the inside of each plastic egg with cooking spray or butter to prevent the egg cups from sticking, making for an easy release after baking.
- Mix and Match Vegetables: Feel free to get creative with your vegetable choices! Bell peppers, spinach, onions, and even chopped herbs can add vibrant flavors and colors to your egg cups.
- Watch the Baking Time: Keep an eye on the egg cups as they bake. Depending on your oven, they might need a little less or more time. Look for a slightly golden top and a firm texture to know they’re ready.
- Cool Before Removing: After baking, let the egg cups cool for a couple of minutes. This makes them easier to remove from the molds without breaking.
- Garnish for Presentation: For an extra touch, garnish your egg cups with fresh herbs or an additional sprinkle of cheese before serving. This not only enhances the flavor but also makes for a beautiful presentation!
Nutrition Facts
Calories: 95kcal
Carbohydrates: 2g
Protein: 7g
Fat: 6g
Saturated Fat: 2g
Cholesterol: 185mg