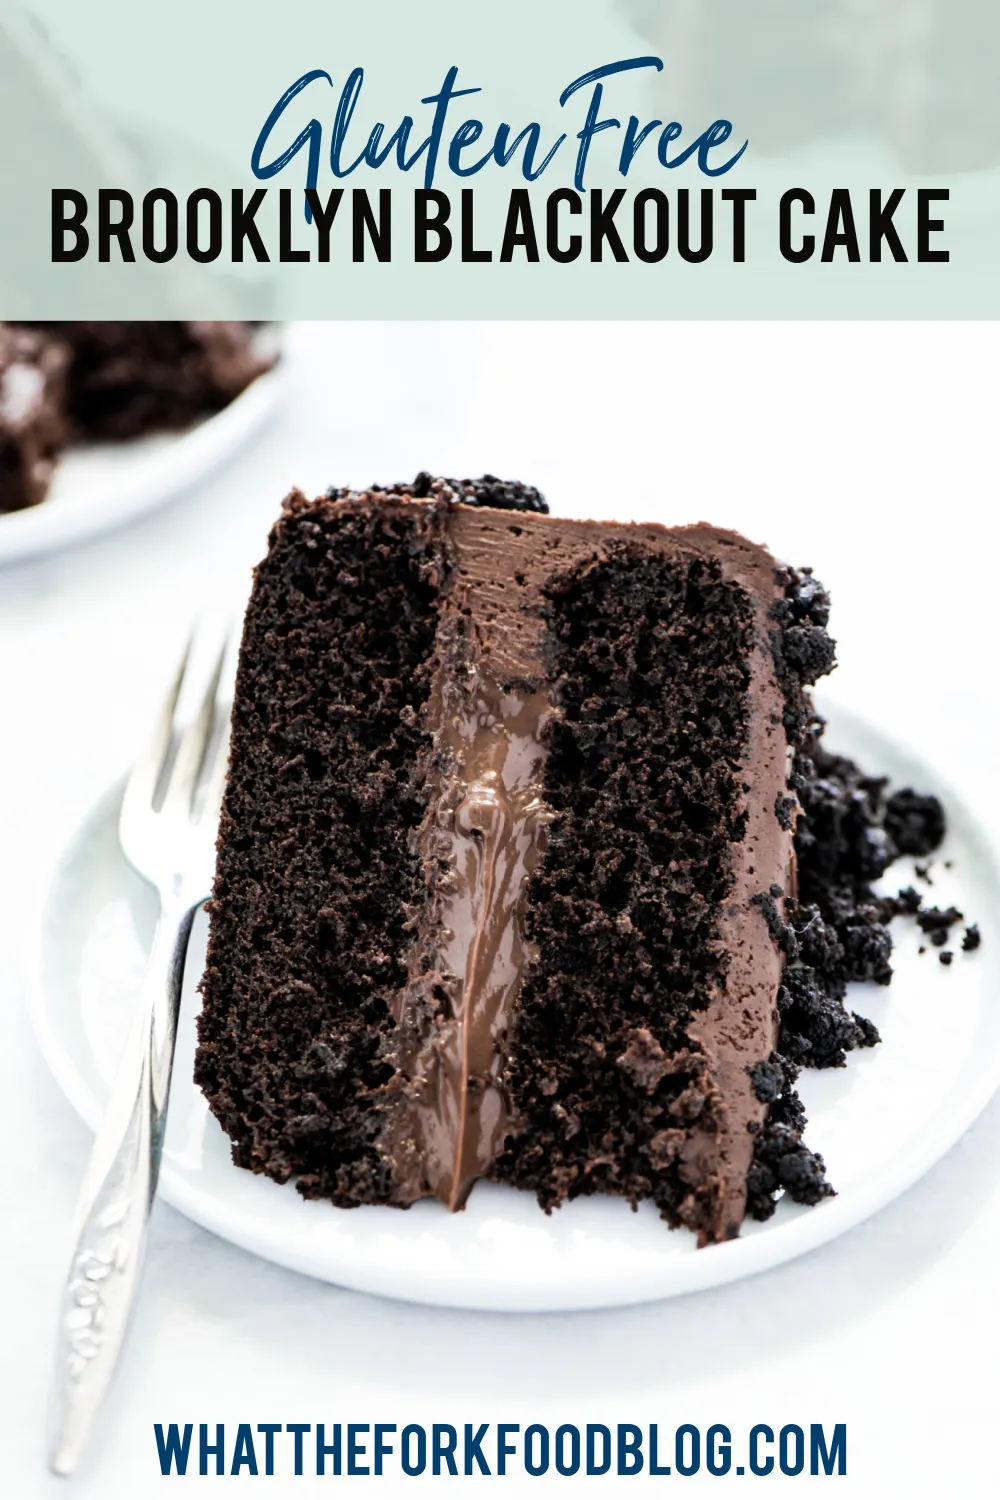
Get ready to experience a decadent chocolate explosion that will make your taste buds dance with joy! This gluten-free Brooklyn Blackout Cake is not just a dessert; it's a chocolate-packed adventure that proves dietary restrictions never mean compromising on flavor. Imagine a rich, moist chocolate cake so intense and luxurious that no one would ever guess it's gluten-free. Whether you're celiac, gluten-sensitive, or simply a chocolate enthusiast looking for an incredible dessert, this recipe is about to become your new obsession.
Prep Time: 30 mins
Cook Time: 30 mins
Total Time: 60 mins
Cuisine: American
Serves: 12 servings
Ingredients
- 1 cup gluten-free all-purpose flour
- 1 cup granulated sugar
- 1/2 cup unsweetened cocoa powder
- 1 teaspoon baking soda
- 1/2 teaspoon salt
- 1/2 cup unsalted butter, softened
- 2 large eggs
- 1 teaspoon vanilla extract
- 1 cup buttermilk
- 1 cup chocolate pudding mix
Instructions
- Preheat the oven to 350°F (175°C). Grease and line two 9-inch round cake pans with parchment paper, ensuring the sides are also lightly buttered to prevent sticking.
- In a large mixing bowl, sift together the gluten-free all-purpose flour, cocoa powder, baking soda, and salt. This helps remove any lumps and ensures even distribution of dry ingredients.
- In a separate large bowl, use an electric mixer to cream the softened butter and granulated sugar together until light and fluffy, approximately 3-4 minutes. The mixture should be pale and increase in volume.
- Add eggs one at a time to the butter-sugar mixture, beating well after each addition. Mix in the vanilla extract until fully incorporated.
- Gradually alternate adding the dry ingredient mixture and buttermilk to the wet ingredients, mixing on low speed. Begin and end with the dry ingredients, mixing just until combined to avoid overmixing.
- Fold in the chocolate pudding mix gently, ensuring it's evenly distributed throughout the batter.
- Divide the batter equally between the prepared cake pans, smoothing the tops with a spatula to ensure even baking.
- Bake in the preheated oven for 25-30 minutes, or until a toothpick inserted into the center comes out clean with just a few moist crumbs.
- Remove from the oven and let the cakes cool in the pans for 10 minutes, then turn out onto a wire rack to cool completely.
- Once cooled, prepare your favorite gluten-free chocolate frosting and assemble the cake by layering and covering with frosting. For a traditional Blackout Cake, crumble some cake crumbs and press them into the frosting's exterior.
- Refrigerate the cake for at least 1 hour before serving to allow the flavors to meld and the frosting to set.
Tips
- Always sift your gluten-free flour and cocoa powder to prevent lumps and ensure a smooth, even texture.
- Use room temperature ingredients, especially eggs and butter, to help them blend more smoothly and create a more consistent batter.
- Be careful not to overmix the batter, as gluten-free flours can become tough when overworked. Mix just until ingredients are combined.
- Check your cake's doneness with a toothpick - a few moist crumbs are perfect, but wet batter means it needs more time.
- Allow the cake to cool completely before frosting to prevent the frosting from melting and sliding off.
- For an extra indulgent touch, toast your cake crumbs before pressing them onto the frosted cake for added depth of flavor and crunch.
- Store the cake in the refrigerator to help the frosting set and keep the texture moist and fresh.
Nutrition Facts
Calories: 380kcal
Carbohydrates: 45g
Protein: 5g
Fat: 22g
Saturated Fat: 13g
Cholesterol: 95mg