Are you ready to transform your breakfast routine with a delightful homemade twist? Say goodbye to store-bought cereals packed with additives and hello to your very own Vegan Homemade Bran Flakes Cereal! This wholesome recipe is not only easy to make but also bursting with flavor, thanks to the natural sweetness of maple syrup and the aromatic touch of cinnamon. In just 45 minutes, you can whip up a batch that serves six, perfect for busy mornings or a healthy snack any time of day. Get ready to impress your family and kickstart your day with a crunchy, nutritious bowl of goodness that you can feel good about!
Prep Time: 15 mins
Cook Time: 30 mins
Total Time: 45 mins
Cuisine: Vegan
Serves: 6 servings
Ingredients
- 2 cups wheat bran
- 1 cup whole wheat flour
- 1/4 cup maple syrup
- 1 cup water
- 1/2 tsp salt
- 1 tsp cinnamon
- 1/4 cup raisins (optional)
Instructions
- Preheat the oven to 350°F (175°C) and line a large baking sheet with parchment paper.
- In a large mixing bowl, combine wheat bran, whole wheat flour, salt, and ground cinnamon. Mix the dry ingredients thoroughly to ensure even distribution.
- In a separate bowl, whisk together water and maple syrup until well combined.
- Pour the liquid mixture into the dry ingredients and stir until a thick, sticky dough forms. If using raisins, fold them into the mixture at this point.
- Transfer the dough onto the prepared parchment-lined baking sheet and use a rolling pin to spread it extremely thin, almost translucent (about 1/8 inch thickness).
- Use a pizza cutter or knife to score the dough into small rectangular shapes, which will help create clean break lines after baking.
- Bake in the preheated oven for 25-30 minutes, rotating the baking sheet halfway through to ensure even browning.
- Remove from oven when the edges are crisp and the center is dry and golden brown.
- Allow the baked bran flakes to cool completely on the baking sheet, which will help them become extra crispy.
- Once cooled, break along the scored lines into individual flakes and store in an airtight container for up to 1 week.
Tips
- Prep Ahead: To save time during your busy mornings, consider making a double batch and storing some in an airtight container. These homemade bran flakes stay fresh for up to a week!
- Customize Your Flakes: Feel free to experiment with add-ins like nuts, seeds, or dried fruits to tailor the flavor and texture to your liking. Almonds or dried cranberries can add a delightful crunch and sweetness!
- Perfect Thickness: When rolling out the dough, aim for a thickness of about 1/8 inch. This ensures that your flakes are crispy and not too chewy once baked.
- Watch the Oven: Keep an eye on your bran flakes as they bake. Ovens can vary, so check for a golden-brown color and crisp edges around the 25-minute mark to avoid over-baking.
- Cool Completely: Allow your baked flakes to cool completely on the baking sheet. This step is crucial for achieving that perfect crunch, so be patient!
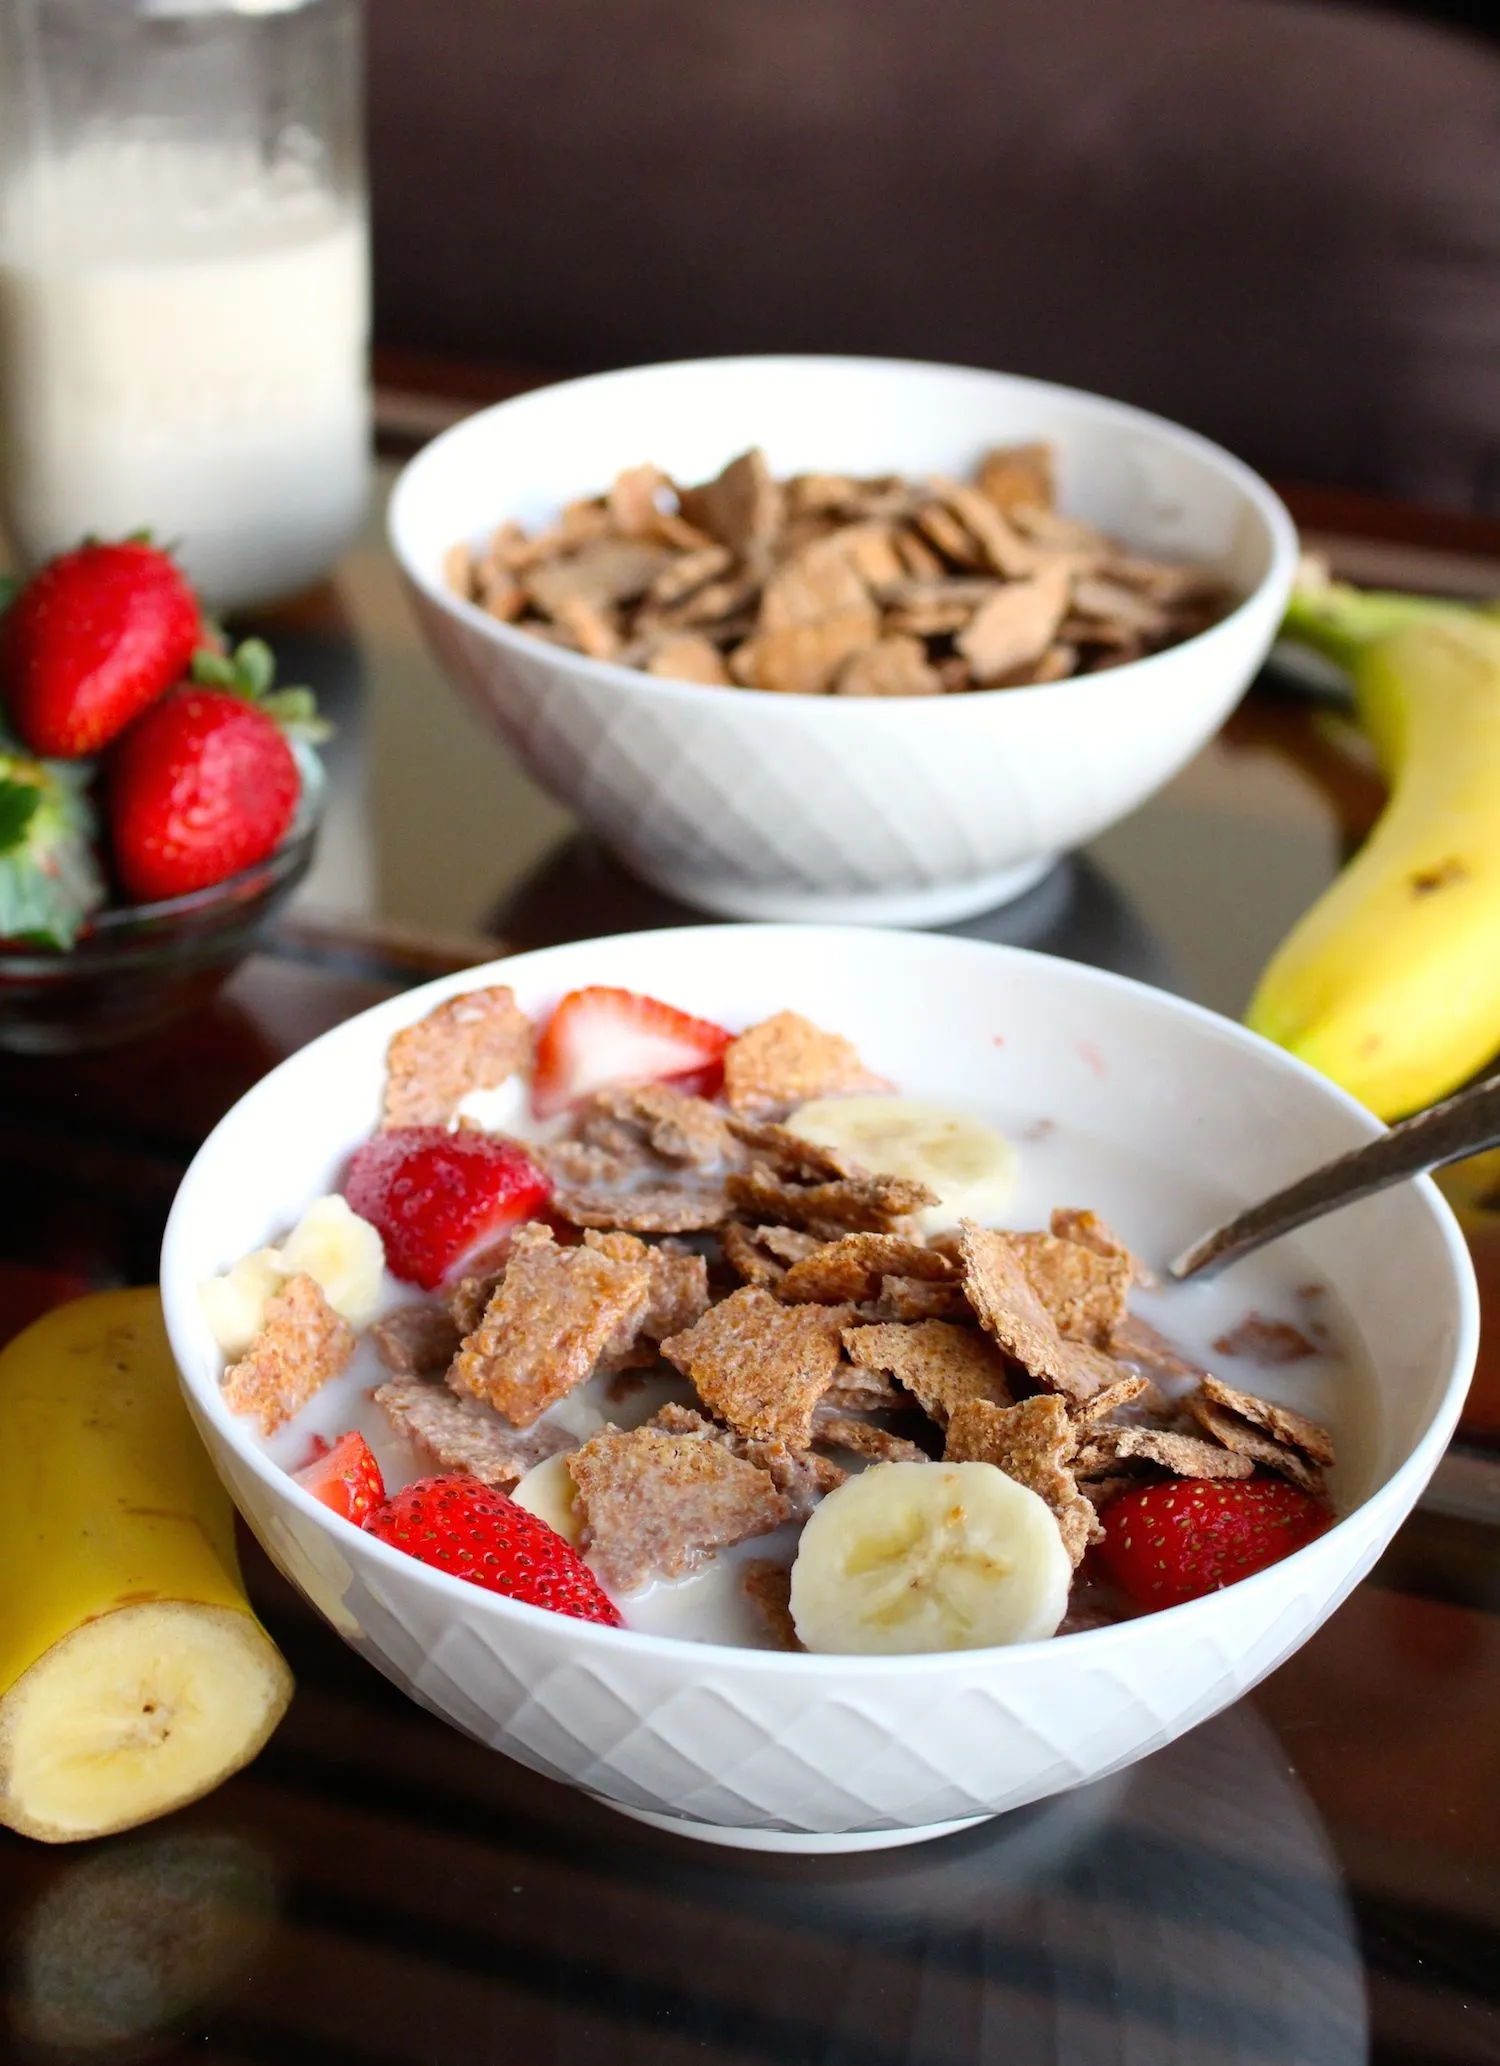
- Serve with Style: Enjoy your homemade bran flakes with your favorite plant-based milk, topped with fresh fruit, or even mixed into yogurt for a delicious breakfast or snack.
Nutrition Facts
Calories: 140kcal
Carbohydrates: 30g
Protein: 5g
Fat: g
Saturated Fat: g
Cholesterol: 0mg