Imagine a spread so irresistible that it transforms your ordinary toast into a gourmet experience, a homemade chocolate peanut butter that's not just a condiment, but a culinary masterpiece you can create in just 15 minutes! Forget store-bought spreads with mysterious ingredients – this recipe will empower you to craft a rich, creamy, and utterly delicious treat that will have your taste buds dancing and your family begging for more. Whether you're a health-conscious foodie or a dessert lover looking for a guilt-free indulgence, this recipe is about to become your new obsession!
Prep Time: 5 mins
Cook Time: 10 mins
Total Time: 15 mins
Cuisine: American
Serves: 1 cup
Ingredients
- 1 cup peanuts
- 2 tablespoons cocoa powder
- 2 tablespoons honey or maple syrup
- 1 tablespoon vanilla extract
- 1/4 teaspoon salt
Instructions
- Begin by gathering all your ingredients: 1 cup of peanuts, 2 tablespoons of cocoa powder, 2 tablespoons of honey or maple syrup, 1 tablespoon of vanilla extract, and 1/4 teaspoon of salt.
- Place the peanuts in a food processor. If you prefer a smoother texture, you can lightly roast the peanuts in a skillet over medium heat for about 5 minutes, stirring frequently. Allow them to cool slightly before processing.
- Process the peanuts in the food processor for about 3-5 minutes until they start to break down and form a creamy peanut butter consistency. You may need to scrape down the sides of the bowl occasionally to ensure even blending.
- Once the peanuts have reached a creamy texture, add the cocoa powder, honey or maple syrup, vanilla extract, and salt to the food processor.
- Continue to process the mixture for another 2-3 minutes. This will help incorporate all the ingredients and create a smooth, creamy chocolate peanut butter. Taste the mixture and adjust sweetness or cocoa according to your preference.
- If the mixture is too thick, you can add a small amount of neutral oil (such as peanut oil or coconut oil) to achieve your desired consistency. Blend again until smooth.
- Once you have achieved the desired consistency and flavor, transfer the chocolate peanut butter to a clean jar or airtight container.
- Allow the chocolate peanut butter to cool to room temperature before sealing the jar. Store it in the refrigerator for up to two weeks.
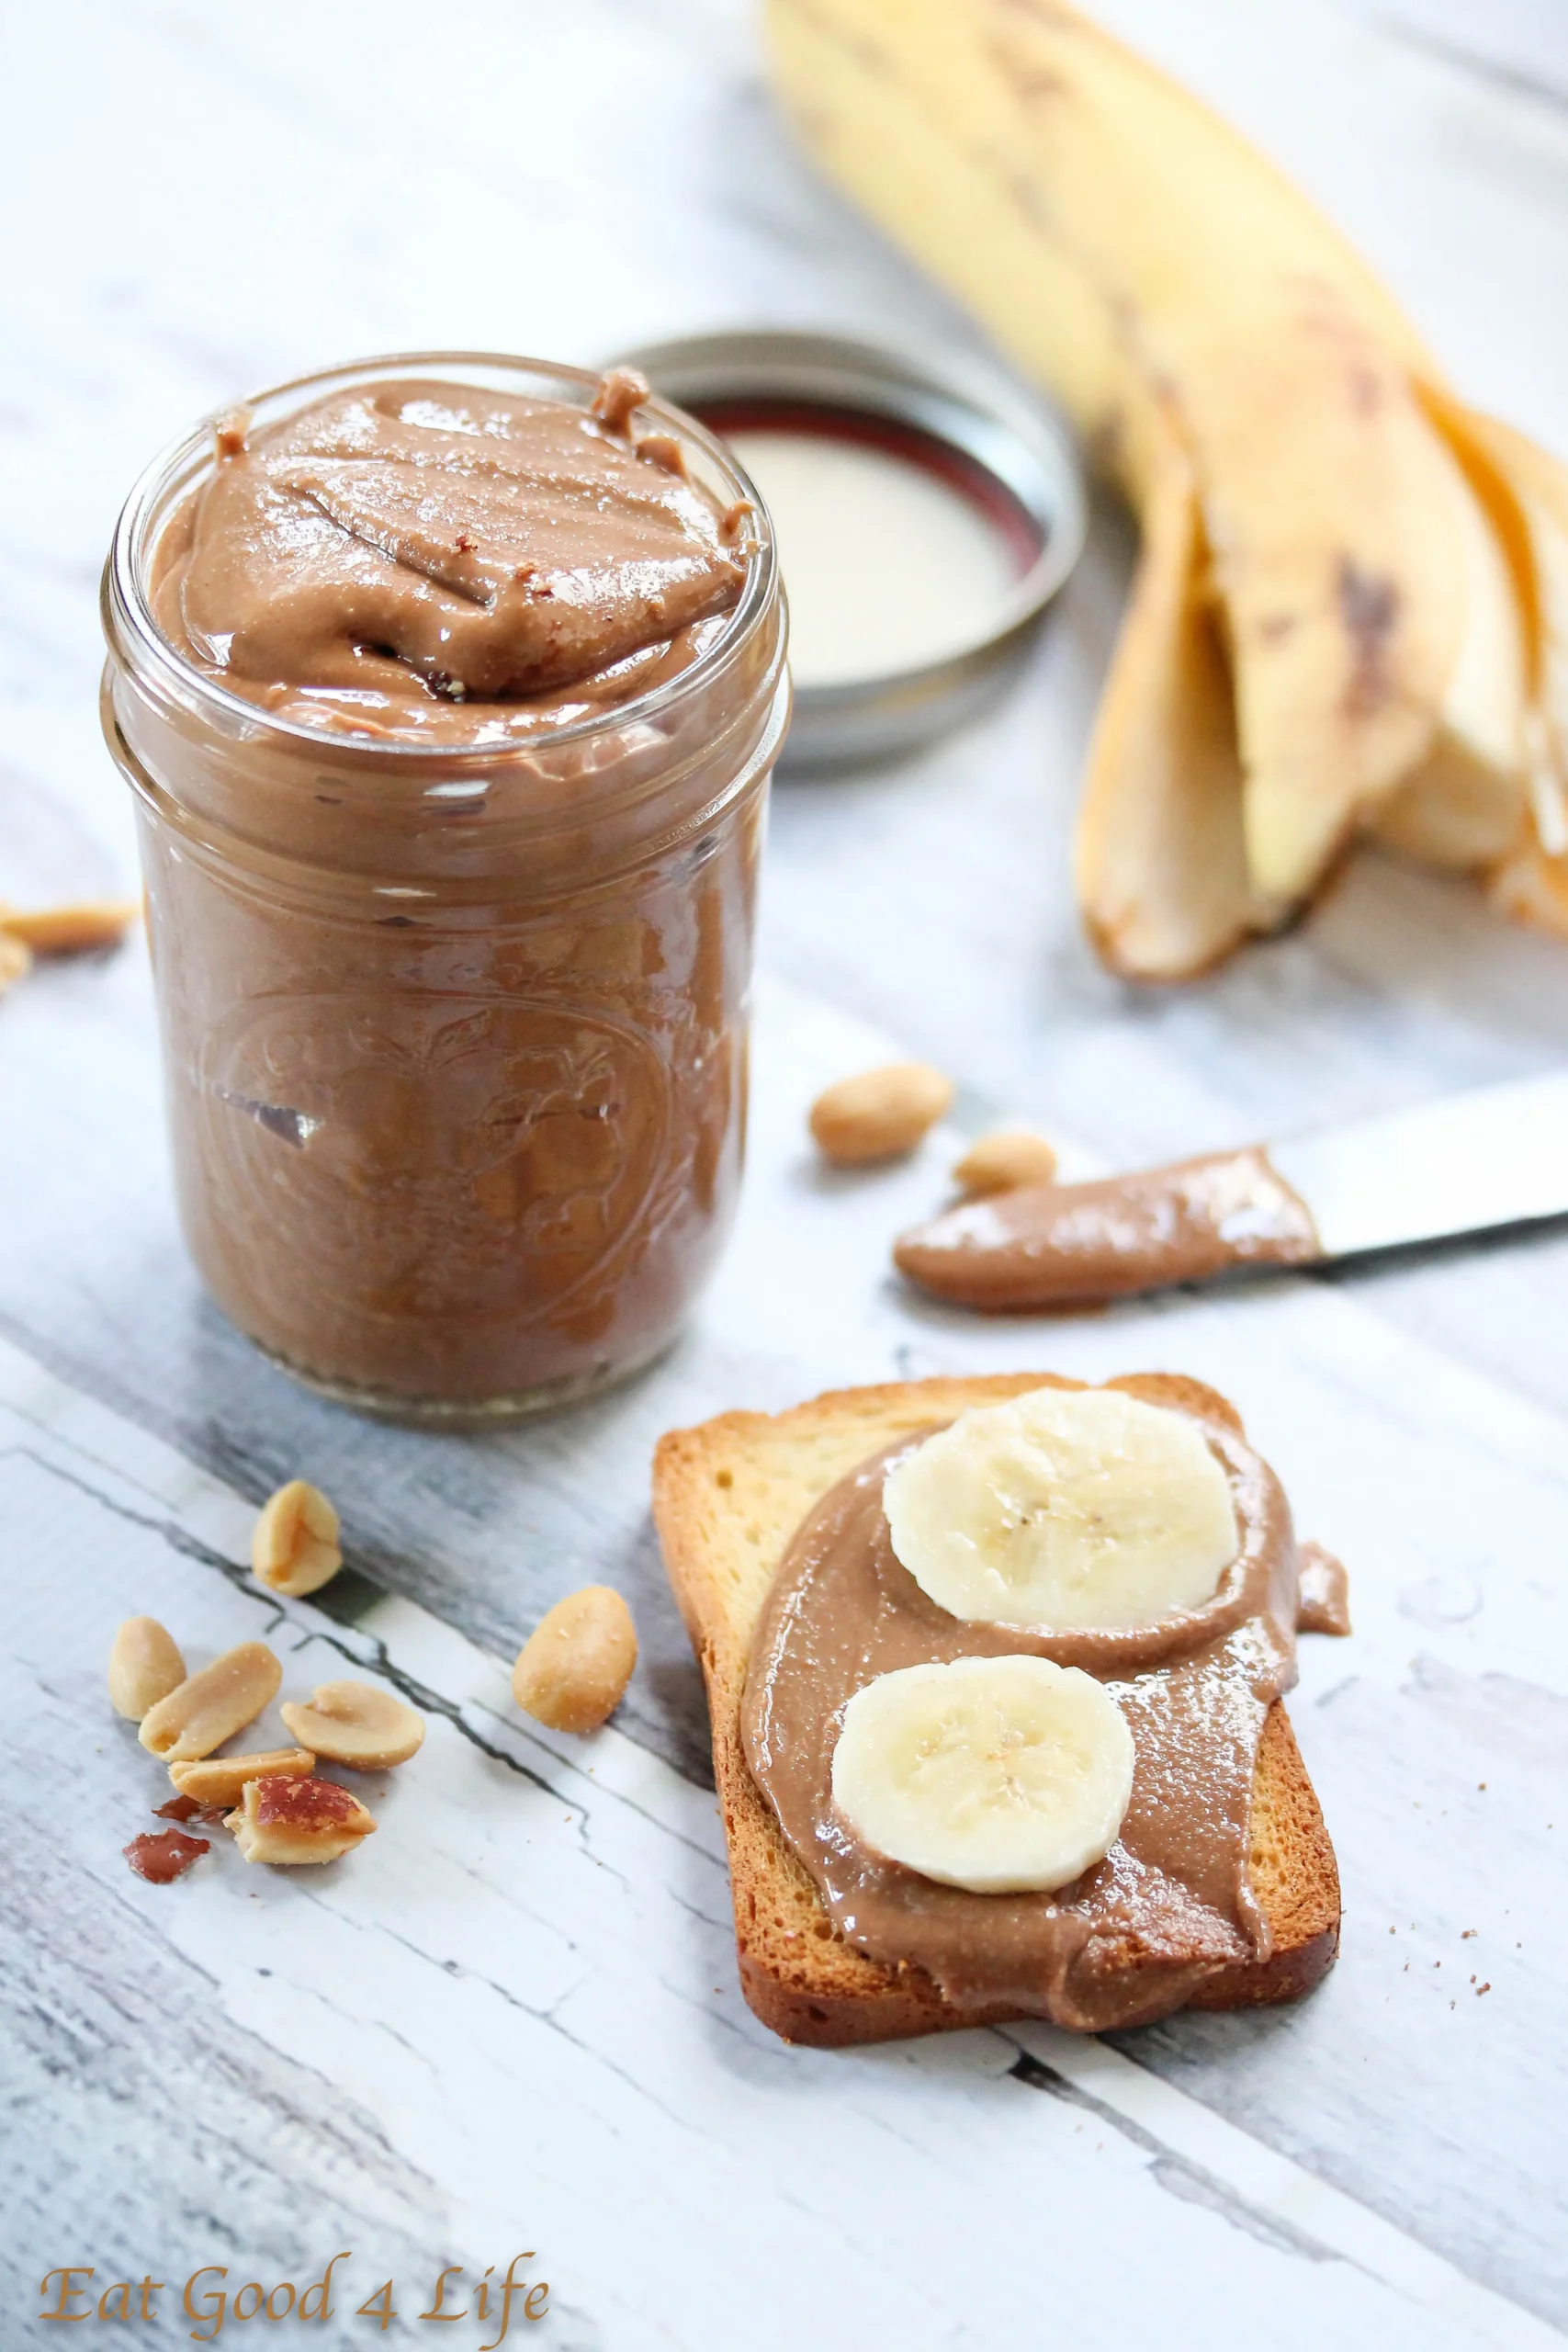
- Enjoy your homemade chocolate peanut butter spread on toast, in smoothies, or straight from the jar!
Tips
- Roasting Matters: Lightly toasting your peanuts before processing can enhance their natural flavor and create a deeper, nuttier profile.
- Texture Control: If you prefer a smoother consistency, process the peanuts longer and consider adding a small amount of neutral oil.
- Sweetness Adjustment: Start with less honey or maple syrup and taste as you go. You can always add more, but you can't take it away!
- Storage Hack: For the best texture and flavor, store your homemade chocolate peanut butter in an airtight container in the refrigerator.
- Customization is Key: Feel free to experiment with different types of nuts or adjusting the cocoa-to-sweetener ratio to suit your personal taste.
- Clean as You Go: Wipe down the food processor sides periodically to ensure all ingredients are evenly incorporated.
Nutrition Facts
Calories: 190kcal
Carbohydrates: 8g
Protein: 7g
Fat: 16g
Saturated Fat: g
Cholesterol: 0mg