Imagine biting into a decadent, perfectly crafted pumpkin-shaped treat that combines the irresistible flavors of creamy peanut butter and rich chocolate - all with a festive Halloween twist! These Homemade Reese's Peanut Butter Cup Pumpkins are not just a dessert; they're an experience that will transport you back to childhood memories of trick-or-treating and sweet indulgences. Whether you're looking to impress your friends at a Halloween party or simply craving a delightful homemade treat, these adorable pumpkin-shaped delights are guaranteed to make your taste buds dance with joy!
Prep Time: 15 mins
Cook Time: 10 mins
Total Time: 25 mins
Cuisine: American
Serves: 12 pumpkins
Ingredients
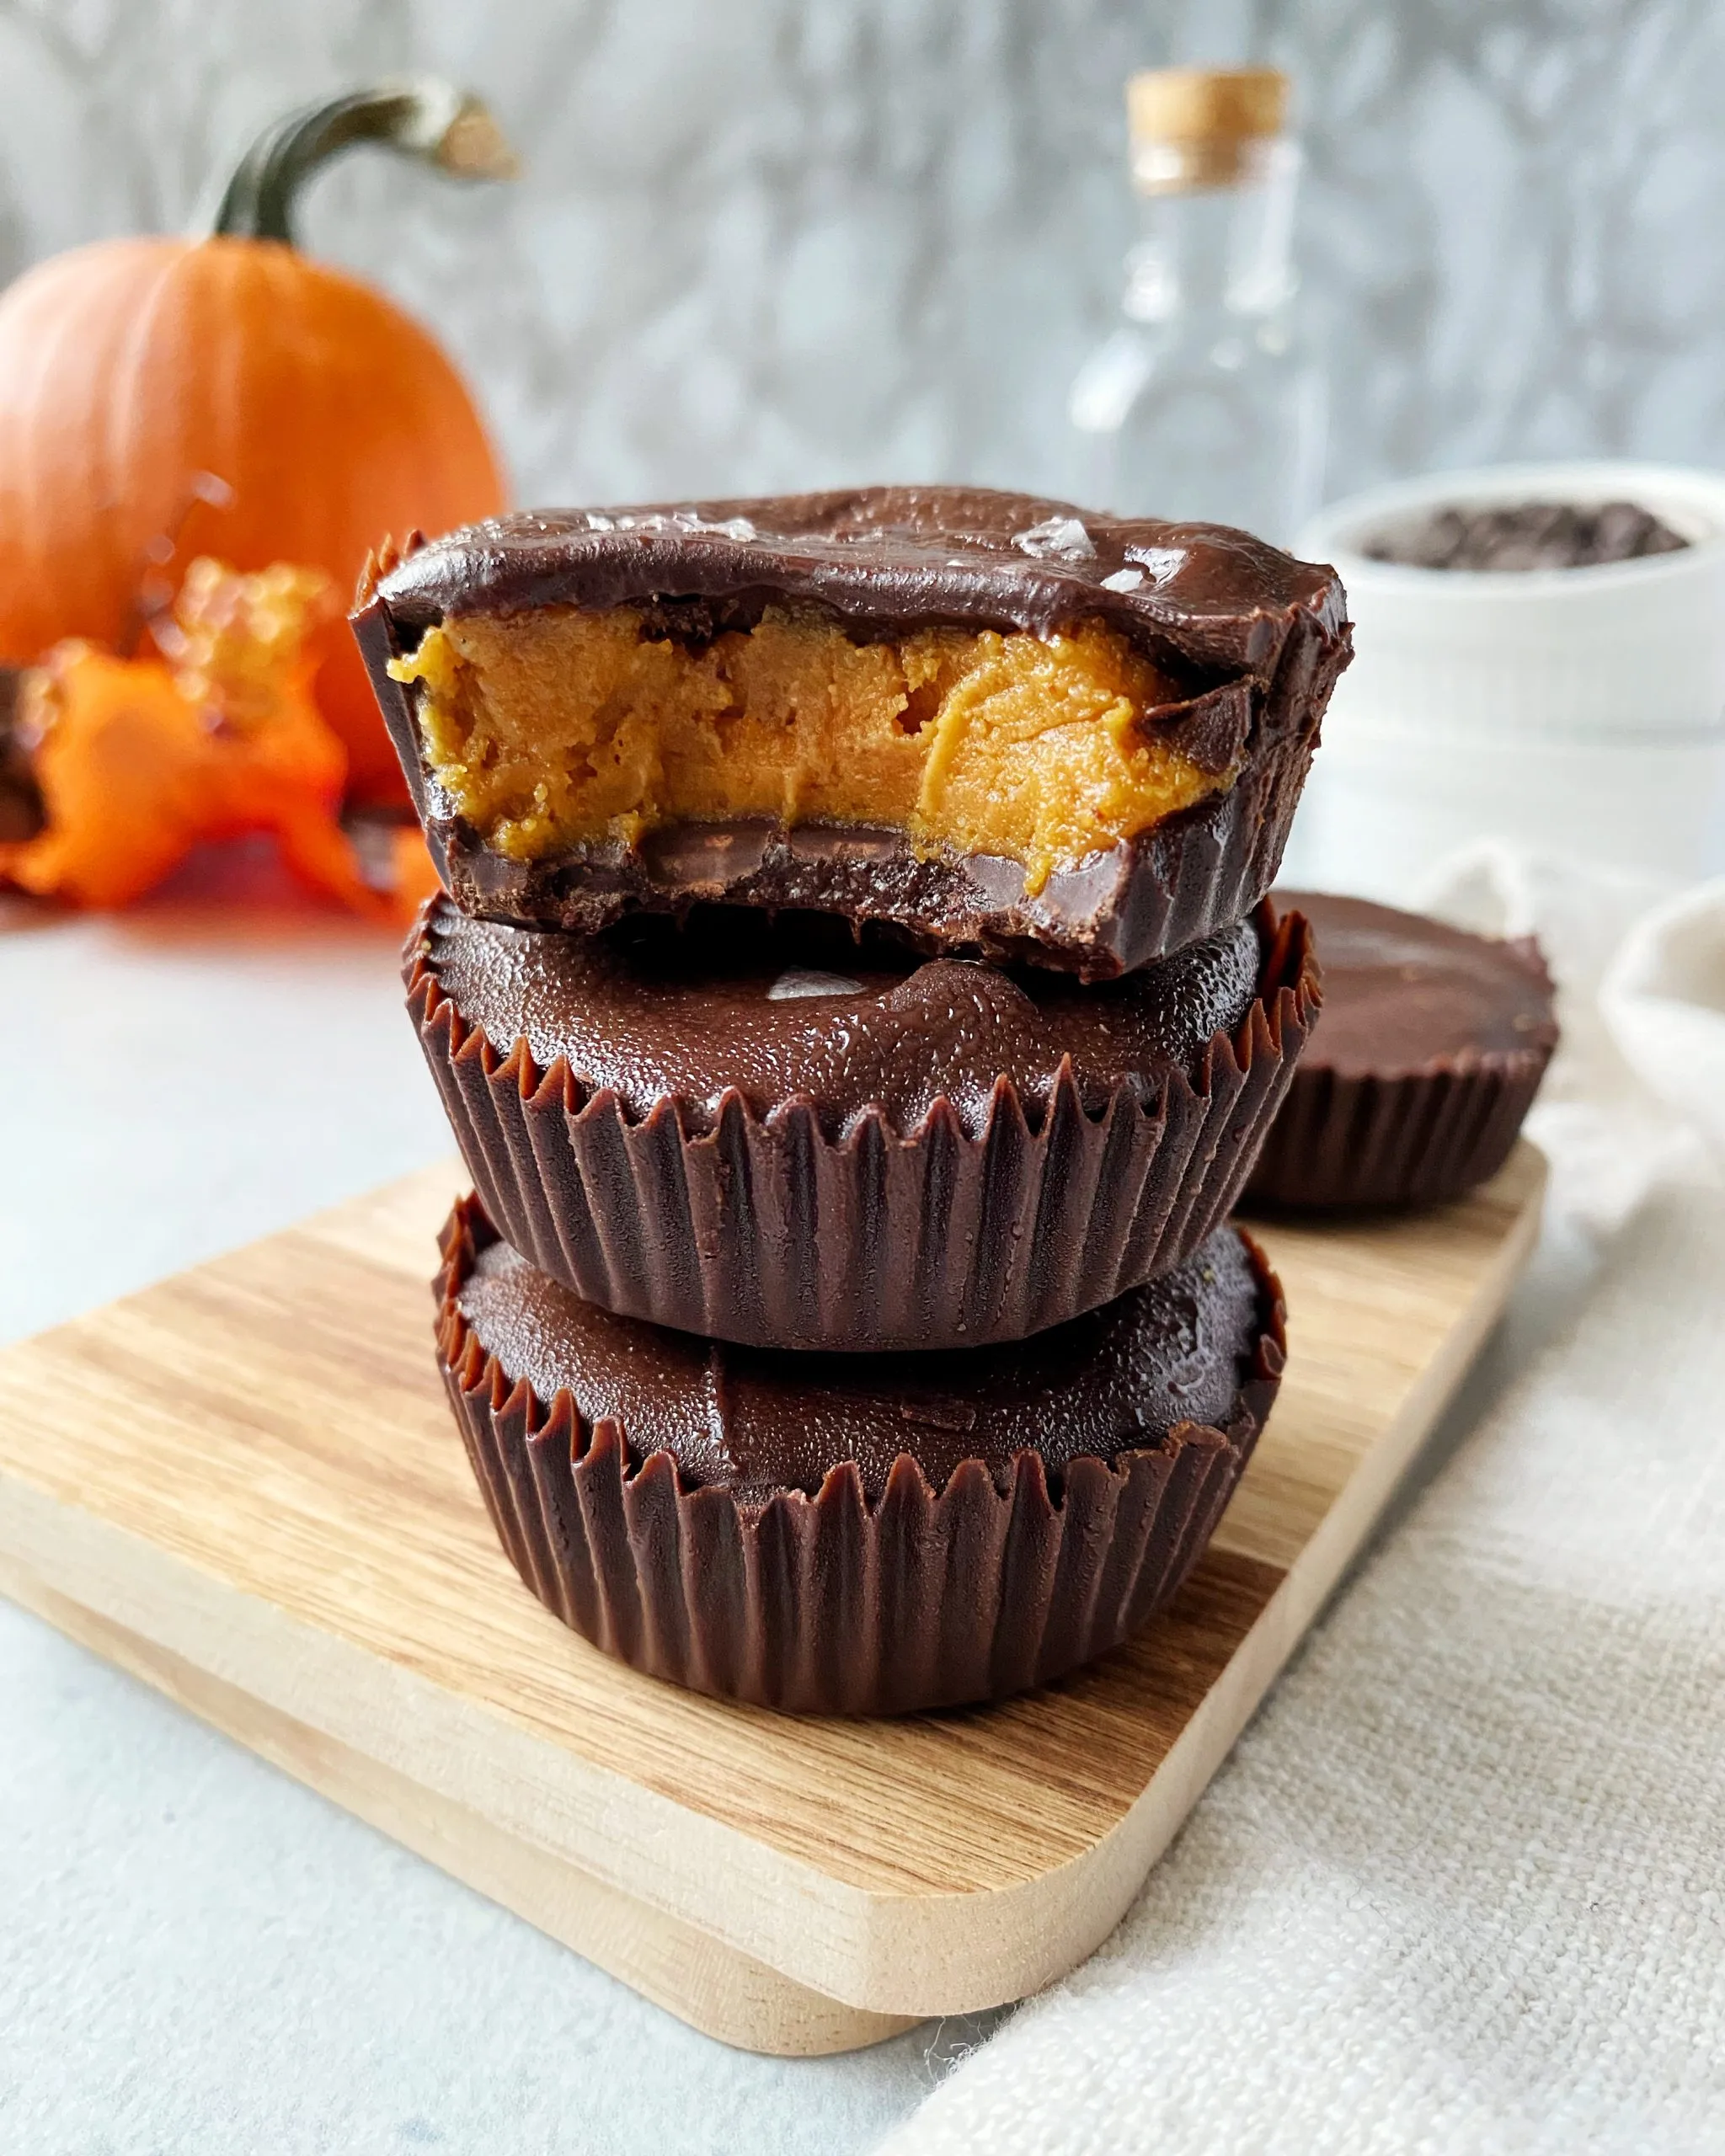
- 1 cup creamy peanut butter
- 1/2 cup powdered sugar
- 1 cup milk chocolate chips
- 1 tablespoon coconut oil
- Orange food coloring
- Green candy melts for stems
Instructions
- In a medium-sized mixing bowl, combine 1 cup of creamy peanut butter and 1/2 cup of powdered sugar. Stir until the mixture is smooth and well-combined. The consistency should be thick but pliable.
- Using your hands, scoop out small portions of the peanut butter mixture and roll them into balls, about 1 inch in diameter. Flatten each ball slightly to create a pumpkin shape. Place the formed pumpkins on a parchment-lined baking sheet.
- Once all the peanut butter pumpkins are shaped, place the baking sheet in the freezer for about 10 minutes to firm them up. This will make them easier to coat in chocolate.
- While the pumpkins are chilling, prepare the chocolate coating. In a microwave-safe bowl, combine 1 cup of milk chocolate chips and 1 tablespoon of coconut oil. Microwave in 30-second intervals, stirring in between, until the chocolate is completely melted and smooth.
- Add a few drops of orange food coloring to the melted chocolate and stir until the color is evenly distributed. Adjust the amount of food coloring until you achieve your desired shade of orange.
- Remove the peanut butter pumpkins from the freezer. Dip each pumpkin into the orange chocolate mixture, ensuring they are fully coated. Use a fork to lift them out, allowing any excess chocolate to drip off before placing them back on the parchment-lined baking sheet.
- Once all the pumpkins are coated, melt the green candy melts according to package instructions. Use a piping bag or a toothpick to add small green stems to the top of each pumpkin.
- Let the chocolate coating set at room temperature or place the baking sheet back in the refrigerator for about 10 minutes to speed up the hardening process.
- Once the chocolate has fully set, your Homemade Reese's Peanut Butter Cup Pumpkins are ready to be enjoyed! Store any leftovers in an airtight container at room temperature or in the refrigerator.
Tips
- Chill is Key: Always freeze your peanut butter shapes before coating to ensure a smooth, even chocolate coverage.
- Chocolate Coating Trick: Add coconut oil to your melted chocolate for a glossy, professional-looking finish that prevents cracking.
- Food Coloring Wisdom: Add orange food coloring gradually to achieve your desired pumpkin shade - a little goes a long way!
- Stem Strategy: Use a small piping bag or toothpick for precise green candy melt stems to make your pumpkins look professionally decorated.
- Storage Secrets: Store these treats in an airtight container at room temperature for up to a week, or refrigerate for extended freshness.
- Make-Ahead Magic: You can prepare these pumpkins in advance and freeze them for up to two weeks, making party prep a breeze!
Nutrition Facts
Calories: 250kcal
Carbohydrates: 18g
Protein: 5g
Fat: 18g
Saturated Fat: 9g
Cholesterol: 5mg