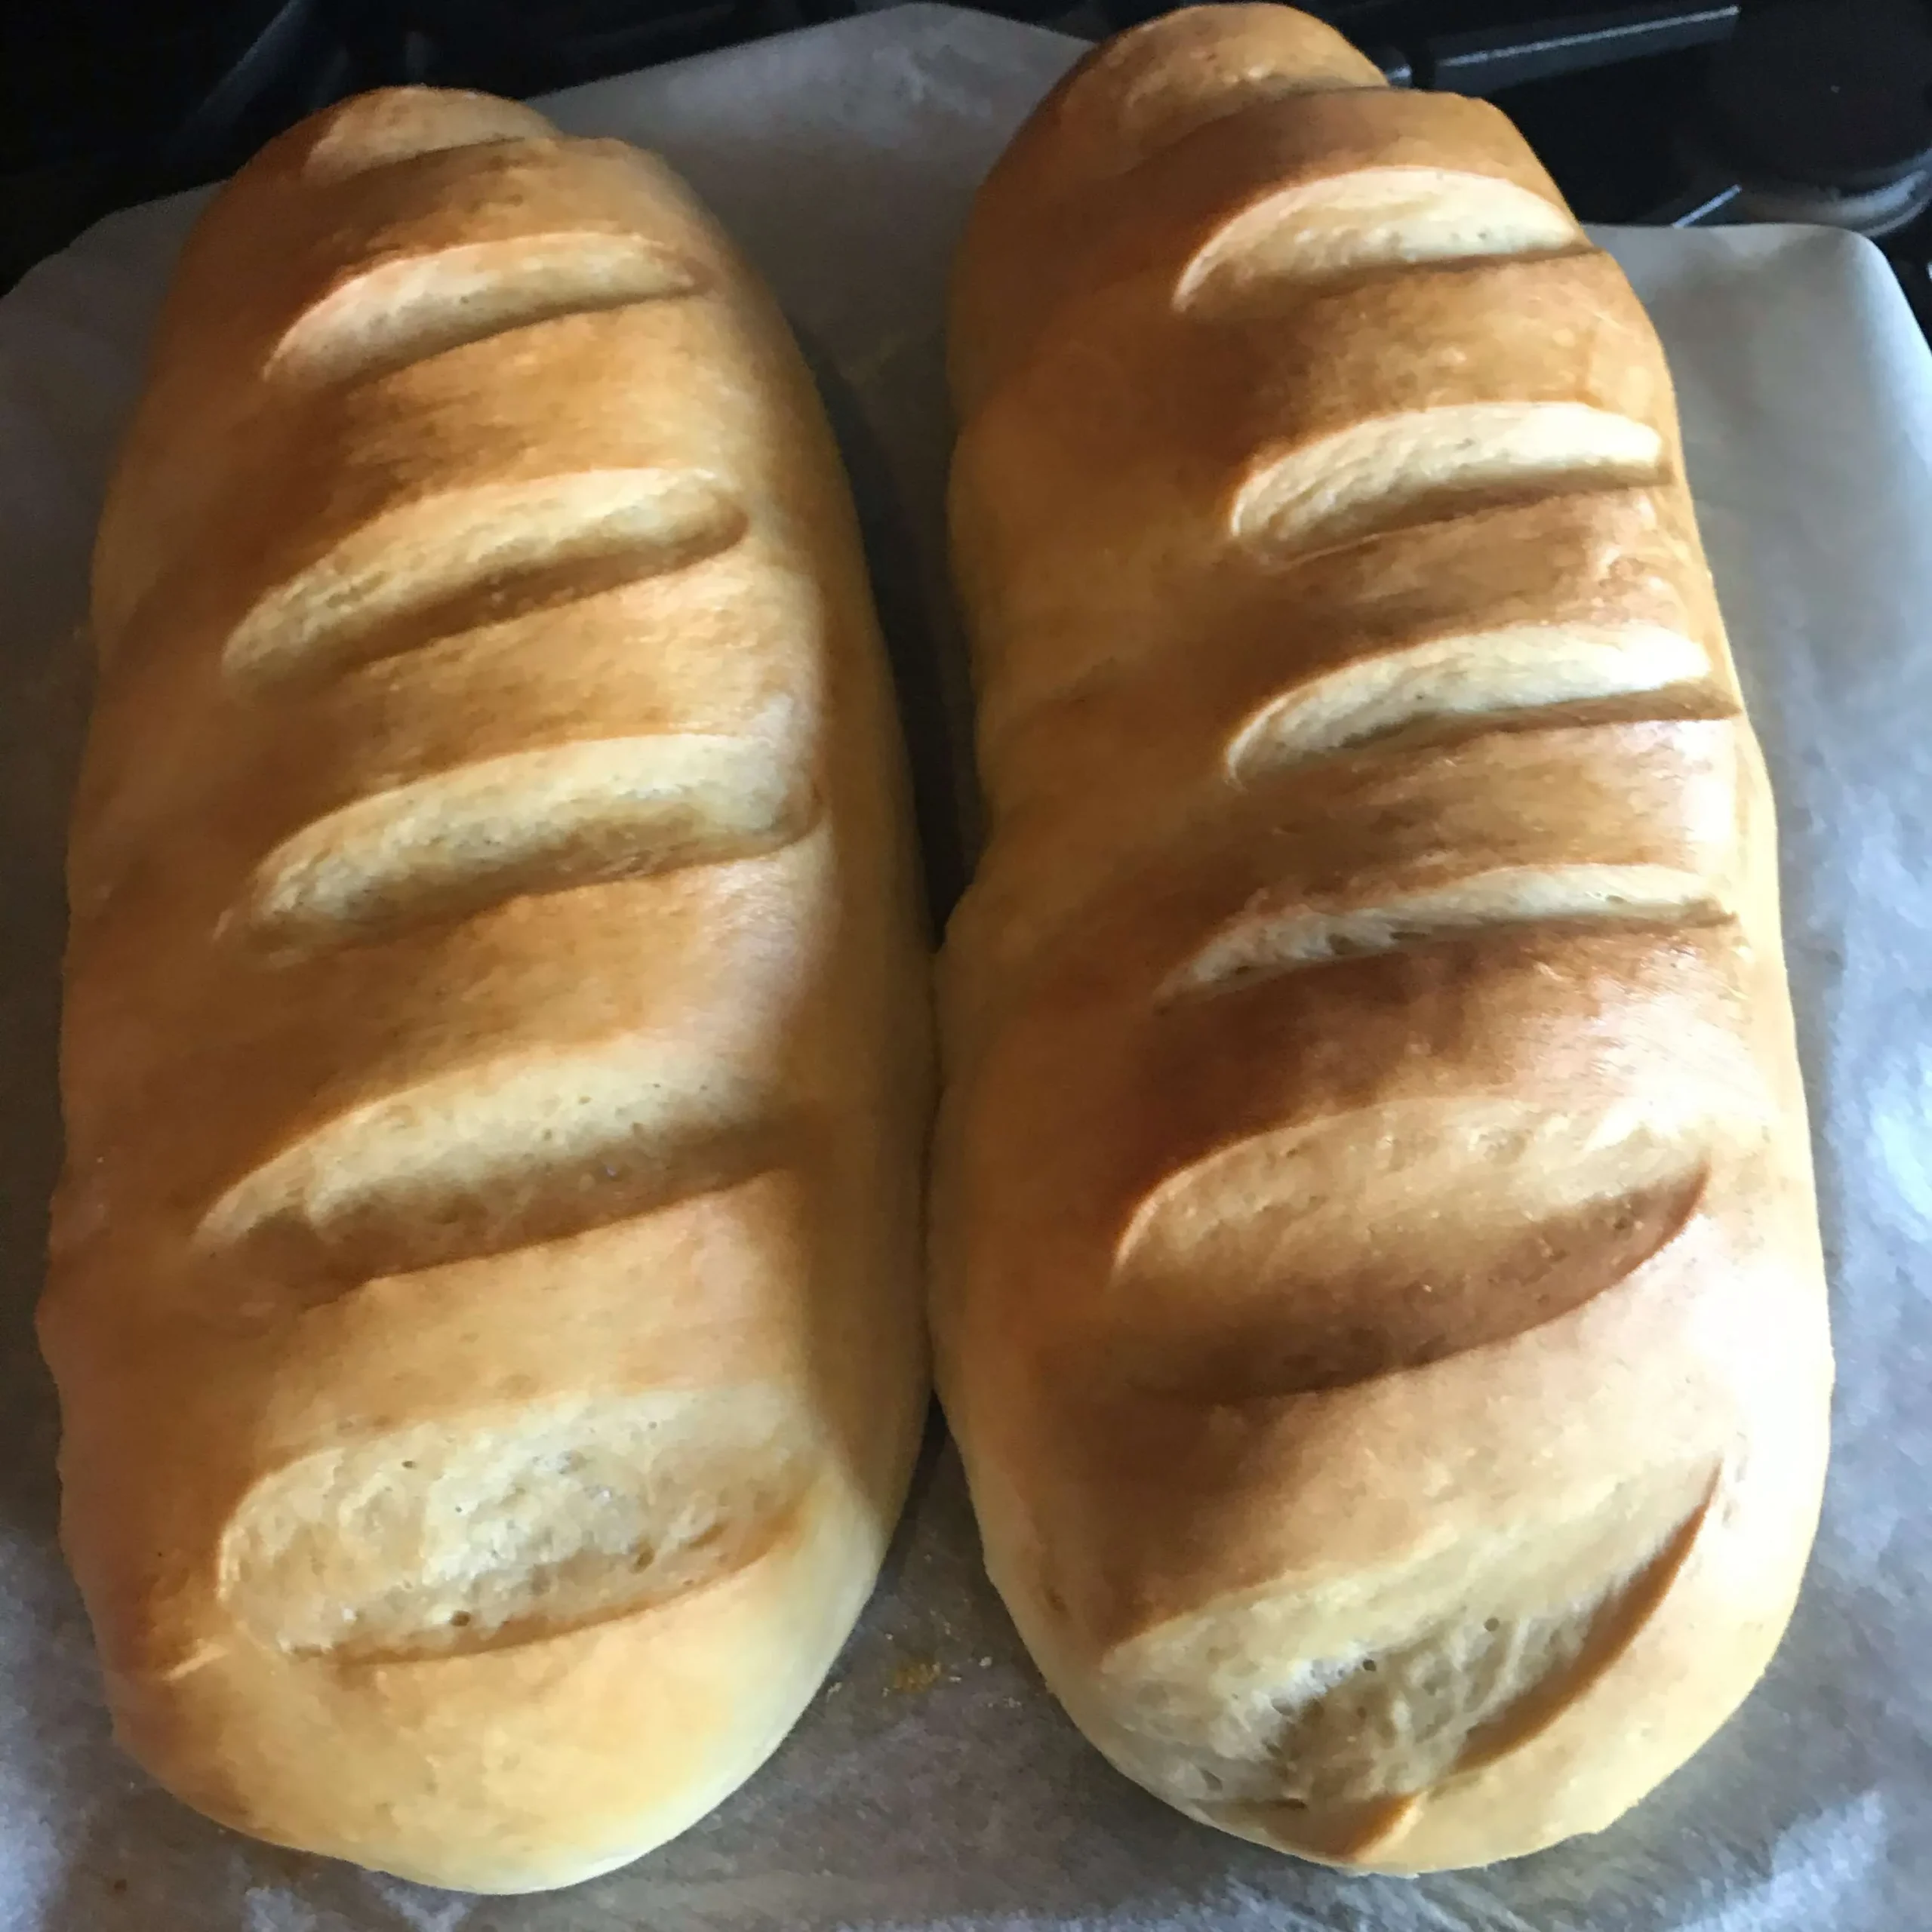
Imagine the irresistible aroma of freshly baked Italian bread filling your kitchen, with a golden crust and soft, pillowy interior that transports you straight to the heart of Italy. No need to be a professional baker or spend hours kneading dough - this foolproof bread machine recipe will have you creating restaurant-quality Italian bread with minimal effort. Get ready to impress your family and friends with a homemade loaf that's so delicious, they'll think you trained in a traditional Italian bakery!
Prep Time: 10 mins
Cook Time: 3 hrs
Total Time: 3 hrs 10 mins
Cuisine: Italian
Serves: 1 loaf
Ingredients
- 1 cup warm water
- 2 tablespoons olive oil
- 4 cups bread flour
- 1 tablespoon sugar
- 1 teaspoon salt
- 1 tablespoon active dry yeast
Instructions
- In a small bowl, combine warm water and active dry yeast. Let the mixture sit for about 5 minutes until it becomes slightly foamy, indicating the yeast is activated.
- In the bread machine pan, add the warm water and yeast mixture, then pour in the olive oil to help distribute the liquid evenly.
- In a separate mixing bowl, combine bread flour, sugar, and salt. Mix these dry ingredients thoroughly to ensure even distribution.
- Carefully add the dry ingredient mixture to the bread machine pan on top of the liquid ingredients, creating a slight well in the center of the flour.
- Place the bread machine pan into the bread machine, ensuring it is securely seated and locked into position.
- Select the basic bread setting on your bread machine, typically a medium crust setting for Italian bread.
- Close the lid and start the bread machine. Allow the machine to complete its full cycle, which typically takes approximately 3 hours.
- Once the baking cycle is complete, carefully remove the bread pan using oven mitts to protect your hands from heat.
- Gently turn the bread out onto a wire cooling rack and let it cool completely for about 30-45 minutes before slicing.
- Slice the bread with a sharp serrated knife and serve warm or at room temperature. Store in an airtight container to maintain freshness.
Tips
- Use fresh, high-quality active dry yeast to ensure your bread rises perfectly and develops a rich flavor.
- Measure ingredients precisely - bread making is a science that requires accuracy. Use proper measuring cups and level off dry ingredients.
- Ensure your water is warm (around 110°F) but not hot, as extreme temperatures can kill the yeast.
- Let the bread cool completely before slicing to prevent a gummy texture and allow the crumb to set properly.
- For an extra crispy crust, you can brush the top of the bread with olive oil or water before baking.
- Store your bread in an airtight container or bread box to maintain freshness, and consume within 2-3 days for the best taste and texture.
- If you want a more artisanal look, you can remove the bread from the machine 5-10 minutes before the final rise and score the top with a sharp knife.
Nutrition Facts
Calories: 120kcal
Carbohydrates: 22g
Protein: 3g
Fat: 2g
Saturated Fat: g
Cholesterol: 0mg