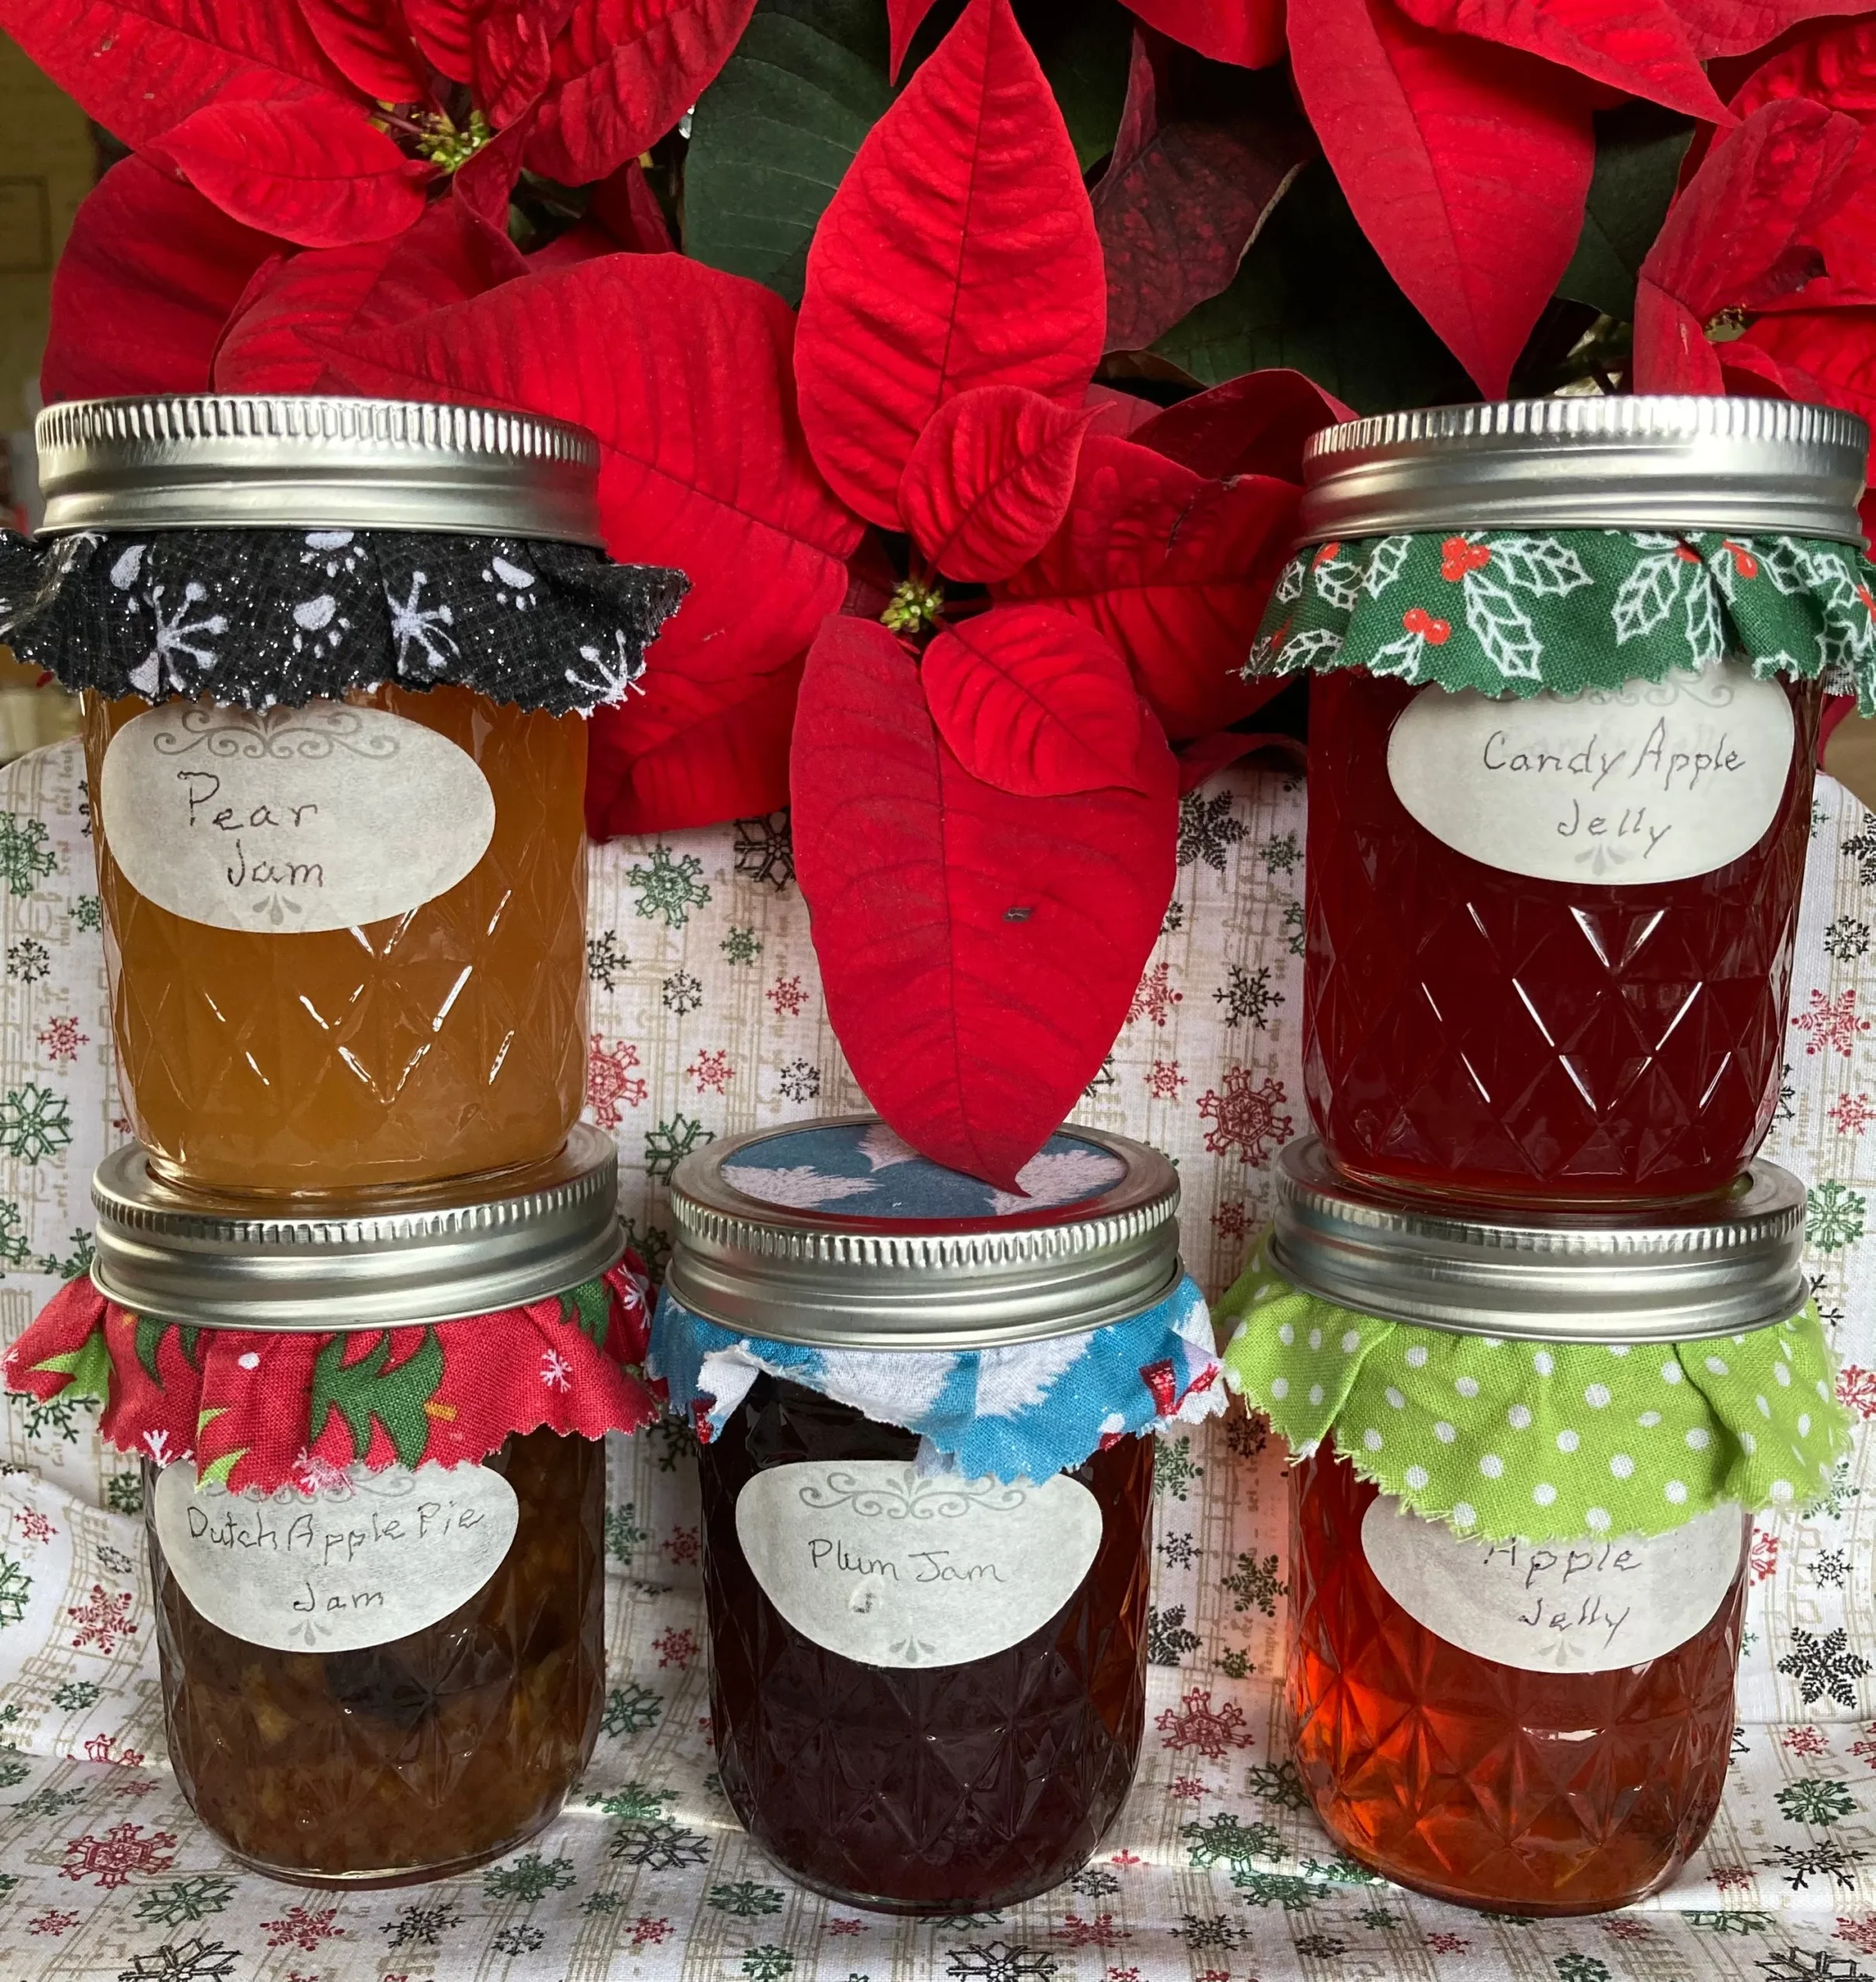
Are you ready to embark on a delightful culinary adventure that will transform fresh fruits into luscious jams and jellies? This recipe for "Jams and Jellies to Make Now and Give for Gifts" is not just a treat for your taste buds; it’s also a heartfelt way to share the joy of homemade goodness with your loved ones. Imagine the smiles on their faces as they unwrap a jar of your delicious creation! With just a few simple ingredients and a little bit of time, you can whip up 10 jars of vibrant, flavorful preserves that are perfect for any occasion. So, grab your favorite fruits and let’s dive into this sweet and satisfying journey!
Prep Time: 30 mins
Cook Time: 1 hrs
Total Time: 1 hrs 30 mins
Cuisine: American
Serves: 10 jars
Ingredients
- 2 cups of fruit (strawberries, raspberries, etc.)
- 1 cup of sugar
- 1 tablespoon of lemon juice
- 1 packet of pectin
- Jars for storage
Instructions
- Begin by selecting your fruit. Fresh strawberries or raspberries are excellent choices. Rinse the fruit thoroughly under cold water to remove any dirt or impurities. Remove any stems or leaves, and chop the fruit into small pieces if necessary.
- In a large mixing bowl, combine the 2 cups of prepared fruit with 1 cup of sugar. Gently stir the mixture to coat the fruit in sugar. Allow it to sit for about 10-15 minutes. This process will help draw out the natural juices of the fruit.
- While the fruit is macerating, prepare your jars for storage. Ensure that they are clean and sterilized. You can do this by placing the jars in a boiling water bath for 10 minutes or running them through a dishwasher cycle on high heat.
- After the fruit has rested, transfer the mixture to a medium-sized saucepan. Add 1 tablespoon of lemon juice to the fruit and sugar mixture. The lemon juice not only adds flavor but also helps balance the sweetness and assists in the gelling process.
- Sprinkle the packet of pectin over the fruit mixture, stirring well to combine. Pectin is a natural thickening agent that will help your jam or jelly set properly.
- Place the saucepan over medium heat and bring the mixture to a boil. Stir continuously to prevent the fruit from sticking to the bottom of the pan. Once it reaches a rolling boil, continue to cook for about 1 minute.
- After boiling, remove the saucepan from heat. You can test the consistency of your jam by placing a small spoonful on a cold plate. Let it sit for a minute, then run your finger through it; if it holds its shape, it’s ready for canning.
- Using a ladle, carefully pour the hot jam into the prepared sterilized jars, leaving about 1/4 inch of headspace at the top. Wipe the rims of the jars with a clean cloth to remove any residue.
- Seal the jars with sterilized lids and rings. Process the jars in a boiling water bath for 5-10 minutes to ensure they are sealed properly and to extend their shelf life.
- Once processed, remove the jars from the water bath and allow them to cool completely on a clean kitchen towel or cooling rack. You should hear a popping sound as the jars seal.
- After the jars have cooled, check the seals by pressing down in the center of each lid. If it doesn’t pop back, the jar is sealed properly. Store any unsealed jars in the refrigerator and use them within a few weeks.
- Label your jars with the date and type of jam or jelly. These homemade jams and jellies make delightful gifts for friends and family!
Tips
- Choose the Right Fruit: Opt for ripe, fresh strawberries or raspberries for the best flavor. Seasonal fruits will yield the most vibrant and tasty jams.
- Maceration Magic: Allow the fruit and sugar to sit for 10-15 minutes. This step is crucial as it draws out the natural juices, enhancing the overall flavor of your jam.
- Sterilize Your Jars: Clean and sterilize your jars properly to prevent spoilage. A quick boil or a high-heat dishwasher cycle works wonders.
- Perfect Pectin: Make sure to sprinkle the pectin evenly over the fruit mixture to avoid clumping. This will ensure a smooth and consistent texture in your jam.
- Test for Consistency: Use the cold plate test to check if your jam is ready. If it holds its shape after cooling, you’re good to go!
- Leave Headspace: When filling the jars, leave about 1/4 inch of headspace to allow for expansion during processing.
- Seal It Right: Ensure your lids are sterilized and sealed tightly to prolong shelf life. Listen for that satisfying pop as they cool!
- Label with Love: Don’t forget to label your jars with the date and type of jam. It adds a personal touch and helps keep track of your delicious creations.
- Gift with a Personal Touch: Consider decorating your jars with ribbons or custom labels to make your homemade jams and jellies even more special for gifting.
- Enjoy or Share: Whether you keep them for yourself or give them as gifts, these homemade jams are sure to be a hit!
Nutrition Facts
Calories: 40kcal
Carbohydrates: 10g
Protein: 0g
Fat: 0g
Saturated Fat: 0g
Cholesterol: 0mg


