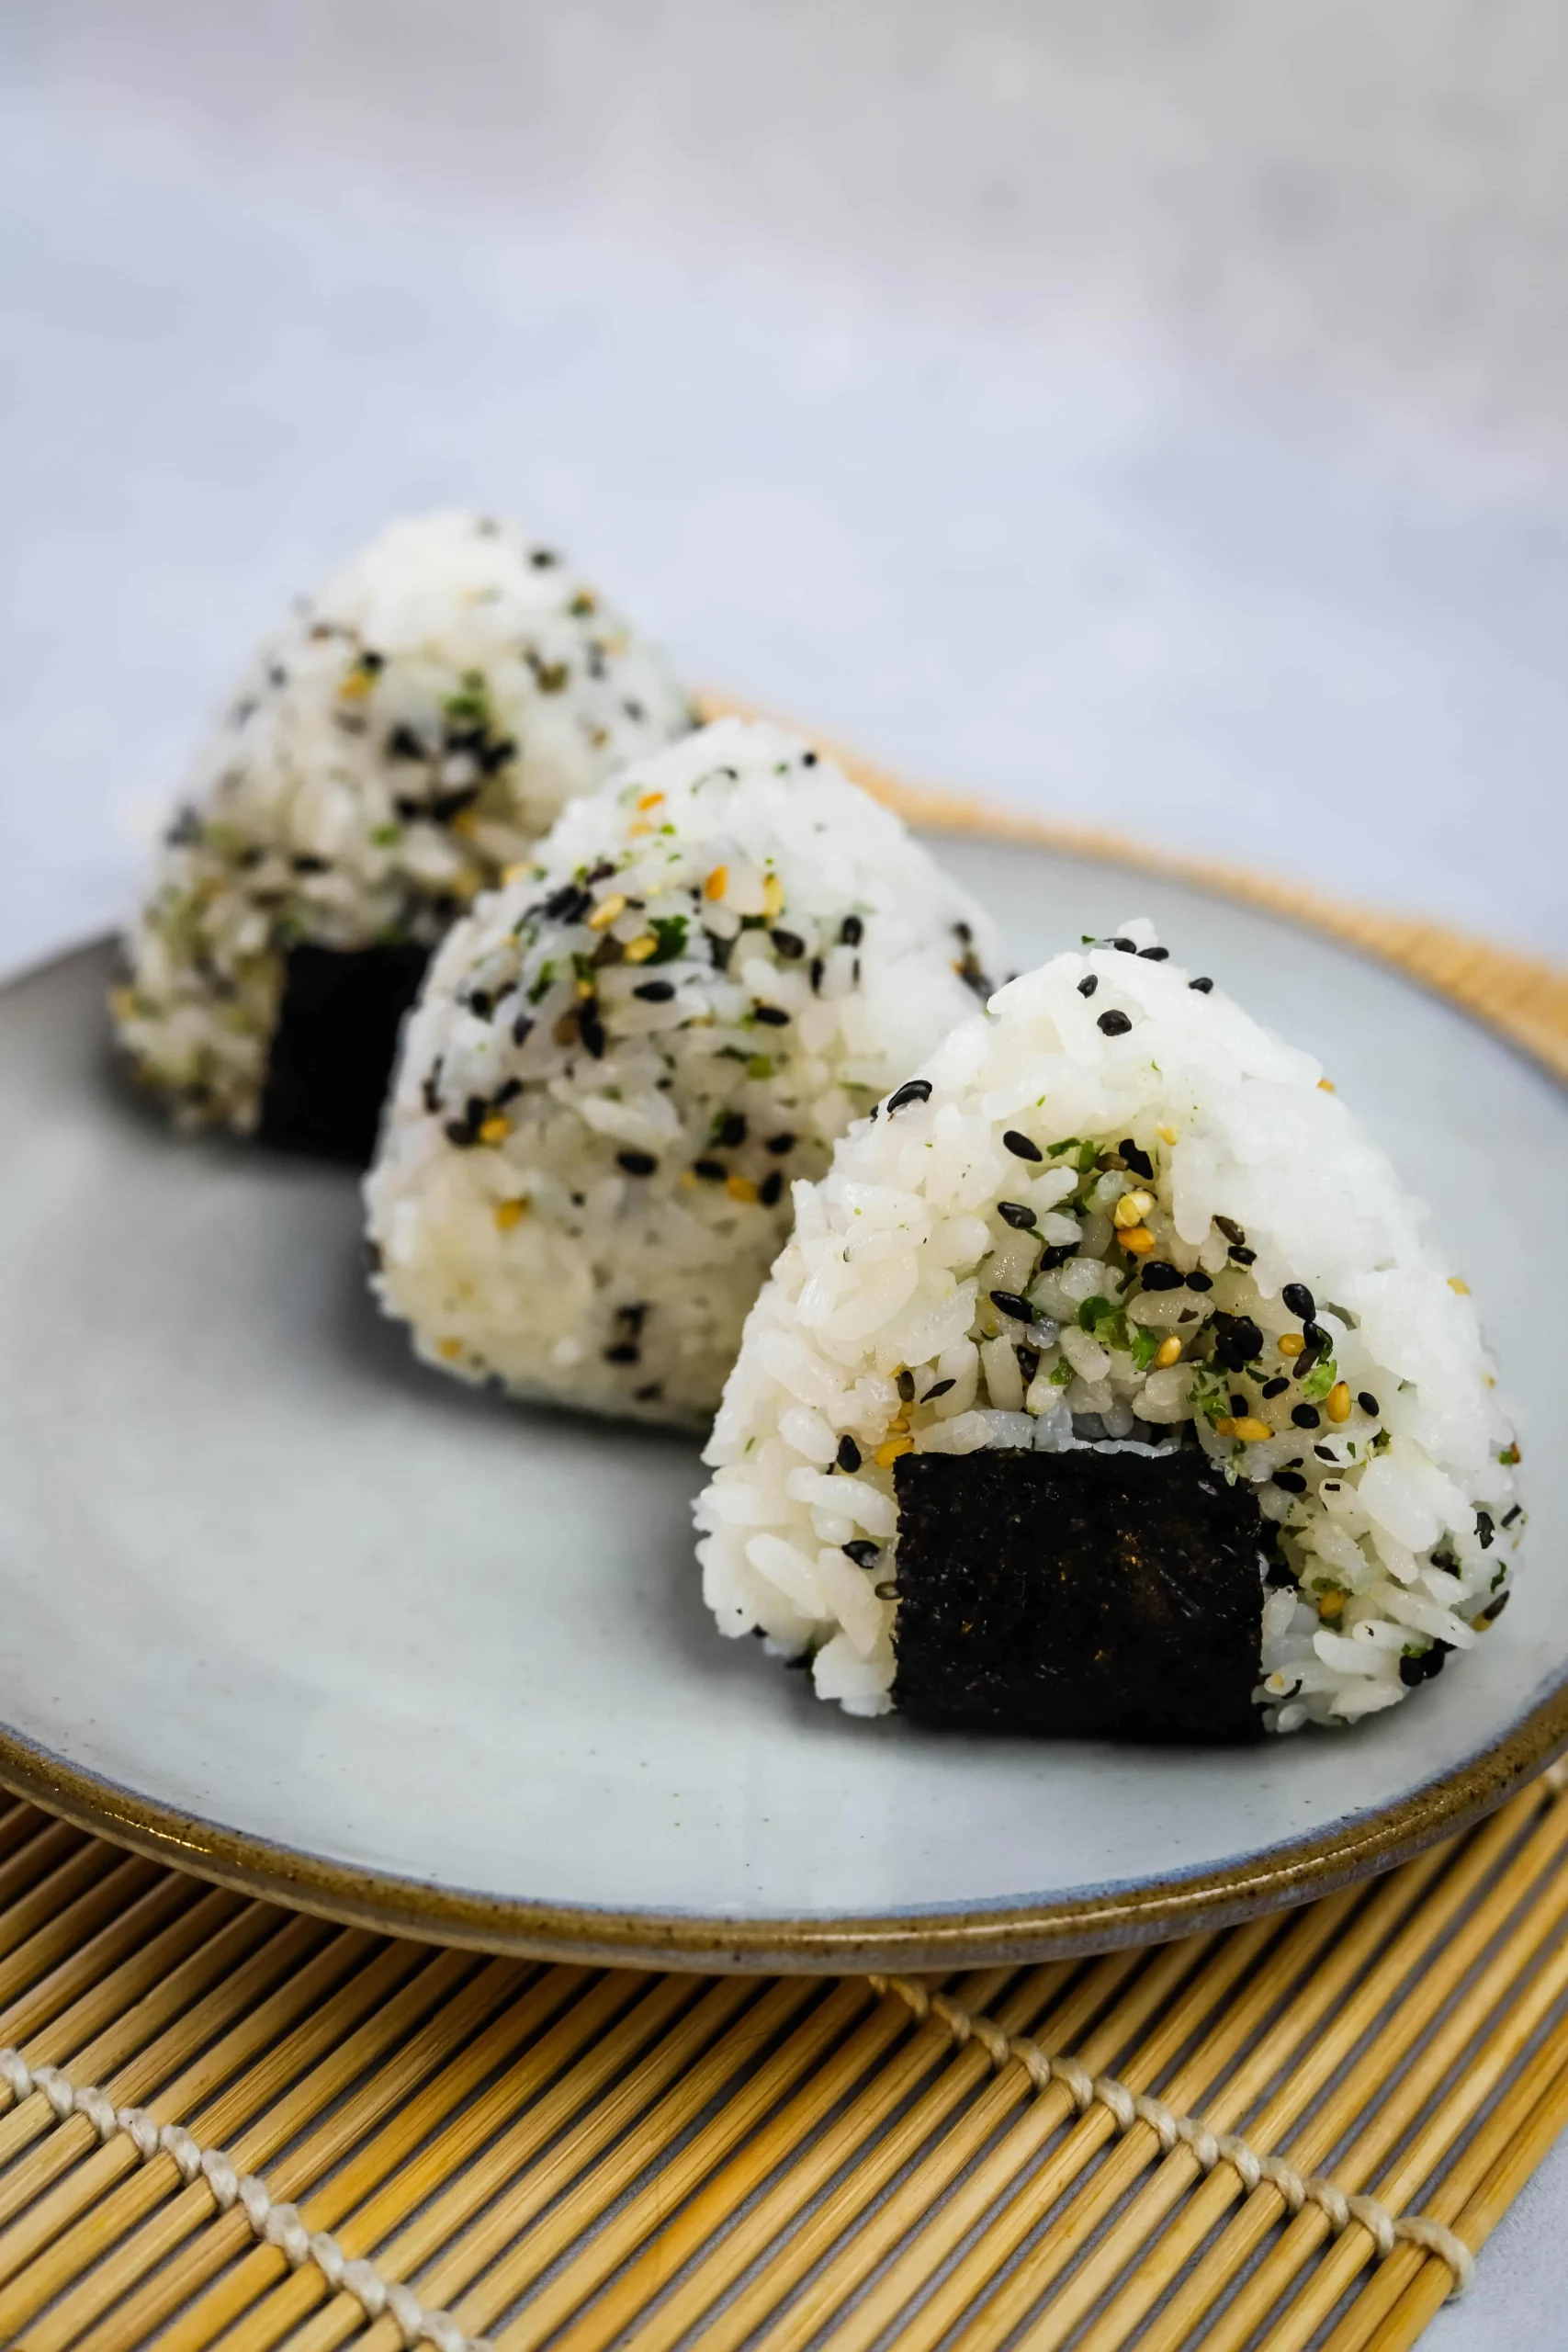
Imagine holding a perfect triangle of Japanese comfort food that's about to transport your taste buds straight to the streets of Tokyo! Onigiri, the beloved Japanese rice triangles, are not just a meal – they're a cultural experience packed into a handheld delight. Whether you're a sushi lover, a culinary explorer, or simply someone craving a unique and delicious snack, these rice triangles will revolutionize your cooking and eating experience. Get ready to unlock the secrets of creating the most Instagram-worthy, mouth-watering Japanese rice treats right in your own kitchen!
Prep Time: 20 mins
Cook Time: 30 mins
Total Time: 50 mins
Cuisine: Japanese
Serves: 4 servings
Ingredients
- 2 cups sushi rice
- 2 1/2 cups water
- 1/4 cup rice vinegar
- 2 tablespoons sugar
- 1 teaspoon salt
- Filling of your choice (e.g., tuna, pickled plum, etc.)
- Nori seaweed sheets (optional)
Instructions
- Rinse the sushi rice thoroughly under cold water until the water runs clear, removing excess starch.
- In a medium rice cooker or pot, combine the rinsed rice and water. Cook the rice until tender and fully absorbed, approximately 15-20 minutes.
- While rice is cooking, prepare the sushi vinegar by mixing rice vinegar, sugar, and salt in a small bowl until sugar dissolves completely.
- Once rice is cooked, transfer to a large mixing bowl and gently fold in the prepared sushi vinegar, using a cutting motion to avoid mashing the rice grains.
- Let the seasoned rice cool slightly until it's warm but not hot, about 10 minutes.
- Prepare your chosen filling by chopping or preparing it into small, bite-sized pieces.
- Wet your hands with clean water and sprinkle with a little salt to prevent rice from sticking.
- Take a handful of rice and create a small indentation in the center, adding your chosen filling.
- Carefully shape the rice into a triangular shape by gently pressing and molding with your hands.
- Optional: Wrap the bottom or sides of the onigiri with a strip of nori seaweed for added flavor and easier handling.
- Repeat the process until all rice is used, creating approximately 4-6 onigiri triangles.
- Serve immediately at room temperature, or wrap individually in plastic wrap to keep fresh.
Tips
- Rice is King: Use short-grain sushi rice for the best texture and stickiness. Rinsing thoroughly is crucial to remove excess starch.
- Moisture Management: Keep a small bowl of salted water nearby when shaping onigiri. Wet and salt your hands to prevent rice from sticking and add a subtle flavor.
- Filling Finesse: Choose fillings that are not too wet. Traditional options like umeboshi (pickled plum), cooked salmon, or tuna mayo work best.
- Shaping Technique: Don't overpack the rice. Gentle, firm pressure creates the perfect triangle without compressing the grains too tightly.
- Freshness Matters: Onigiri is best enjoyed fresh. If storing, wrap individually in plastic wrap and consume within 24 hours.
- Flavor Variations: Experiment with different fillings and seasonings. Try furikake sprinkles or different protein options to keep things exciting.
- Nori Wrapping Tip: If using seaweed, wrap just before serving to keep it crisp and prevent sogginess.
Nutrition Facts
Calories: 240kcal
Carbohydrates: 52g
Protein: 4g
Fat: 1g
Saturated Fat: g
Cholesterol: 0mg


