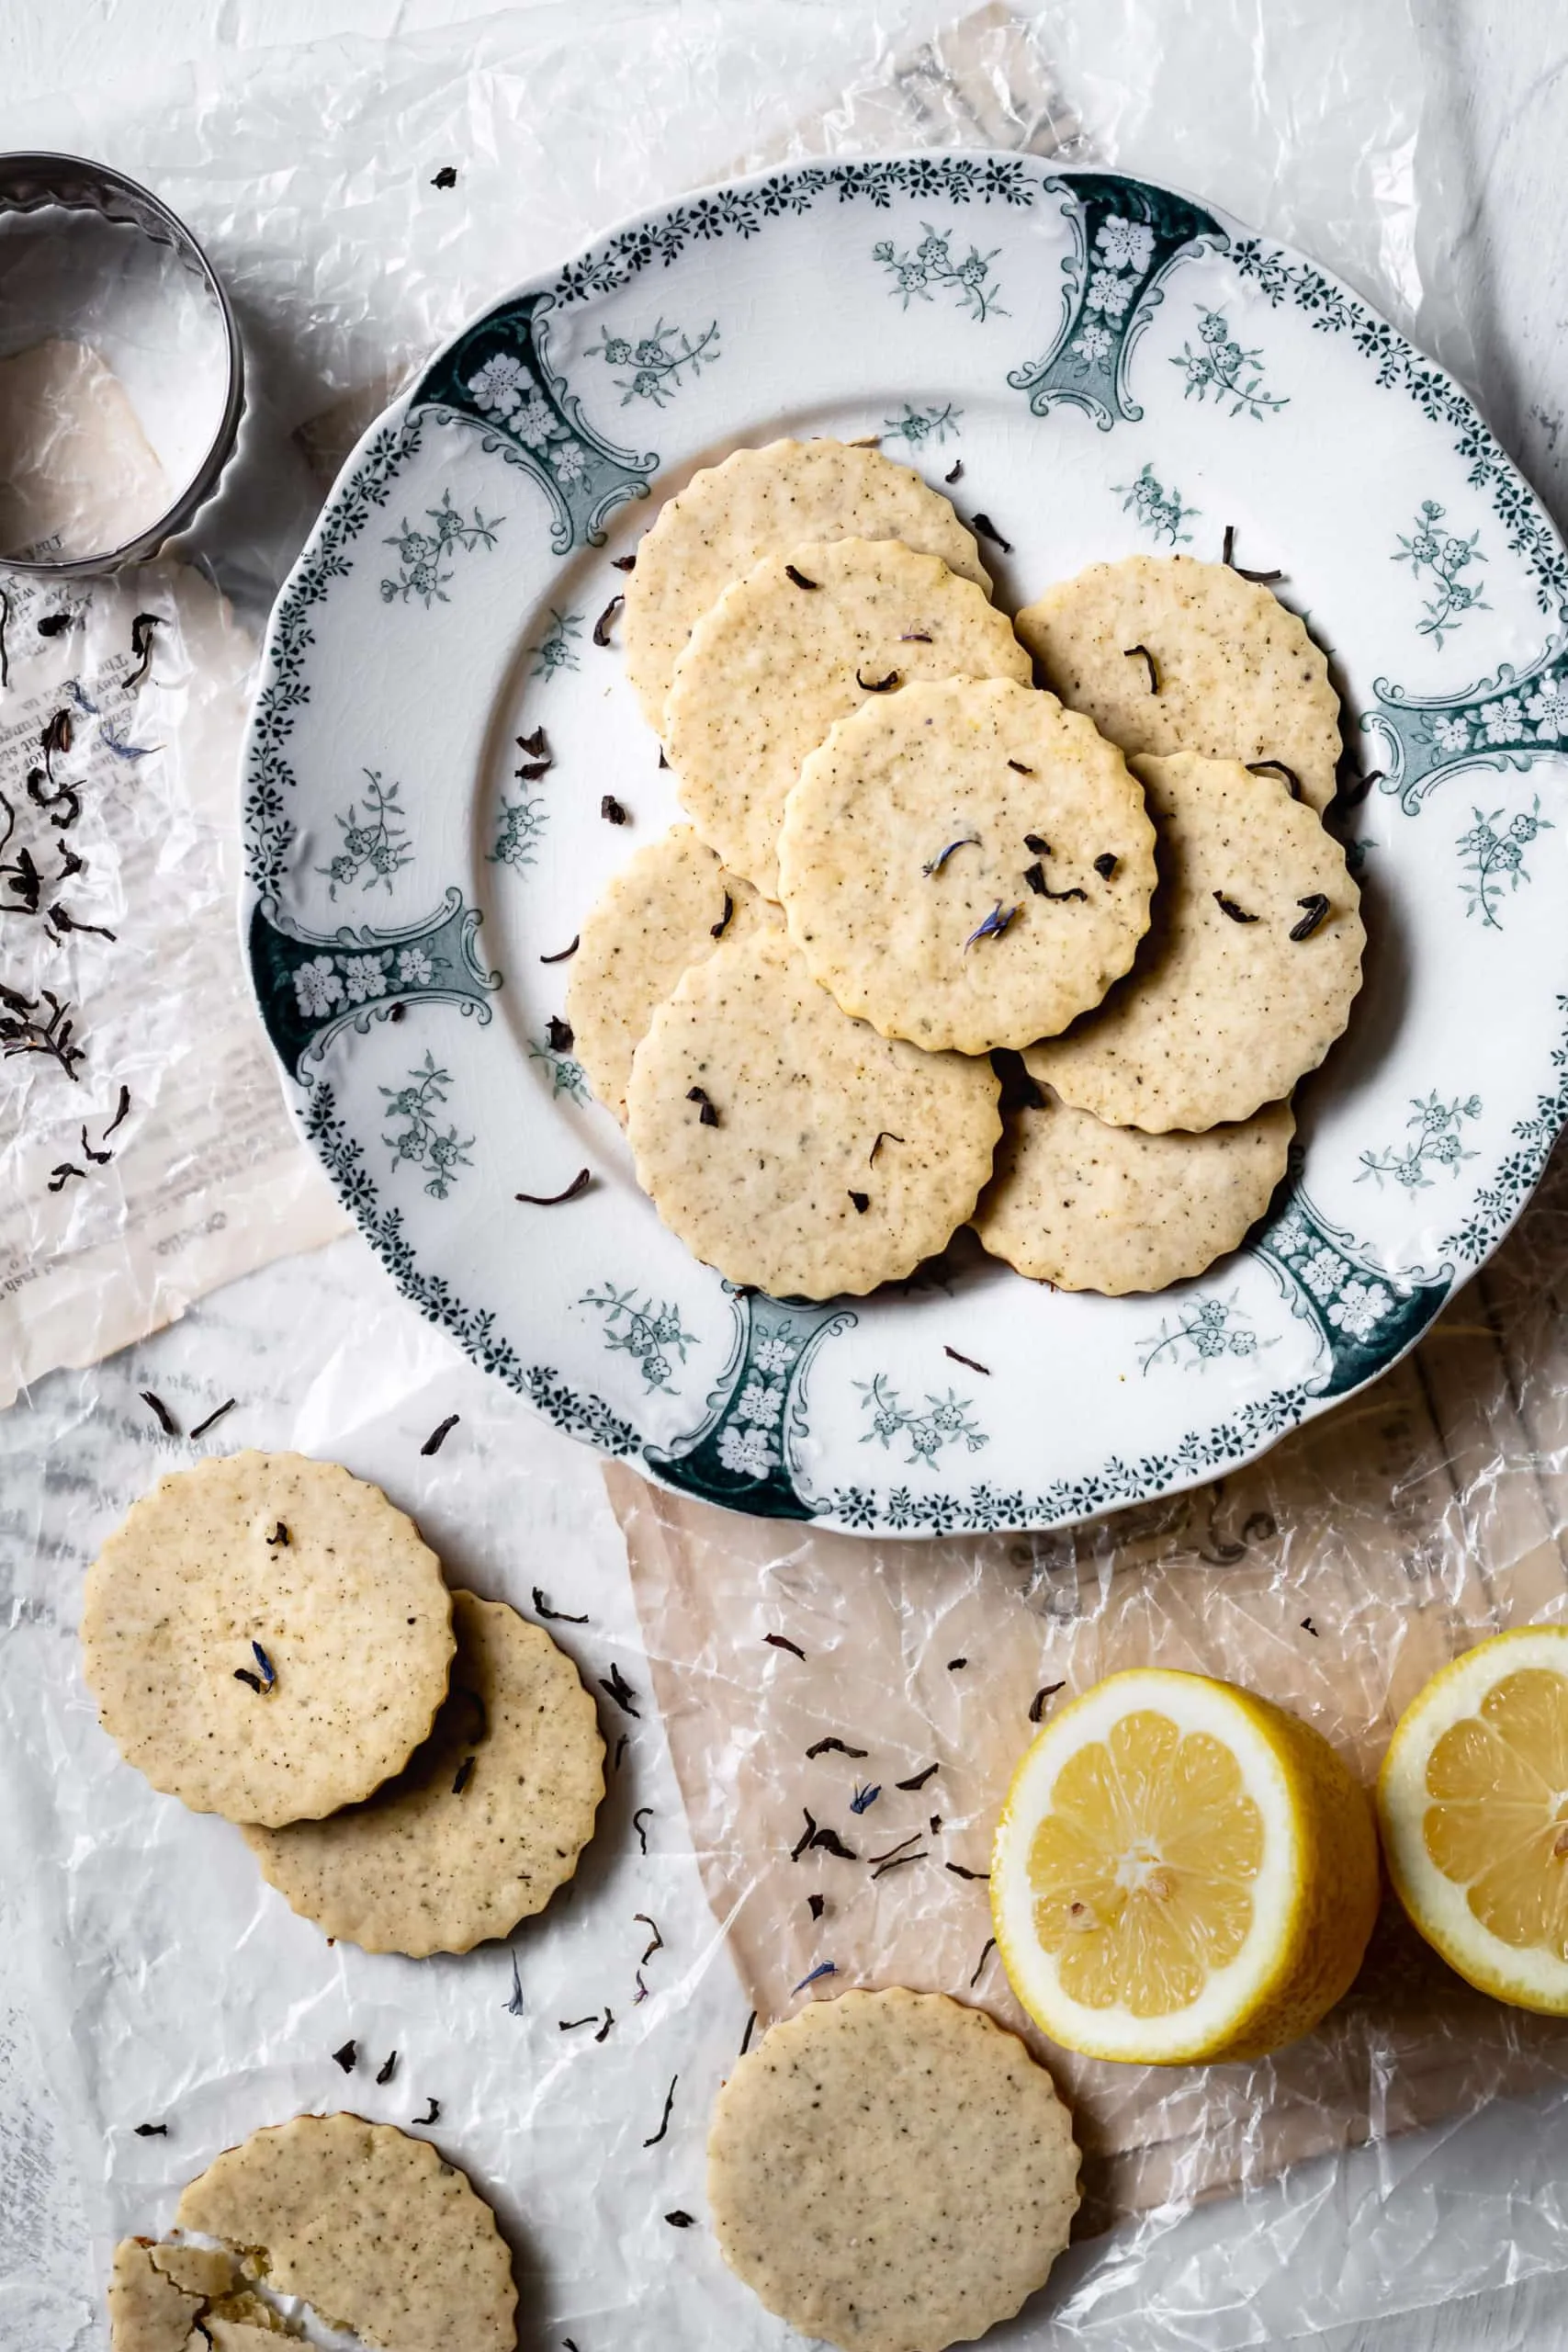
Imagine a cookie that transports you to a cozy British afternoon tea, where delicate flavors dance on your palate and comfort meets sophistication in every single bite. These Lemon Earl Grey Shortbread Oatmeal Cookies are not just a treat; they're a culinary adventure that combines the fragrant essence of Earl Grey tea, bright citrusy lemon zest, and the hearty texture of rolled oats. Perfect for tea lovers, cookie enthusiasts, and anyone seeking a unique twist on the classic shortbread, these cookies promise to elevate your baking game and impress even the most discerning taste buds.
Prep Time: 20 mins
Cook Time: 12 mins
Total Time: 32 mins
Cuisine: British
Serves: 18 cookies
Ingredients
- 1 cup unsalted butter, softened
- 1/2 cup granulated sugar
- 1/2 cup brown sugar
- 2 cups all-purpose flour
- 1 cup rolled oats
- 1 tablespoon Earl Grey tea leaves
- 1/4 teaspoon salt
- 1 tablespoon lemon zest
Instructions
- Prepare your ingredients by measuring them out precisely and allowing the butter to soften at room temperature for about 30 minutes before beginning.
- Grind the Earl Grey tea leaves into a fine powder using a spice grinder or mortar and pestle to release their aromatic oils and enhance flavor distribution.
- In a large mixing bowl, cream together the softened butter, granulated sugar, and brown sugar using an electric mixer until the mixture becomes light, fluffy, and pale in color, approximately 3-4 minutes.
- Add the lemon zest to the butter-sugar mixture and mix thoroughly to distribute the citrusy essence evenly throughout the base.
- In a separate bowl, whisk together the all-purpose flour, ground Earl Grey tea leaves, rolled oats, and salt to ensure even ingredient distribution.
- Gradually add the dry ingredient mixture to the butter-sugar mixture, mixing on low speed until just combined. Avoid overmixing to prevent tough cookies.
- Cover the cookie dough with plastic wrap and refrigerate for 30 minutes to allow the flavors to meld and the dough to firm up.
- Preheat the oven to 350°F (175°C) and line two baking sheets with parchment paper or silicone baking mats.
- Remove the chilled dough from the refrigerator and scoop out rounded tablespoon-sized portions, rolling them into smooth balls.
- Place the cookie dough balls on the prepared baking sheets, spacing them about 2 inches apart to allow for spread during baking.
- Gently press down on each cookie ball with the back of a fork to create a slight criss-cross pattern and help them flatten slightly.
- Bake in the preheated oven for 12-14 minutes, or until the edges are lightly golden and the centers appear set but still soft.
- Remove from the oven and let the cookies cool on the baking sheet for 5 minutes before transferring to a wire rack to cool completely.
- Once cooled, store the cookies in an airtight container at room temperature for up to 5 days, allowing the flavors to continue developing.
Tips
- Temperature Matters: Ensure your butter is truly softened but not melted for the perfect cookie texture.
- Tea Grinding Technique: Use a fine grind for the Earl Grey leaves to distribute flavor evenly and prevent large tea leaf chunks.
- Chill the Dough: Don't skip the refrigeration step - it helps develop flavors and prevents excessive spreading during baking.
- Consistent Size: Use a cookie scoop or tablespoon to create uniform cookies that bake evenly.
- Watch the Baking Time: Cookies should be just golden at the edges - they'll continue cooking slightly after removal from the oven.
- Cooling is Crucial: Allow cookies to cool completely to let the flavors settle and texture stabilize.
- Storage Tip: Store in an airtight container to maintain freshness and allow flavors to meld.
Nutrition Facts
Calories: 180kcal
Carbohydrates: 20g
Protein: 2g
Fat: 11g
Saturated Fat: 7g
Cholesterol: 30mg