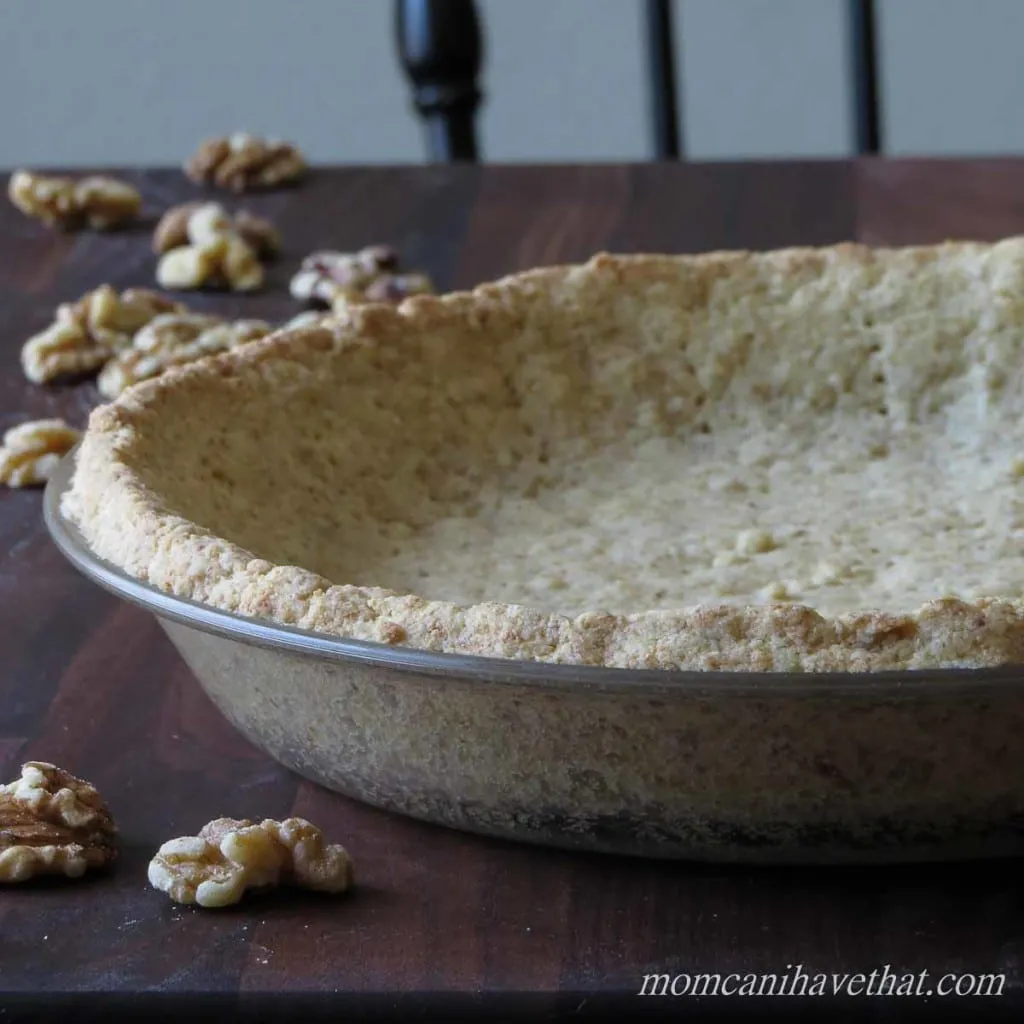
Are you on a quest for the perfect pie crust that won't derail your low-carb lifestyle? Look no further! This Low Carb Walnut Pie Crust is not only delicious but also incredibly easy to make, requiring just 20 minutes from start to finish. Imagine a nutty, buttery base that complements any filling, all while keeping those carbs in check. Whether you're whipping up a decadent dessert or a savory quiche, this crust will elevate your dish to new heights. Ready to impress your friends and family with a guilt-free treat? Let’s dive into this simple yet satisfying recipe!
Prep Time: 10 mins
Cook Time: 10 mins
Total Time: 20 mins
Cuisine: Dessert
Serves: 1 pie crust
Ingredients
- 1 cup walnut flour
- 1/4 cup coconut oil
- 1 tablespoon sweetener
- 1/4 teaspoon salt
- 1 large egg
Instructions
- Preheat the oven to 350°F (175°C). Prepare a 9-inch pie dish by lightly greasing it with coconut oil or cooking spray.
- In a medium mixing bowl, combine the walnut flour, salt, and sweetener. Mix thoroughly to ensure even distribution of ingredients.
- Melt the coconut oil if it's solid. If at room temperature, ensure it's in a liquid state before adding to the dry ingredients.
- Crack the large egg into the dry ingredient mixture. Pour in the melted coconut oil.
- Using a fork or spatula, mix all ingredients until they form a cohesive, slightly crumbly dough. The mixture should hold together when pressed.
- Transfer the dough into the prepared pie dish. Use your fingers to press the mixture evenly across the bottom and up the sides of the dish, creating a uniform crust.
- Use the tines of a fork to create small punctures across the bottom of the crust to prevent bubbling during baking.
- Place the crust in the preheated oven and bake for 10-12 minutes, or until the edges begin to turn golden brown.
- Remove from the oven and let cool completely before adding your desired pie filling. The crust will firm up as it cools.
- For best results, refrigerate the crust for 15-20 minutes after cooling to enhance its structural integrity.
Tips
- Use Fresh Ingredients: For the best flavor, ensure your walnut flour and coconut oil are fresh. This will enhance the overall taste of your pie crust.
- Chill Your Dough: After mixing, if your dough feels too soft, refrigerate it for about 10 minutes before pressing it into the pie dish. This will make it easier to handle and shape.
- Prevent Bubbling: Don’t skip the fork punctures! They are essential for preventing air bubbles from ruining your beautifully crafted crust.
- Watch the Baking Time: Ovens can vary, so keep an eye on your crust as it bakes. You want it golden brown but not overcooked.
- Perfect for Any Filling: This versatile crust pairs wonderfully with both sweet and savory fillings. Try it with sugar-free chocolate mousse or a classic quiche!
- Store Properly: If you have leftover crust, store it in an airtight container in the fridge for up to a week, or freeze it for longer storage. Just remember to let it thaw before using!
Nutrition Facts
Calories: 250kcal
Carbohydrates: 4g
Protein: 6g
Fat: 24g
Saturated Fat: 8g
Cholesterol: 45mg