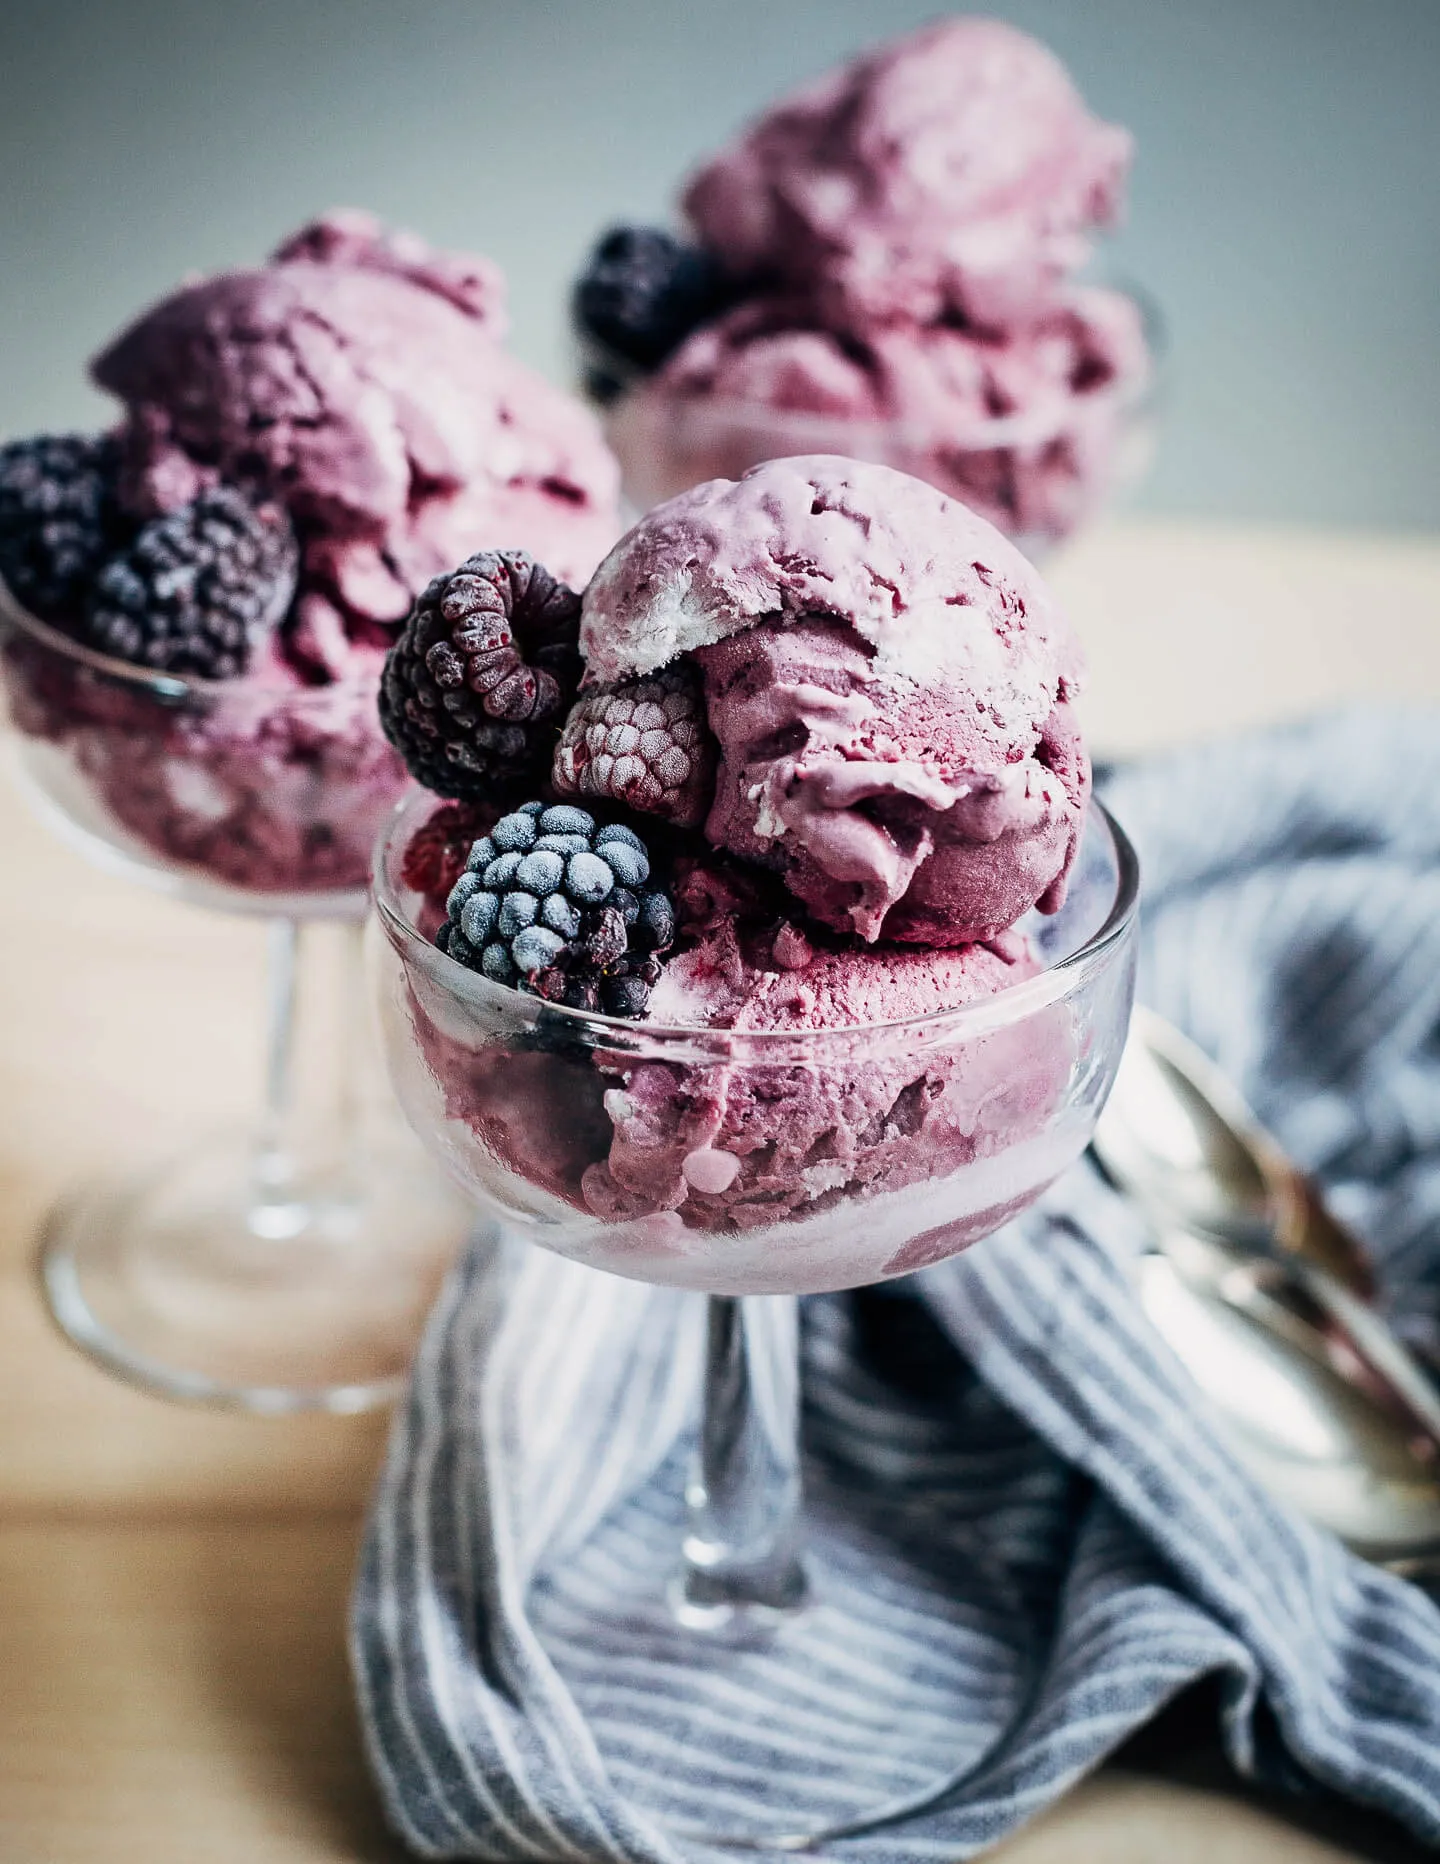
Indulge your taste buds this summer with a delightful treat that’s as easy to make as it is delicious! Our Mixed Berry Ice Cream No Churn recipe is the perfect way to cool off on a hot day, combining the luscious flavors of strawberries, blueberries, and raspberries into a creamy, dreamy dessert that requires no ice cream maker. With just 15 minutes of prep time, you can whip up this heavenly concoction and have it ready to freeze for your next gathering or a sweet family night in. Trust us, once you take a scoop of this vibrant, fruity ice cream, you’ll wonder how you ever lived without it!
Prep Time: 15 mins
Cook Time: -
Total Time: 15 mins
Cuisine: American
Serves: 4 servings
Ingredients
- 2 cups heavy cream
- 1 cup mixed berries (strawberries, blueberries, raspberries)
- 1/2 cup sugar
- 1 teaspoon vanilla extract
Instructions
- In a large mixing bowl, pour in the 2 cups of heavy cream. Using an electric mixer, whip the cream on medium-high speed until soft peaks form. This should take about 3-5 minutes.
- In a separate bowl, combine the 1/2 cup of sugar and 1 teaspoon of vanilla extract. Stir until the sugar is well incorporated with the vanilla.
- Gently fold the sugar and vanilla mixture into the whipped cream. Be careful not to deflate the whipped cream; use a spatula and fold until just combined.
- Prepare the mixed berries by washing them thoroughly. If using strawberries, hull and slice them into smaller pieces. Leave the blueberries and raspberries whole.
- Add the 1 cup of mixed berries to the whipped cream mixture. Gently fold the berries into the cream until evenly distributed.
- Transfer the mixed berry ice cream mixture into a freezer-safe container. Smooth the top with a spatula to create an even layer.
- Cover the container with a lid or plastic wrap to prevent ice crystals from forming. Place it in the freezer.
- Freeze the ice cream for at least 4 hours, or until it is firm enough to scoop.
- When ready to serve, remove the ice cream from the freezer and let it sit at room temperature for a few minutes to soften slightly for easier scooping.
- Scoop the ice cream into bowls or cones and enjoy your homemade mixed berry ice cream!
Tips
- Choose Fresh Berries: For the best flavor, use fresh, ripe mixed berries. If they’re in season, you’ll get the juiciest and sweetest results!
- Whip the Cream Properly: Make sure to whip the heavy cream until soft peaks form. This helps create a light and airy texture in your ice cream.
- Fold Gently: When combining the whipped cream with the sugar and berries, be gentle! Folding instead of stirring will help maintain that fluffy texture.
- Prevent Ice Crystals: Cover your ice cream tightly with a lid or plastic wrap to avoid ice crystals forming while it freezes.
- Let it Soften: Before serving, allow the ice cream to sit at room temperature for a few minutes. This will make scooping much easier and enhance the creamy texture.
- Experiment with Flavors: Don’t hesitate to mix and match different berries or even add in a splash of lemon juice for a zesty twist!
- Serve with Toppings: Elevate your ice cream experience with toppings like crushed nuts, chocolate sauce, or extra fresh berries for a pop of color and flavor.
Nutrition Facts
Calories: 350kcal
Carbohydrates: 22g
Protein: 2g
Fat: 28g
Saturated Fat: 17g
Cholesterol: 100mg