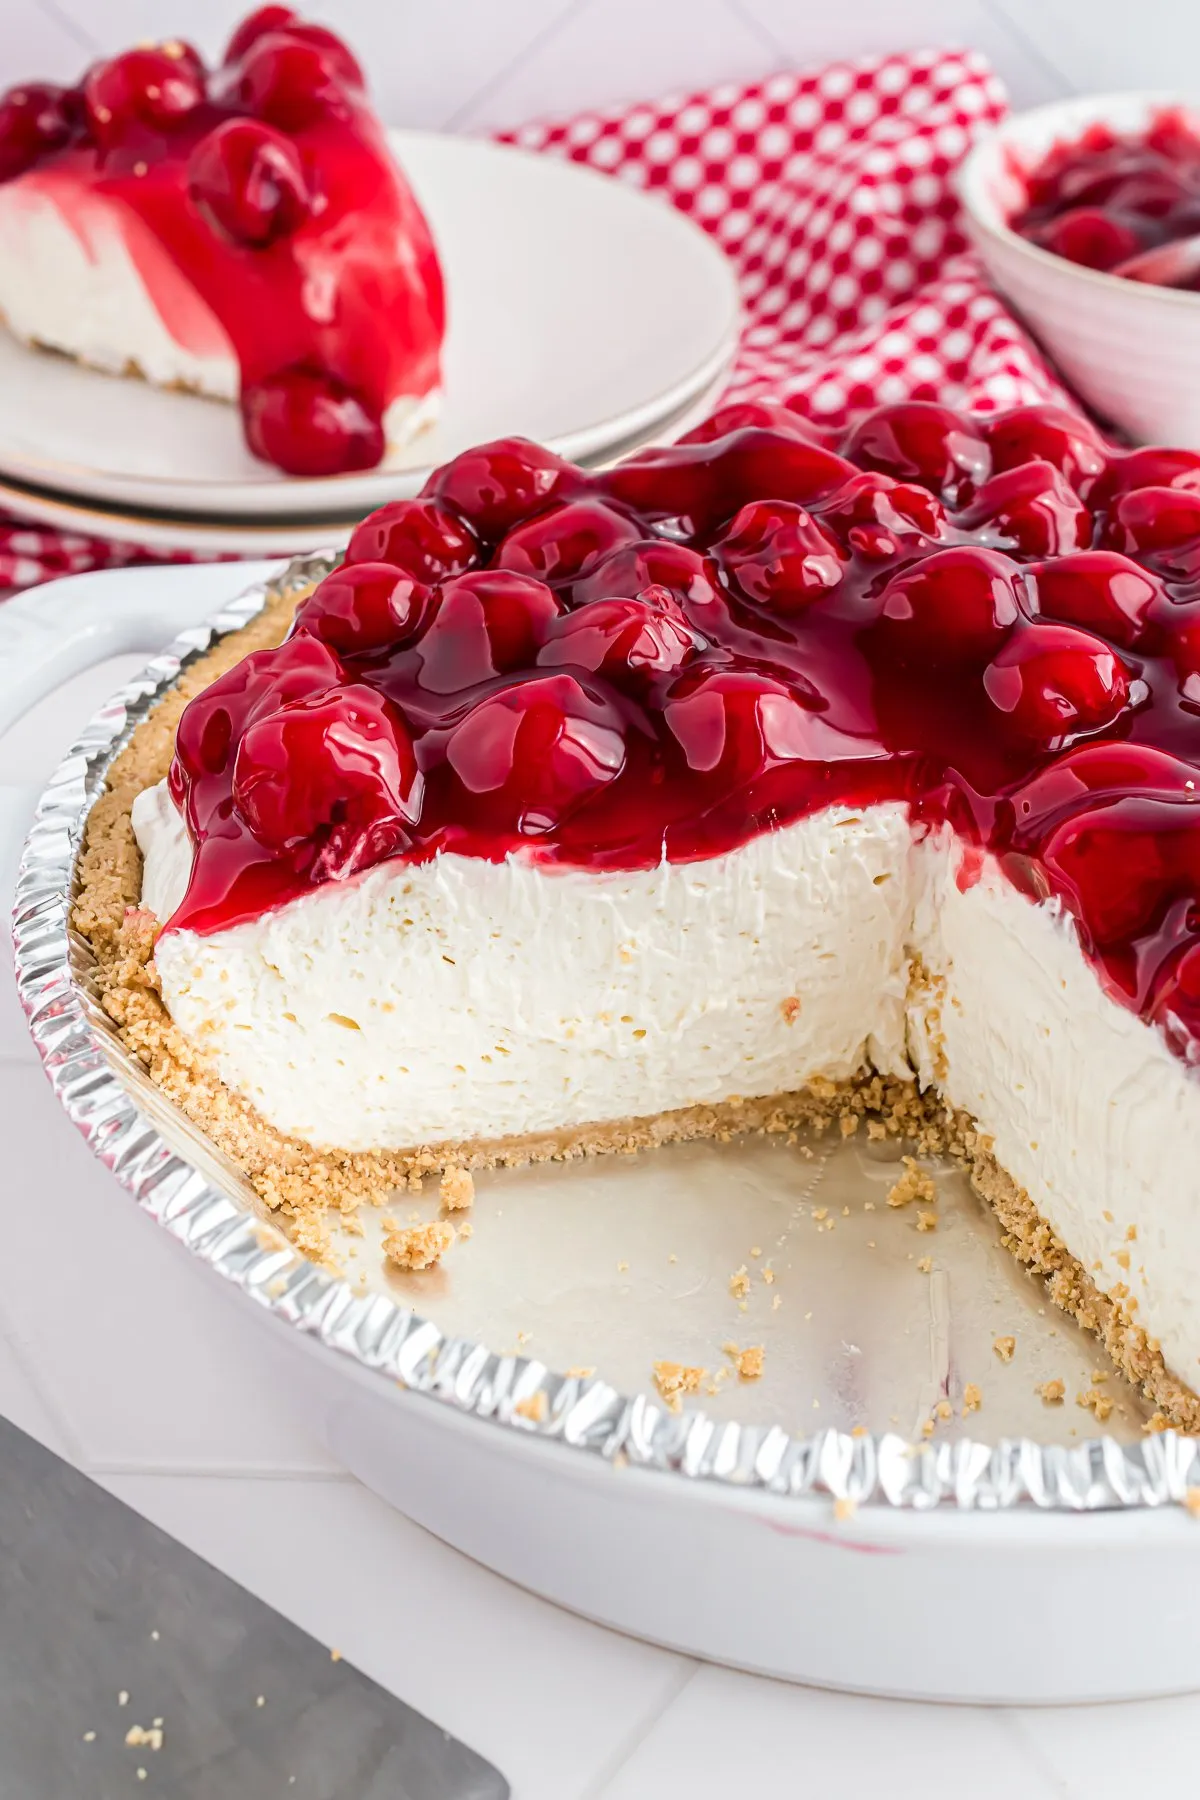
Are you ready to elevate your dessert game with the most foolproof, deliciously crispy, and mind-blowingly easy crust recipe ever? Forget complicated pastry techniques and hours of baking – this No-Bake Graham Cracker Crust is about to become your new secret weapon in the kitchen! Whether you're a baking novice or a seasoned pro, this versatile crust will transform your pies, cheesecakes, and desserts from ordinary to extraordinary in just minutes.
Prep Time: 10 mins
Cook Time: -
Total Time: 10 mins
Cuisine: American
Serves: 1 crust
Ingredients
- 1 1/2 cups graham cracker crumbs
- 1/4 cup granulated sugar
- 1/2 cup unsalted butter, melted
Instructions
- Gather all ingredients: graham cracker crumbs, granulated sugar, and unsalted melted butter. Ensure the butter is completely melted and slightly cooled.
- In a medium mixing bowl, combine the graham cracker crumbs and granulated sugar. Mix thoroughly until the sugar is evenly distributed throughout the crumbs.
- Pour the melted butter over the crumb and sugar mixture. Use a fork or spatula to mix until all crumbs are evenly coated and the mixture resembles wet sand.
- Test the consistency by pressing a small amount of the mixture between your fingers. It should hold together firmly when pressed.
- Transfer the mixture into a 9-inch pie dish or springform pan. Use the back of a measuring cup or your fingers to press the crumb mixture firmly and evenly across the bottom and up the sides of the pan.
- Compact the crust by pressing down firmly to create a smooth, even surface. Ensure there are no loose crumbs or gaps in the crust.
- Refrigerate the crust for at least 15-30 minutes to help it set and become firm before adding your desired filling.
Tips
- Crumb Consistency is Key: Ensure your graham cracker crumbs are finely ground for the smoothest texture. Use a food processor or place crackers in a sealed bag and crush with a rolling pin.
- Butter Temperature Matters: Use melted butter that's slightly cooled – not hot – to help bind the crust without making it greasy.
- Press Firmly and Evenly: Take your time when pressing the crust into the pan. Use the bottom of a measuring cup or your fingers to create a compact, uniform layer.
- Chill for Success: Refrigerating the crust before filling helps it set and prevents crumbling when serving.
- Customize Your Flavor: Experiment by adding a pinch of cinnamon or using chocolate graham crackers for a unique twist.
- Make Ahead Friendly: This crust can be prepared in advance and stored in the refrigerator for up to 2 days before using.Pro Tip: For a perfectly smooth crust, use the back of a spoon or a measuring cup to press the mixture firmly into the pan, creating clean, even edges.
Nutrition Facts
Calories: 400kcal
Carbohydrates: 40g
Protein: 3g
Fat: 27g
Saturated Fat: 15g
Cholesterol: 60mg


