Imagine biting into a decadent treat that combines the crunch of nuts, the softness of marshmallow, and a luxurious chocolate coating that makes your taste buds dance with joy! These Nut Goodie Centers are not just a dessert – they're a culinary adventure that transforms simple ingredients into an extraordinary confectionery masterpiece. Whether you're a chocolate lover, a nut enthusiast, or someone looking to impress at your next gathering, this recipe is your ticket to instant dessert fame!
Prep Time: 30 mins
Cook Time: 10 mins
Total Time: 40 mins
Cuisine: Confectionery
Serves: 24 pieces
Ingredients
- 1 cup chopped nuts (peanuts or almonds)
- 1 cup marshmallow fluff
- 1/2 cup powdered sugar
- 1 cup chocolate chips
- 1 tablespoon vegetable oil
Instructions
- Begin by preparing your workspace and gathering all the ingredients. Make sure you have a clean surface to work on and all your tools ready, including a mixing bowl, spatula, baking sheet, and double boiler or microwave-safe bowl for melting chocolate.
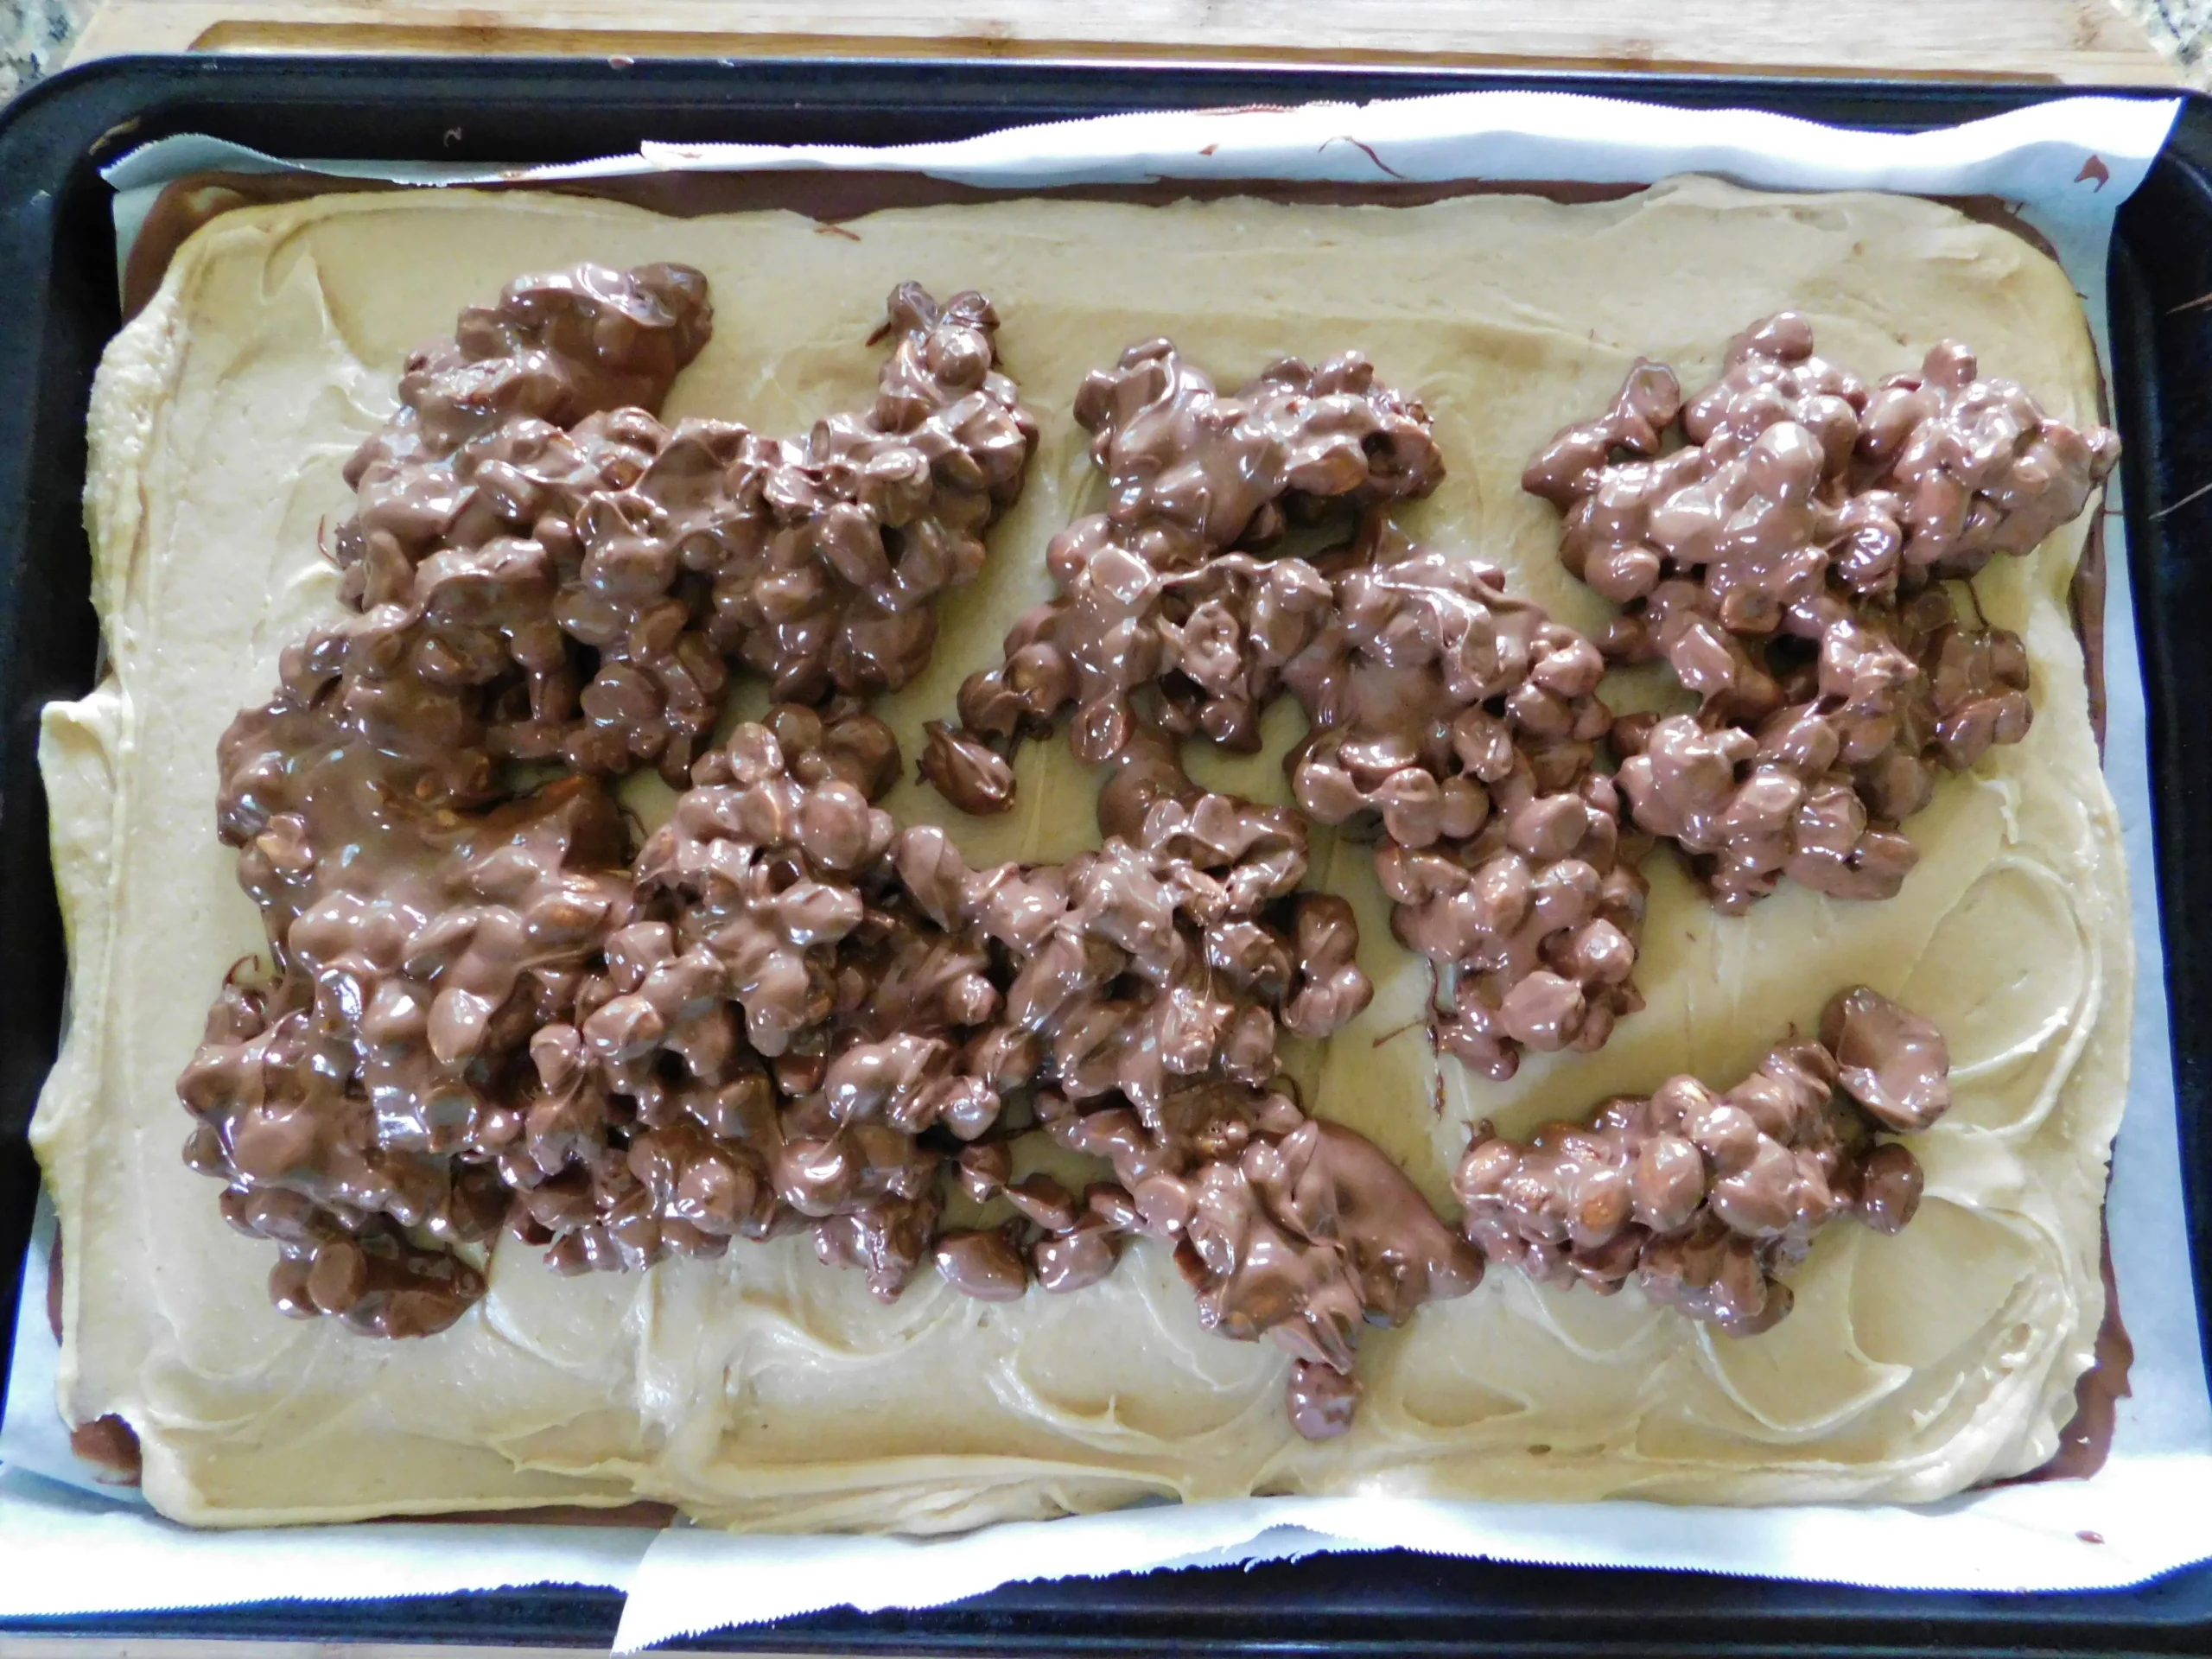
- In a mixing bowl, combine 1 cup of chopped nuts (either peanuts or almonds) with 1 cup of marshmallow fluff. Use a spatula to mix them together until well combined. The mixture should be thick and sticky.
- Next, add 1/2 cup of powdered sugar to the nut and marshmallow mixture. Fold the powdered sugar in gently until it is fully incorporated. The mixture should become firmer and easier to handle.
- Once the mixture is well combined, use your hands to form small balls or patties, approximately 1 inch in diameter. Place the formed pieces onto a baking sheet lined with parchment paper. You should be able to make about 24 pieces.
- After forming all the pieces, place the baking sheet in the refrigerator for about 15-20 minutes to allow the nut goodie centers to firm up. This will make them easier to dip in chocolate later.
- While the nut goodie centers are chilling, prepare the chocolate coating. In a double boiler or microwave-safe bowl, combine 1 cup of chocolate chips with 1 tablespoon of vegetable oil. If using a microwave, heat in 30-second intervals, stirring in between, until the chocolate is completely melted and smooth.
- Once the chocolate is melted, remove the nut goodie centers from the refrigerator. Using a fork or dipping tool, dip each piece into the melted chocolate, ensuring it is fully coated. Allow any excess chocolate to drip off before placing the dipped pieces back onto the parchment-lined baking sheet.
- After all pieces are dipped in chocolate, place the baking sheet back in the refrigerator for another 10-15 minutes, or until the chocolate coating has set completely.
- Once the chocolate has hardened, remove the Nut Goodie Centers from the refrigerator. They are now ready to be served or stored. Enjoy your homemade confectionery treat!
Tips
- Temperature Matters: Ensure your ingredients are at room temperature for easier mixing and better texture.
- Nut Selection: While the recipe suggests peanuts or almonds, feel free to experiment with other nuts like cashews or pecans for unique flavor profiles.
- Chocolate Coating Trick: Add a tablespoon of vegetable oil to your melted chocolate to achieve a smoother, glossier finish that sets beautifully.
- Chilling is Key: Don't skip the refrigeration steps – they help firm up the centers and make chocolate dipping much easier.
- Storage Hack: Store your finished Nut Goodie Centers in an airtight container in the refrigerator for up to a week, though they're so delicious they probably won't last that long!
- Dipping Technique: Use a fork or specialized chocolate dipping tool to ensure even chocolate coverage and minimize mess.
- Customize Your Treat: Sprinkle some sea salt, crushed nuts, or colorful sprinkles on top of the chocolate coating for extra flair.
Nutrition Facts
Calories: 86kcal
Carbohydrates: g
Protein: g
Fat: g
Saturated Fat: g
Cholesterol: 0mg