Imagine creating a perfectly flaky, golden pie crust that doesn't require complicated techniques or expensive ingredients. This oil-based pie crust is about to revolutionize your baking game! Whether you're a novice baker or a seasoned pro looking for a quick and foolproof pastry method, this recipe will have you whipping up delicious pie crusts in no time. Say goodbye to tough, complicated crusts and hello to a simple, tender pastry that will make your pies the talk of the town!
Prep Time: 10 mins
Cook Time: 30 mins
Total Time: 40 mins
Cuisine: American
Serves: 1 pie crust
Ingredients
- 2 cups all-purpose flour
- ½ teaspoon salt
- ½ cup vegetable oil
- 6 tablespoons cold water
Instructions
- Begin by gathering all your ingredients: 2 cups of all-purpose flour, ½ teaspoon of salt, ½ cup of vegetable oil, and 6 tablespoons of cold water. Ensure that your workspace is clean and that you have a mixing bowl, a whisk or fork, and a pie dish ready.
- In a large mixing bowl, combine the 2 cups of all-purpose flour and ½ teaspoon of salt. Use a whisk or fork to mix the dry ingredients together until they are evenly distributed.
- Next, pour in ½ cup of vegetable oil into the flour mixture. Using a fork or pastry cutter, mix the oil into the flour until the mixture resembles coarse crumbs. This should take about 1-2 minutes.
- Gradually add the 6 tablespoons of cold water, one tablespoon at a time, mixing gently after each addition. You want to mix just until the dough comes together; avoid overworking it to keep the crust tender.
- Once the dough has formed, gather it into a ball and flatten it into a disc. Wrap the disc in plastic wrap and refrigerate for at least 10 minutes. This will help the dough to firm up and make it easier to roll out.
- After chilling, remove the dough from the refrigerator. On a lightly floured surface, roll out the dough into a circle that is about 12 inches in diameter and about 1/8 inch thick. Make sure to keep the surface and rolling pin lightly floured to prevent sticking.
- Carefully transfer the rolled-out dough to your pie dish. You can do this by folding the dough in half and then transferring it, or by rolling it onto the rolling pin and unrolling it over the dish.
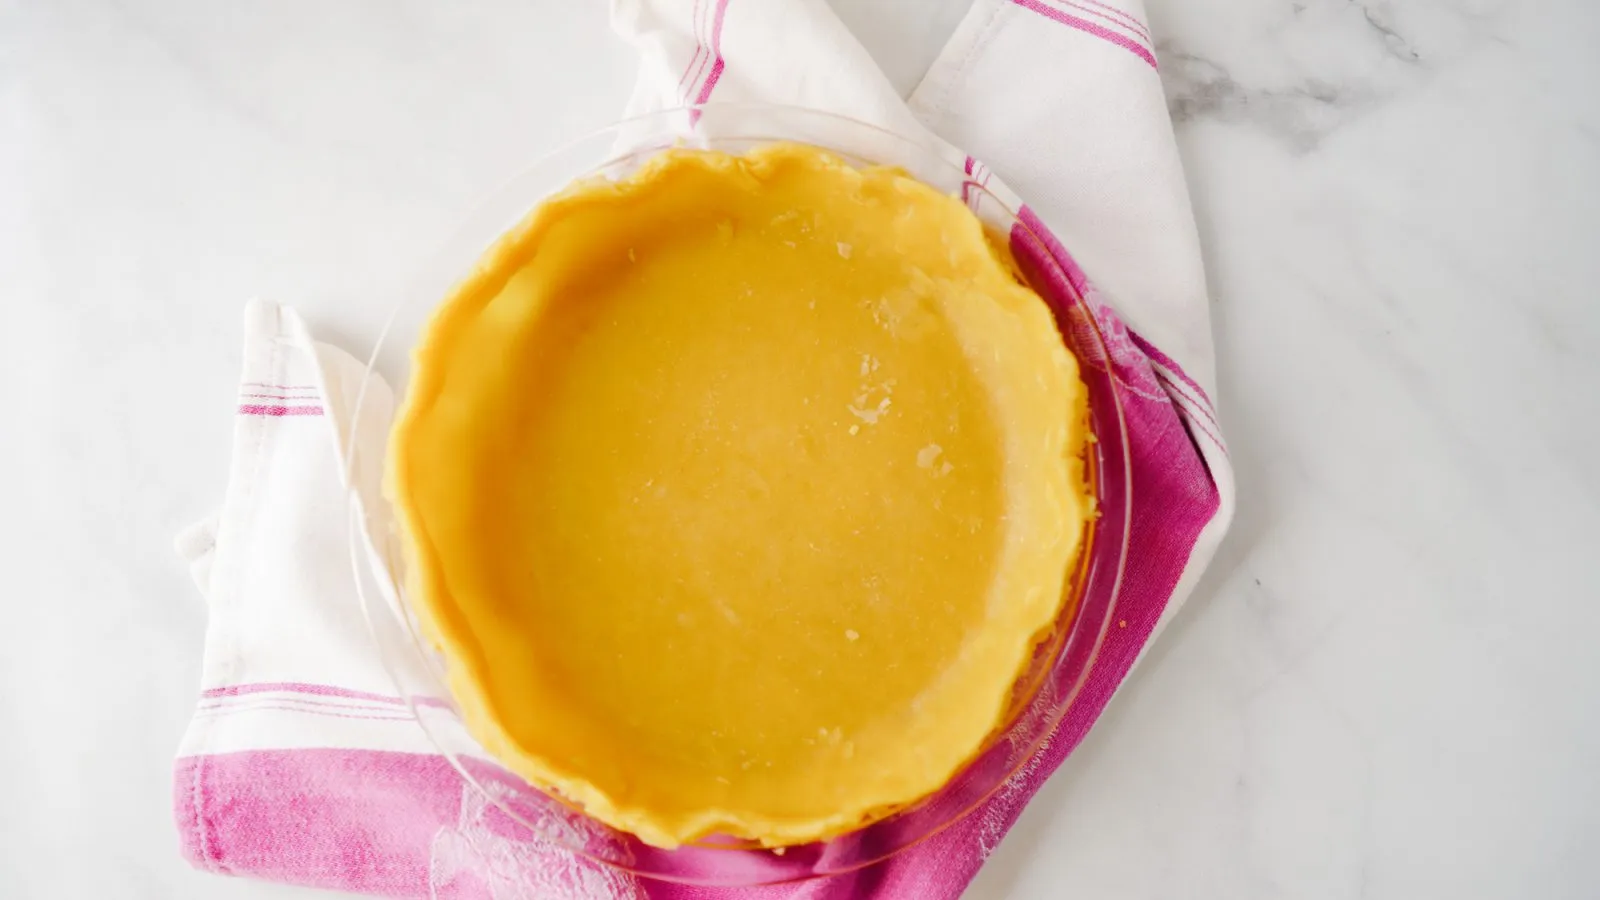
- Once the dough is in the pie dish, gently press it into the bottom and sides. Trim any excess dough hanging over the edges, leaving about 1 inch of overhang. Fold this overhang under itself to create a thicker edge, and crimp the edges with your fingers or a fork for a decorative finish.
- If your pie recipe calls for a pre-baked crust, prick the bottom of the crust with a fork to prevent bubbling. Preheat your oven to 375°F (190°C) and bake the crust for about 30 minutes, or until it is lightly golden brown.
- Once baked, remove the crust from the oven and let it cool before adding your desired filling. Enjoy your homemade oil-based pie crust!
Tips
- Temperature Matters: Use ice-cold water to help keep the dough tender and prevent overworking.
- Don't Overmix: Mix the ingredients just until they come together. Overworking can lead to a tough, dense crust.
- Chill Out: Refrigerating the dough for at least 10 minutes helps the gluten relax and makes rolling easier.
- Flour Power: Keep your work surface lightly floured to prevent sticking, but don't use too much extra flour.
- Crimp with Care: Take time to create a decorative edge – it not only looks beautiful but helps seal the crust.
- Versatility is Key: This crust works great for sweet and savory pies, from apple to chicken pot pie.
- Make Ahead: You can prepare the dough in advance and refrigerate for up to 2 days or freeze for longer storage.
- No Butter? No Problem: This oil-based crust is perfect for those with butter allergies or looking for a lighter alternative.
Nutrition Facts
Calories: 1080kcal
Carbohydrates: 90g
Protein: 12g
Fat: 72g
Saturated Fat: 6g
Cholesterol: 0mg