Discover the irresistible charm of Paratha, the beloved pan-fried Indian flatbread that elevates any meal to a culinary delight! With its flaky layers and warm, comforting taste, this versatile dish can be enjoyed on its own or stuffed with your favorite fillings like spiced potatoes or creamy paneer. Whether you're a seasoned cook or a kitchen novice, this recipe is your gateway to creating authentic Indian flavors right at home. Ready to impress your family and friends with a dish that’s as fun to make as it is to eat? Let’s dive into the world of Paratha and unlock the secrets to perfecting this delightful bread!
Prep Time: 20 mins
Cook Time: 15 mins
Total Time: 35 mins
Cuisine: Indian
Serves: 4 servings
Ingredients
- 2 cups whole wheat flour
- 1 tsp salt
- Water (as needed)
- Ghee or oil (for frying)
- Optional: Stuffing (e.g., potatoes, paneer)
Instructions
- In a large mixing bowl, combine whole wheat flour and salt, mixing thoroughly to distribute the salt evenly.
- Gradually add water to the flour mixture, kneading slowly to form a smooth, soft dough. The consistency should be pliable but not sticky. Knead for about 5-7 minutes until the dough becomes elastic.
- Cover the dough with a damp cloth and let it rest for 15-20 minutes, allowing the gluten to relax and making the dough easier to roll.
- If preparing a stuffed paratha, prepare your filling at this point. For potato filling, boil and mash potatoes, adding finely chopped green chilies, cilantro, and salt.
- Divide the dough into equal-sized balls, approximately 4-6 portions depending on desired paratha size.
- On a floured surface, roll out each dough ball into a thin, circular shape using a rolling pin. If making stuffed paratha, place the filling in the center and carefully fold and seal the edges.
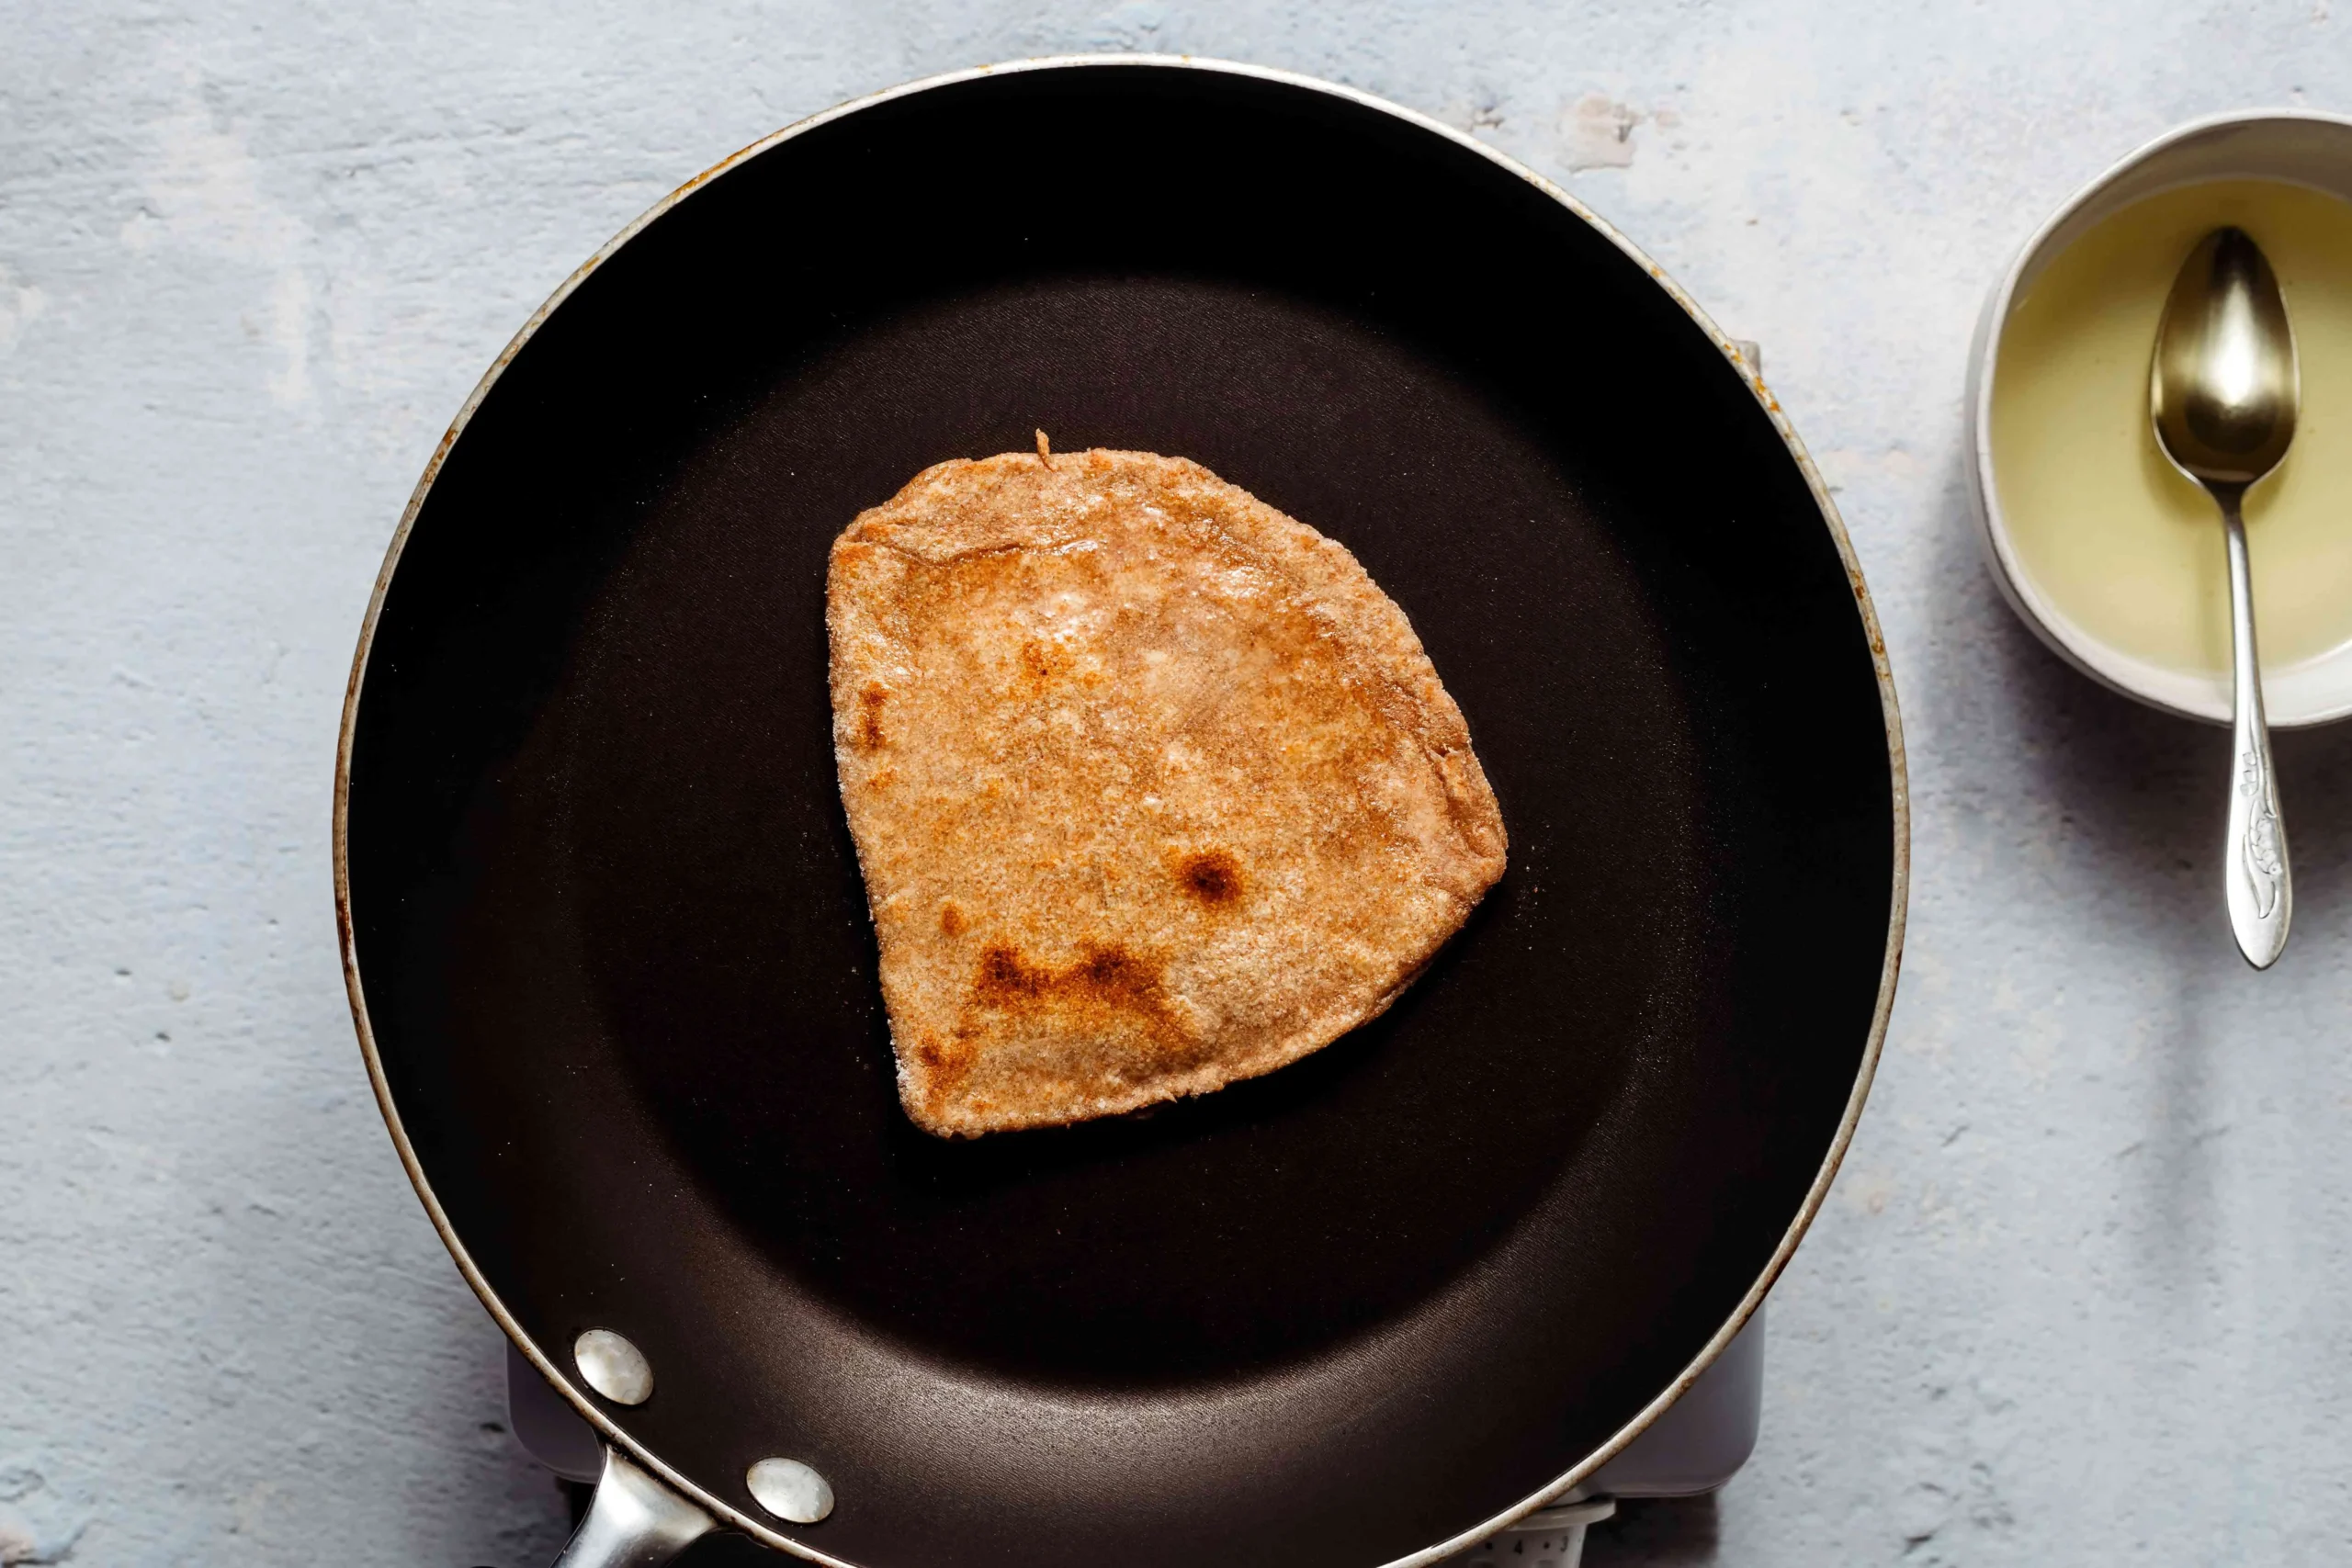
- Heat a flat griddle or tawa over medium-high heat. Place the rolled paratha on the hot surface.
- Cook for about 30-45 seconds until small bubbles appear on the surface, then flip the paratha.
- Spread a thin layer of ghee or oil on the partially cooked side, then flip again. Press gently with a spatula to ensure even cooking and help the paratha puff up.
- Continue cooking and turning, adding more ghee or oil as needed, until both sides are golden brown with crispy, slightly charred spots.
- Remove from heat and place on a plate. Optionally, brush with additional ghee for extra flavor and softness.
- Serve hot with yogurt, pickle, or your favorite chutney. Parathas are best enjoyed immediately while warm and crisp.
Tips
- Perfect Dough Consistency: Ensure your dough is soft and pliable, but not sticky. This will make rolling out the parathas much easier and help them puff up beautifully while cooking.
- Resting Time: Don’t skip the resting period for the dough! Allowing it to rest for 15-20 minutes relaxes the gluten, making it easier to roll out and resulting in softer parathas.
- Rolling Technique: When rolling out the parathas, try to keep the thickness even. If you're making stuffed parathas, ensure the filling is well-sealed to prevent it from leaking during cooking.
- Optimal Heat: Make sure your griddle or tawa is adequately heated before placing the paratha on it. A hot surface helps achieve that perfect golden-brown crust while keeping the inside soft.
- Use Ghee for Flavor: For an authentic taste, use ghee instead of regular oil when frying your parathas. It adds a rich flavor and enhances the overall experience.
- Serve Immediately: Parathas are best enjoyed fresh off the griddle. Serve them hot with yogurt, pickles, or chutneys for a delightful meal.
- Experiment with Fillings: Don’t hesitate to get creative with your fillings! From spiced vegetables to cheese, the possibilities are endless, allowing you to customize each paratha to your liking.
Nutrition Facts
Calories: kcal
Carbohydrates: g
Protein: g
Fat: g
Saturated Fat: g
Cholesterol: mg