Imagine pulling a perfectly golden, crusty loaf of bread from your oven with almost zero effort - sounds too good to be true? This No Knead Dutch Oven Bread is about to become your new kitchen superstar! With just four simple ingredients and minimal hands-on time, you'll create an artisan-style bread that looks and tastes like it came straight from a professional bakery. Whether you're a novice baker or a seasoned pro, this recipe will revolutionize your bread-making experience and impress everyone at your table.
Prep Time: 12 hrs
Cook Time: 45 mins
Total Time: 12 hrs 45 mins
Cuisine: American
Serves: 1 loaf
Ingredients
- 3 cups all-purpose flour
- 1/4 teaspoon instant yeast
- 1 teaspoon salt
- 1 1/2 cups warm water
Instructions
- In a large mixing bowl, combine the all-purpose flour, instant yeast, and salt. Mix the dry ingredients thoroughly to ensure even distribution.
- Pour the warm water into the dry ingredient mixture. Use a wooden spoon or spatula to mix until a shaggy, sticky dough forms. The dough will look rough and not smooth at this stage.
- Cover the bowl with plastic wrap and let the dough rest at room temperature (around 70°F) for 12-18 hours. This long fermentation allows the flavors to develop and the gluten to develop naturally.
- After the long rest, the dough surface will look bubbly and slightly risen. Generously flour a clean work surface and your hands.
- Carefully turn out the sticky dough onto the floured surface. Gently fold the dough over itself 2-3 times, creating a loose round shape. Do not knead aggressively.
- Place a clean kitchen towel on the counter and dust it generously with flour. Transfer the shaped dough onto the floured towel, seam side down.
- Dust the top of the dough with more flour and cover with another part of the towel. Let it rise for an additional 1-2 hours until it has nearly doubled in size.
- About 30 minutes before baking, place a large Dutch oven with its lid into the oven and preheat to 450°F (230°C).
- Carefully remove the hot Dutch oven and quickly transfer the risen dough into it by inverting the towel. The dough might look messy, but this adds to its rustic appearance.
- Cover the Dutch oven with its lid and bake for 30 minutes. Then remove the lid and bake for an additional 15 minutes until the bread is golden brown and crusty.
- Remove the bread from the Dutch oven and let it cool on a wire rack for at least 1 hour before slicing. This allows the interior to set and prevents gumminess.
Tips
- Use fresh, high-quality ingredients for the best flavor
- Be patient during the long fermentation - this is where the magic happens!
- Ensure your Dutch oven is preheated thoroughly for that perfect crispy crust
- Don't be afraid of a messy-looking dough - rustic is the goal
- Use a kitchen scale for precise measurements if possible
- Let the bread cool completely before slicing to maintain ideal texture
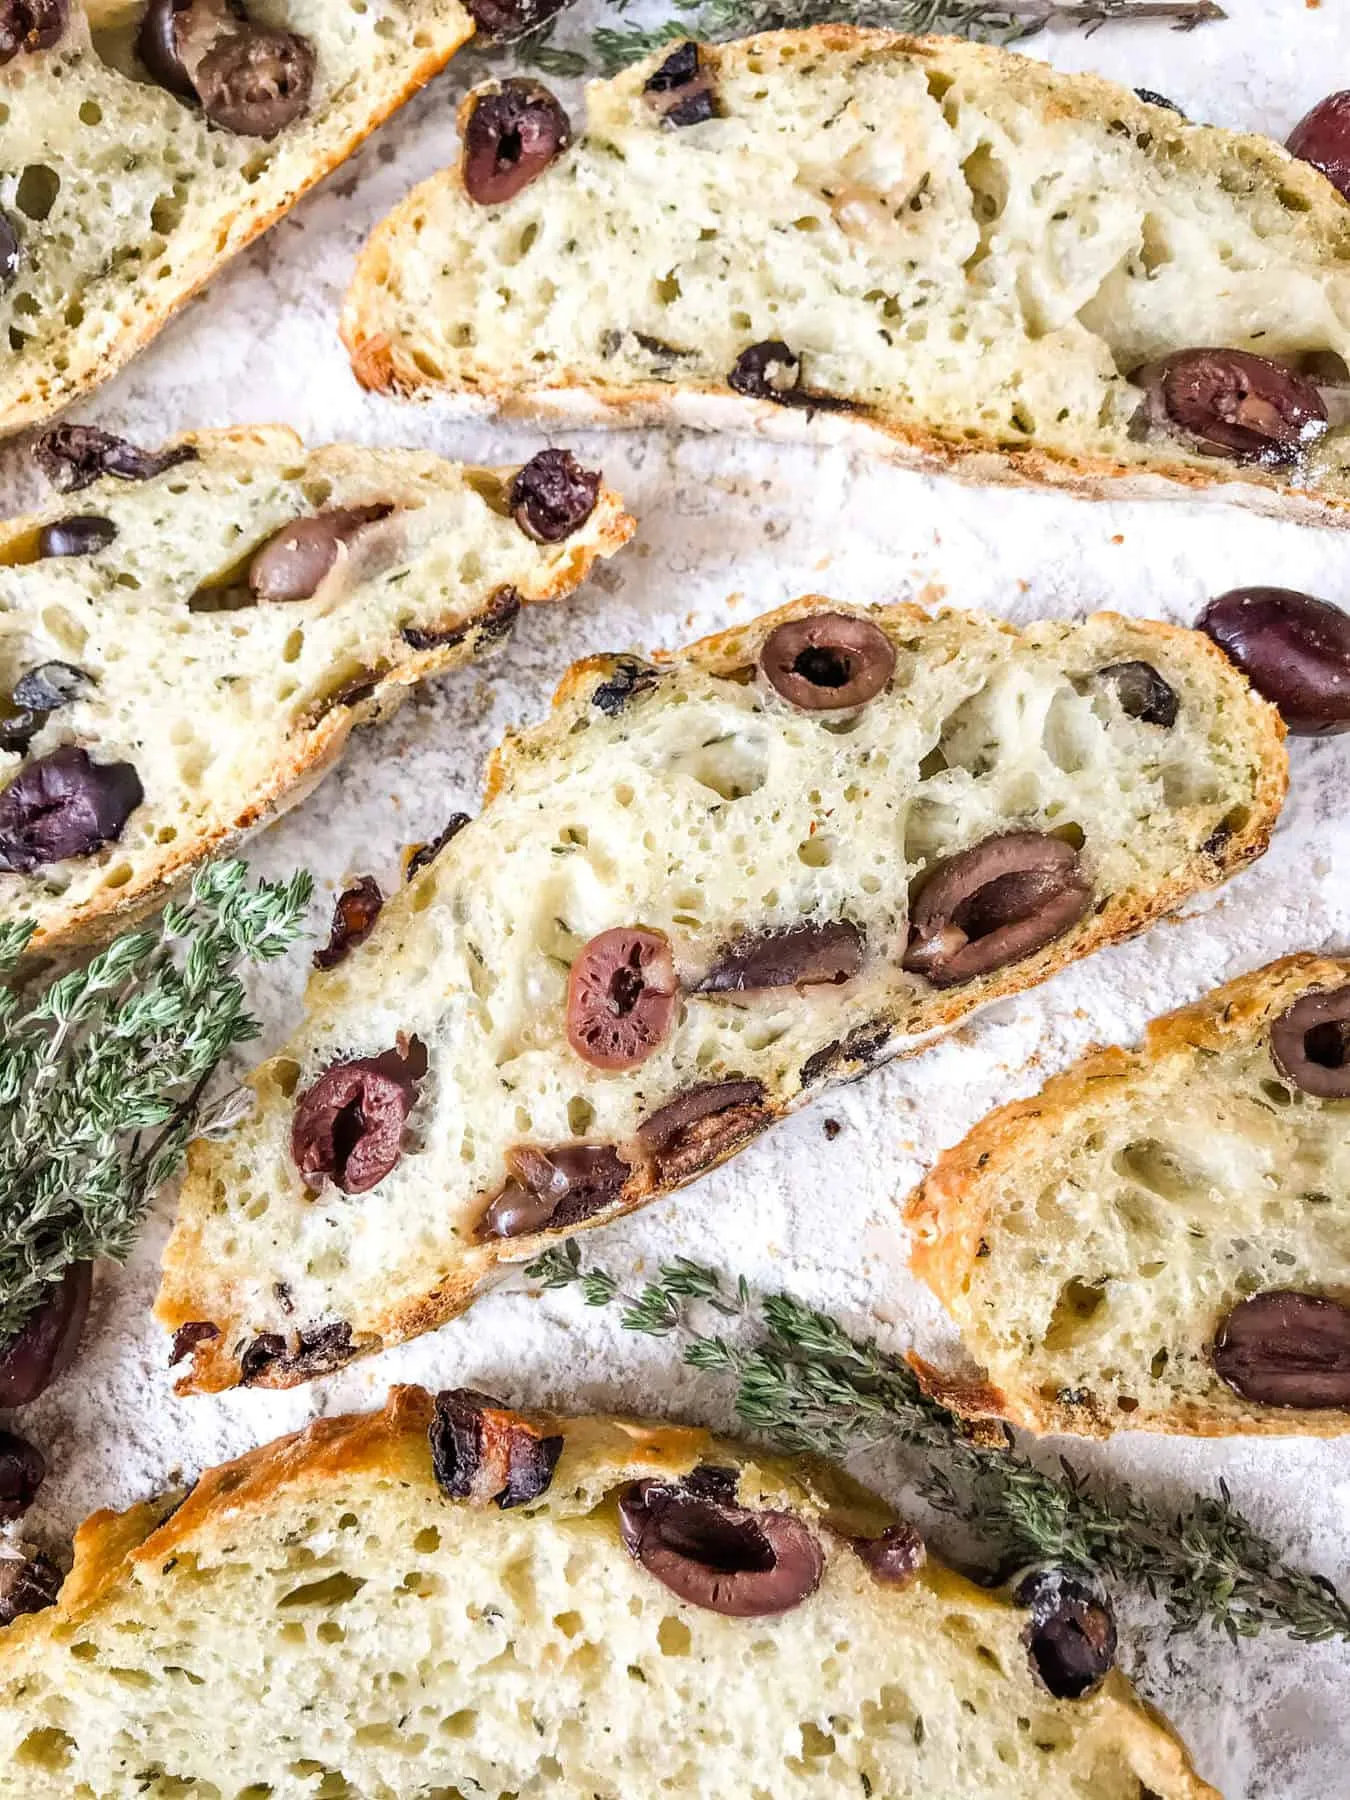
- Experiment with adding herbs or seeds to customize your loaf
- Store bread in a paper bag to maintain crispness, avoiding plastic which can make the crust soggy
Nutrition Facts
Calories: 410kcal
Carbohydrates: 85g
Protein: 12g
Fat: 1g
Saturated Fat: g
Cholesterol: 0mg