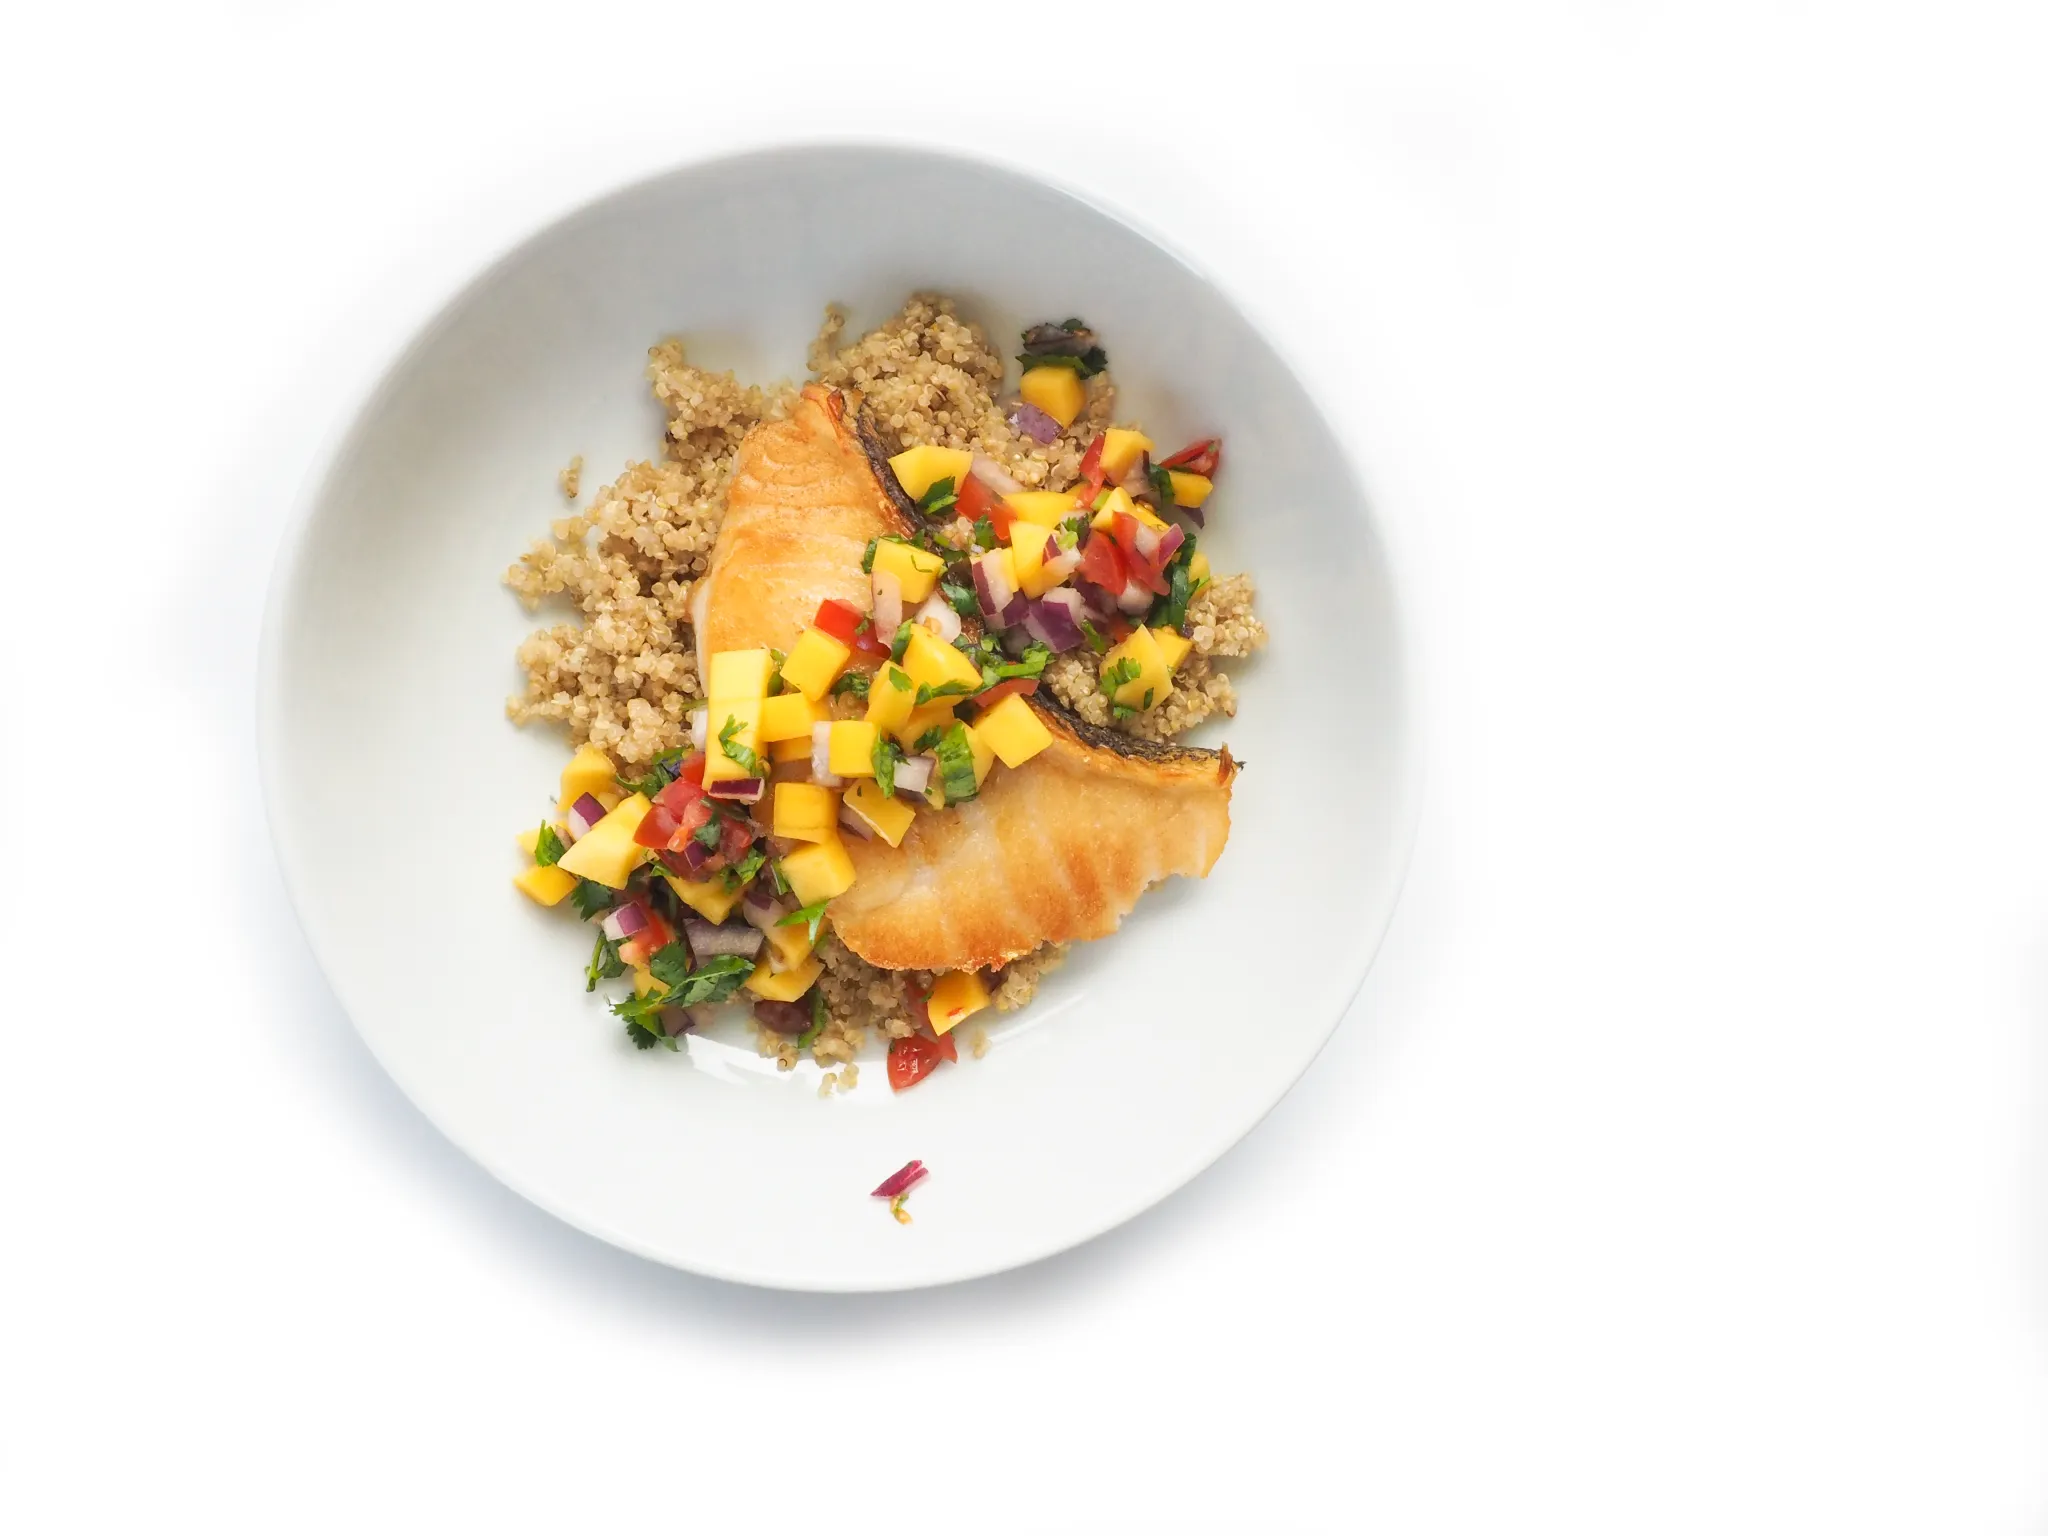
Dive into a culinary adventure with our tantalizing "Seabass with Red Quinoa Crust" recipe! This Peruvian-inspired dish not only showcases the delicate flavors of seabass but also features a delightful, crunchy quinoa crust that’s as nutritious as it is delicious. Whether you’re looking to impress dinner guests or simply elevate your weeknight meals, this vibrant dish is sure to steal the spotlight on your dining table. Ready to discover how to create this mouthwatering masterpiece? Let’s get cooking!
Prep Time: 10 mins
Cook Time: 25 mins
Total Time: 35 mins
Cuisine: Peruvian
Serves: 2 servings
Ingredients
- 2 seabass fillets
- 1 cup cooked red quinoa
- 1/2 cup breadcrumbs
- 2 tbsp olive oil
- 1 lemon, juiced
- Salt and pepper to taste
- 1 tbsp parsley, chopped
Instructions
- Preheat your oven to 400°F (200°C). This will ensure that your seabass cooks evenly and the quinoa crust becomes crispy.
- In a mixing bowl, combine the cooked red quinoa, breadcrumbs, olive oil, lemon juice, chopped parsley, salt, and pepper. Mix well until all ingredients are evenly coated and form a cohesive mixture. This will create a flavorful crust for the seabass.
- Pat the seabass fillets dry with a paper towel to remove any excess moisture. This helps the crust adhere better and ensures a crispy texture.
- Place the seabass fillets skin-side down on a baking sheet lined with parchment paper. This prevents sticking and makes for an easy cleanup.
- Evenly distribute the quinoa mixture over the top of each seabass fillet, pressing it down gently to ensure it sticks well to the fish.
- Drizzle a little extra olive oil over the crusted seabass fillets to enhance browning and add flavor.
- Place the baking sheet in the preheated oven and bake for approximately 20-25 minutes, or until the seabass is cooked through and flakes easily with a fork. The crust should be golden and crispy.
- While the seabass is baking, prepare a simple side salad or steamed vegetables to complement the dish.
- Once done, remove the seabass from the oven and let it rest for a couple of minutes. This allows the juices to redistribute and keeps the fish moist.
- Serve the seabass fillets warm, garnished with additional chopped parsley and lemon wedges on the side for an extra burst of freshness.
Tips
- Preheat for Perfection: Always preheat your oven to 400°F (200°C) before baking. This ensures even cooking and helps achieve that crispy quinoa crust you desire.
- Mix It Well: When combining the cooked red quinoa, breadcrumbs, and other ingredients, make sure everything is well-coated. This will create a cohesive mixture that adheres beautifully to the seabass.
- Dry It Out: Pat the seabass fillets dry with a paper towel before applying the crust. This step is crucial for achieving a crispy texture since excess moisture can prevent the crust from sticking properly.
- Press It Down: When applying the quinoa mixture, press it down gently onto the fillets to ensure it sticks well. This will help create a thick, flavorful crust that enhances each bite.
- Extra Flavor: Drizzle a little extra olive oil over the crusted seabass before baking. This not only promotes browning but also adds an extra layer of flavor to the dish.
- Watch the Time: Keep an eye on your seabass while it bakes. Cooking times can vary depending on the thickness of the fillets, so check for doneness around the 20-minute mark.
- Rest Before Serving: Allow the seabass to rest for a couple of minutes after baking. This helps the juices redistribute, ensuring each bite is tender and moist.
- Garnish for Freshness: Don’t forget to garnish your dish with fresh parsley and lemon wedges before serving. This adds a pop of color and a zesty kick that complements the flavors beautifully.
Nutrition Facts
Calories: 420kcal
Carbohydrates: 35g
Protein: 35g
Fat: 18g
Saturated Fat: 3g
Cholesterol: 85mg