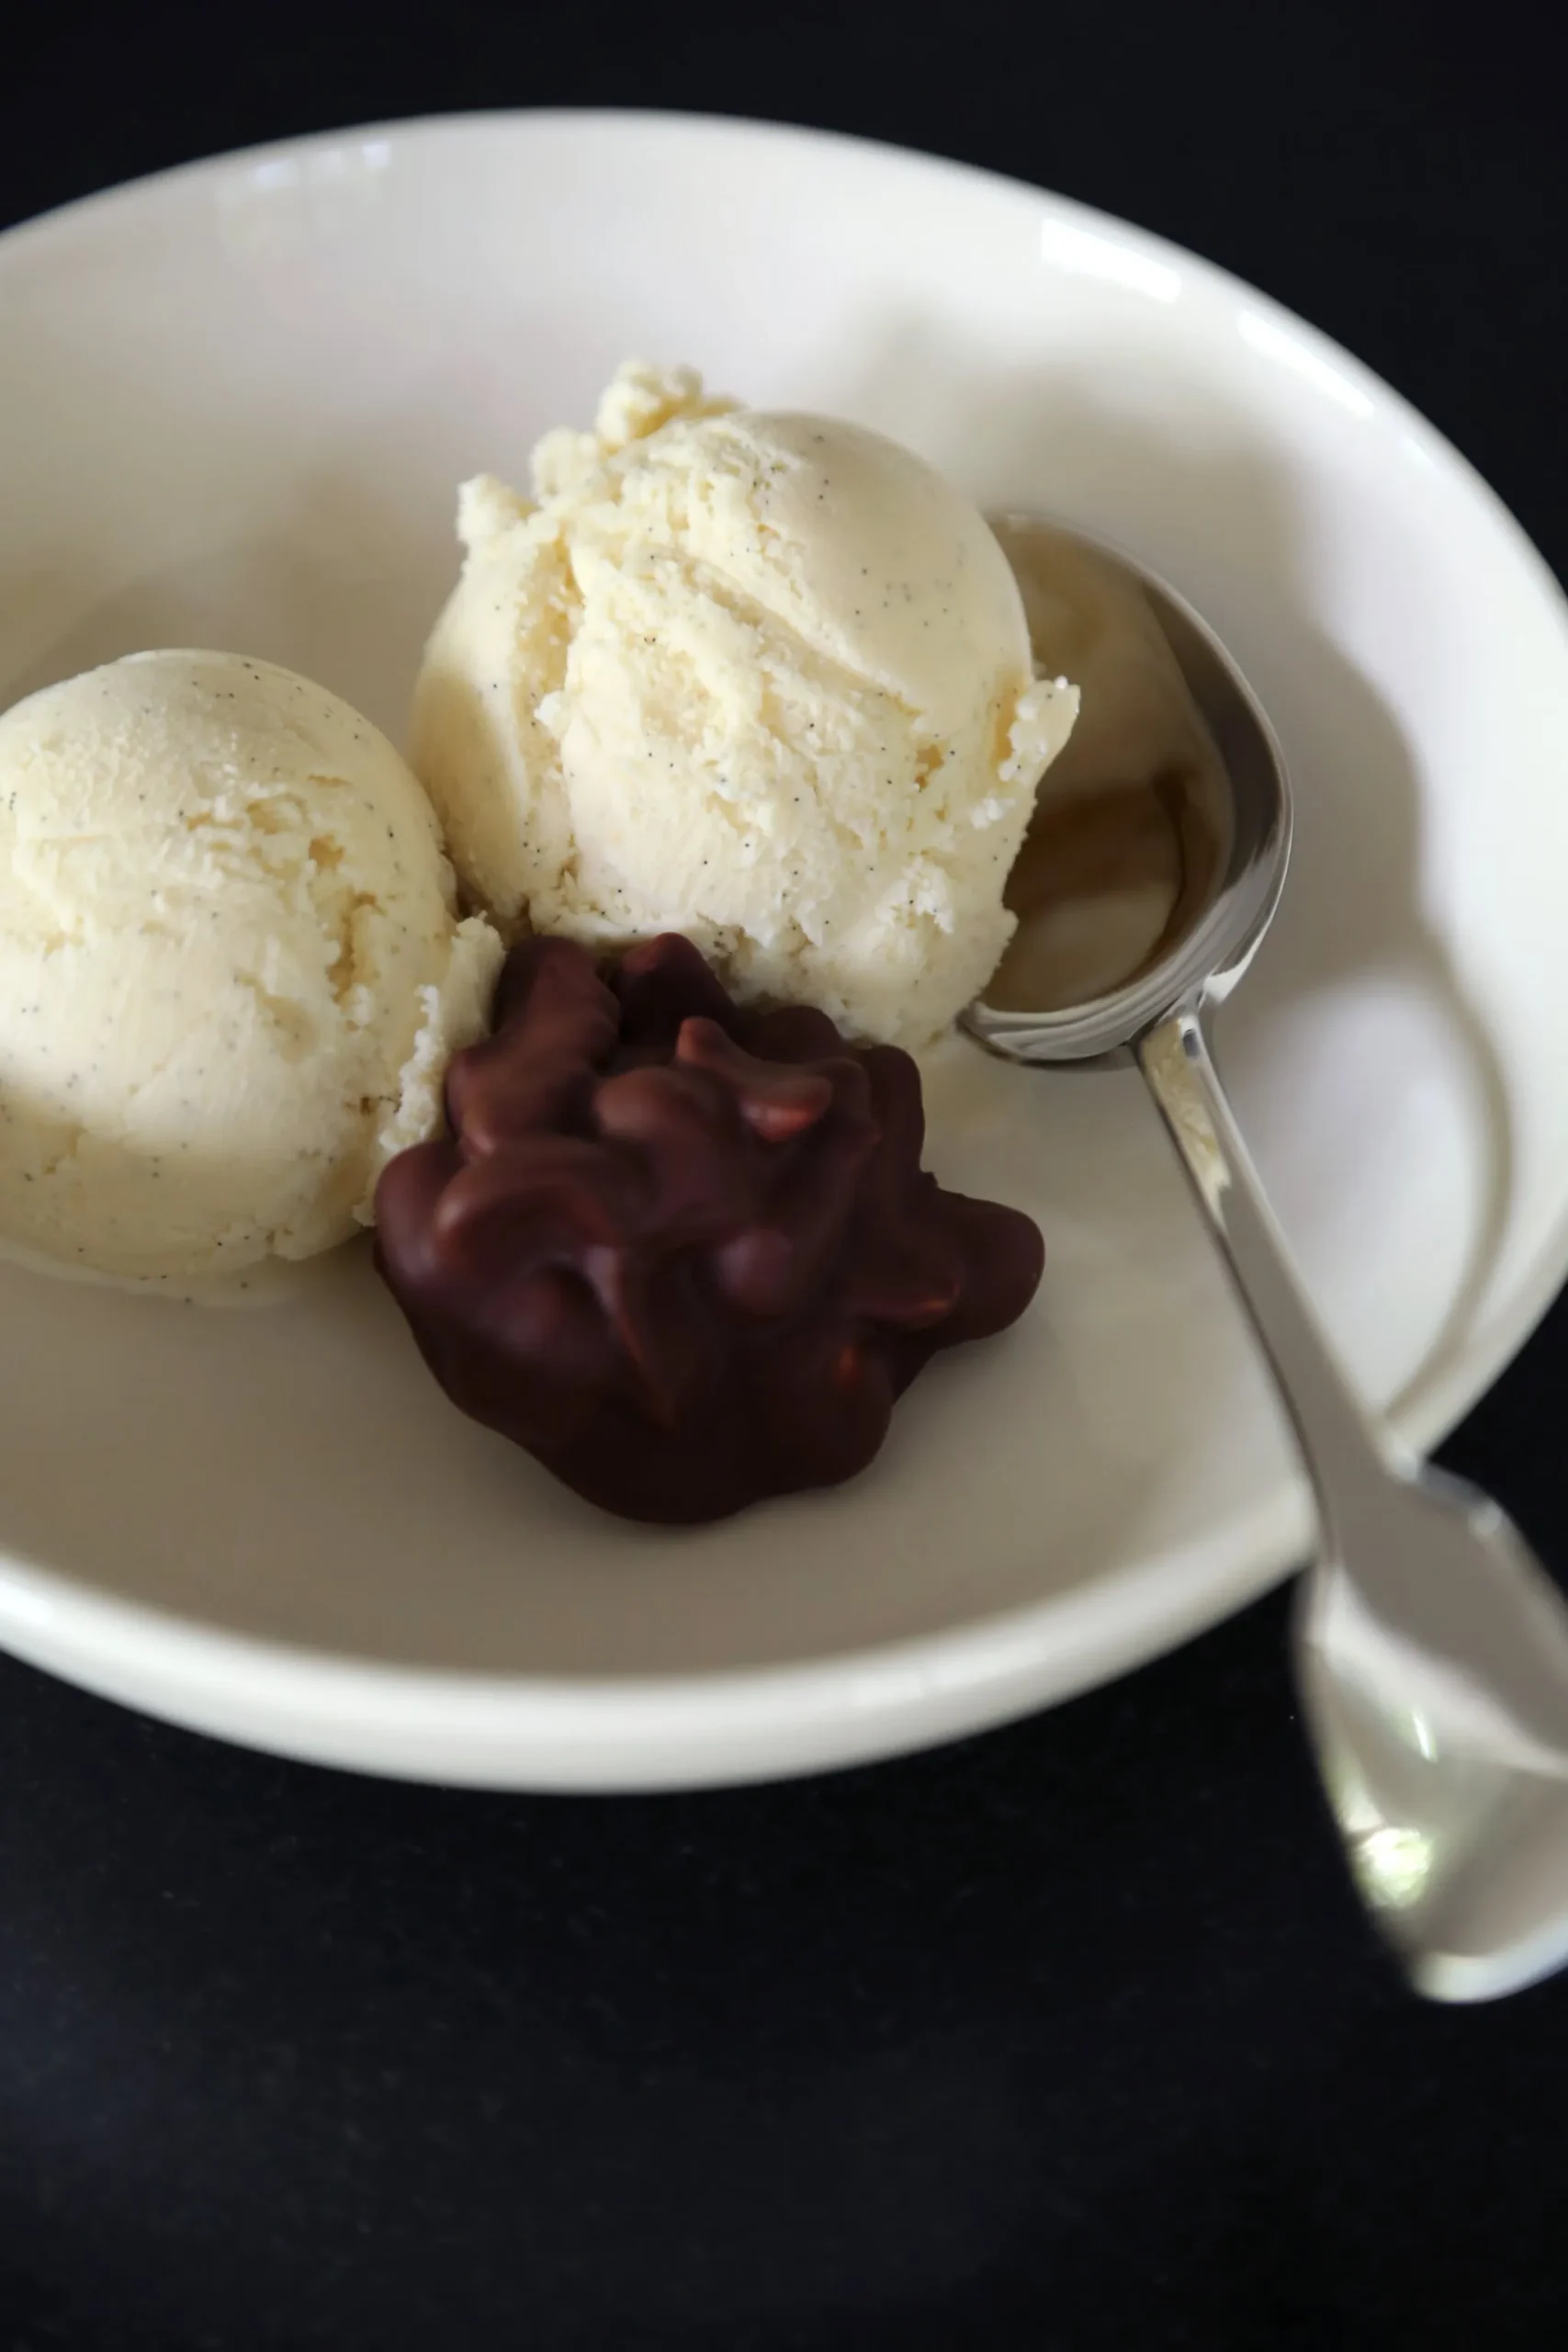
Imagine a dessert so luxurious, so velvety smooth, that it transports you to a world of pure culinary delight with just one spoonful. Our Simple Homemade Vanilla Bean Ice Cream isn't just a recipe - it's an experience that will make you forget all about store-bought alternatives. With real vanilla bean and a technique that guarantees the creamiest texture imaginable, this dessert is about to become your new obsession. Get ready to impress your friends, family, and most importantly, your taste buds!
Prep Time: 15 mins
Cook Time: -
Total Time: 15 mins
Cuisine: Dessert
Serves: 4 servings
Ingredients
- 2 cups heavy cream
- 1 cup whole milk
- 3/4 cup sugar
- 1 vanilla bean, split and scraped
- 1 tsp vanilla extract
- Pinch of salt
Instructions
- In a medium saucepan, combine heavy cream, whole milk, sugar, and the scraped vanilla bean seeds along with the pod.
- Heat the mixture over medium heat, stirring constantly until the sugar completely dissolves and the mixture is hot but not boiling. This typically takes about 5-6 minutes.
- Remove the pan from heat and let the mixture steep for 15-20 minutes to allow the vanilla bean to infuse its rich flavor into the cream.
- Remove the vanilla bean pod from the mixture and discard or save for another use.
- Stir in the vanilla extract and pinch of salt, mixing thoroughly to ensure even distribution.
- Transfer the mixture to a clean bowl and refrigerate for at least 2 hours or until completely chilled. This helps create a smoother ice cream texture.
- Pour the chilled mixture into an ice cream maker and churn according to the manufacturer's instructions, typically 20-25 minutes.
- Transfer the churned ice cream to a freezer-safe container and freeze for 2-3 hours to firm up before serving.
- Allow the ice cream to sit at room temperature for 2-3 minutes before scooping to ensure easy serving.
Tips
- Use fresh, high-quality vanilla beans for the most intense flavor. The tiny seeds packed inside are pure magic!
- Make sure to steep the vanilla bean in the warm cream mixture to extract maximum flavor. Patience is key here.
- Always chill your base completely before churning - this ensures a smoother, more luxurious ice cream texture.
- If you don't have an ice cream maker, you can still make this recipe by placing the mixture in the freezer and stirring every 30 minutes to break up ice crystals.
- For an extra silky finish, let the ice cream sit at room temperature for 2-3 minutes before scooping.
- Store your homemade ice cream in an airtight container with plastic wrap pressed directly onto the surface to prevent ice crystals from forming.
Nutrition Facts
Calories: 400kcal
Carbohydrates: 30g
Protein: 4g
Fat: 30g
Saturated Fat: 18g
Cholesterol: 110mg


