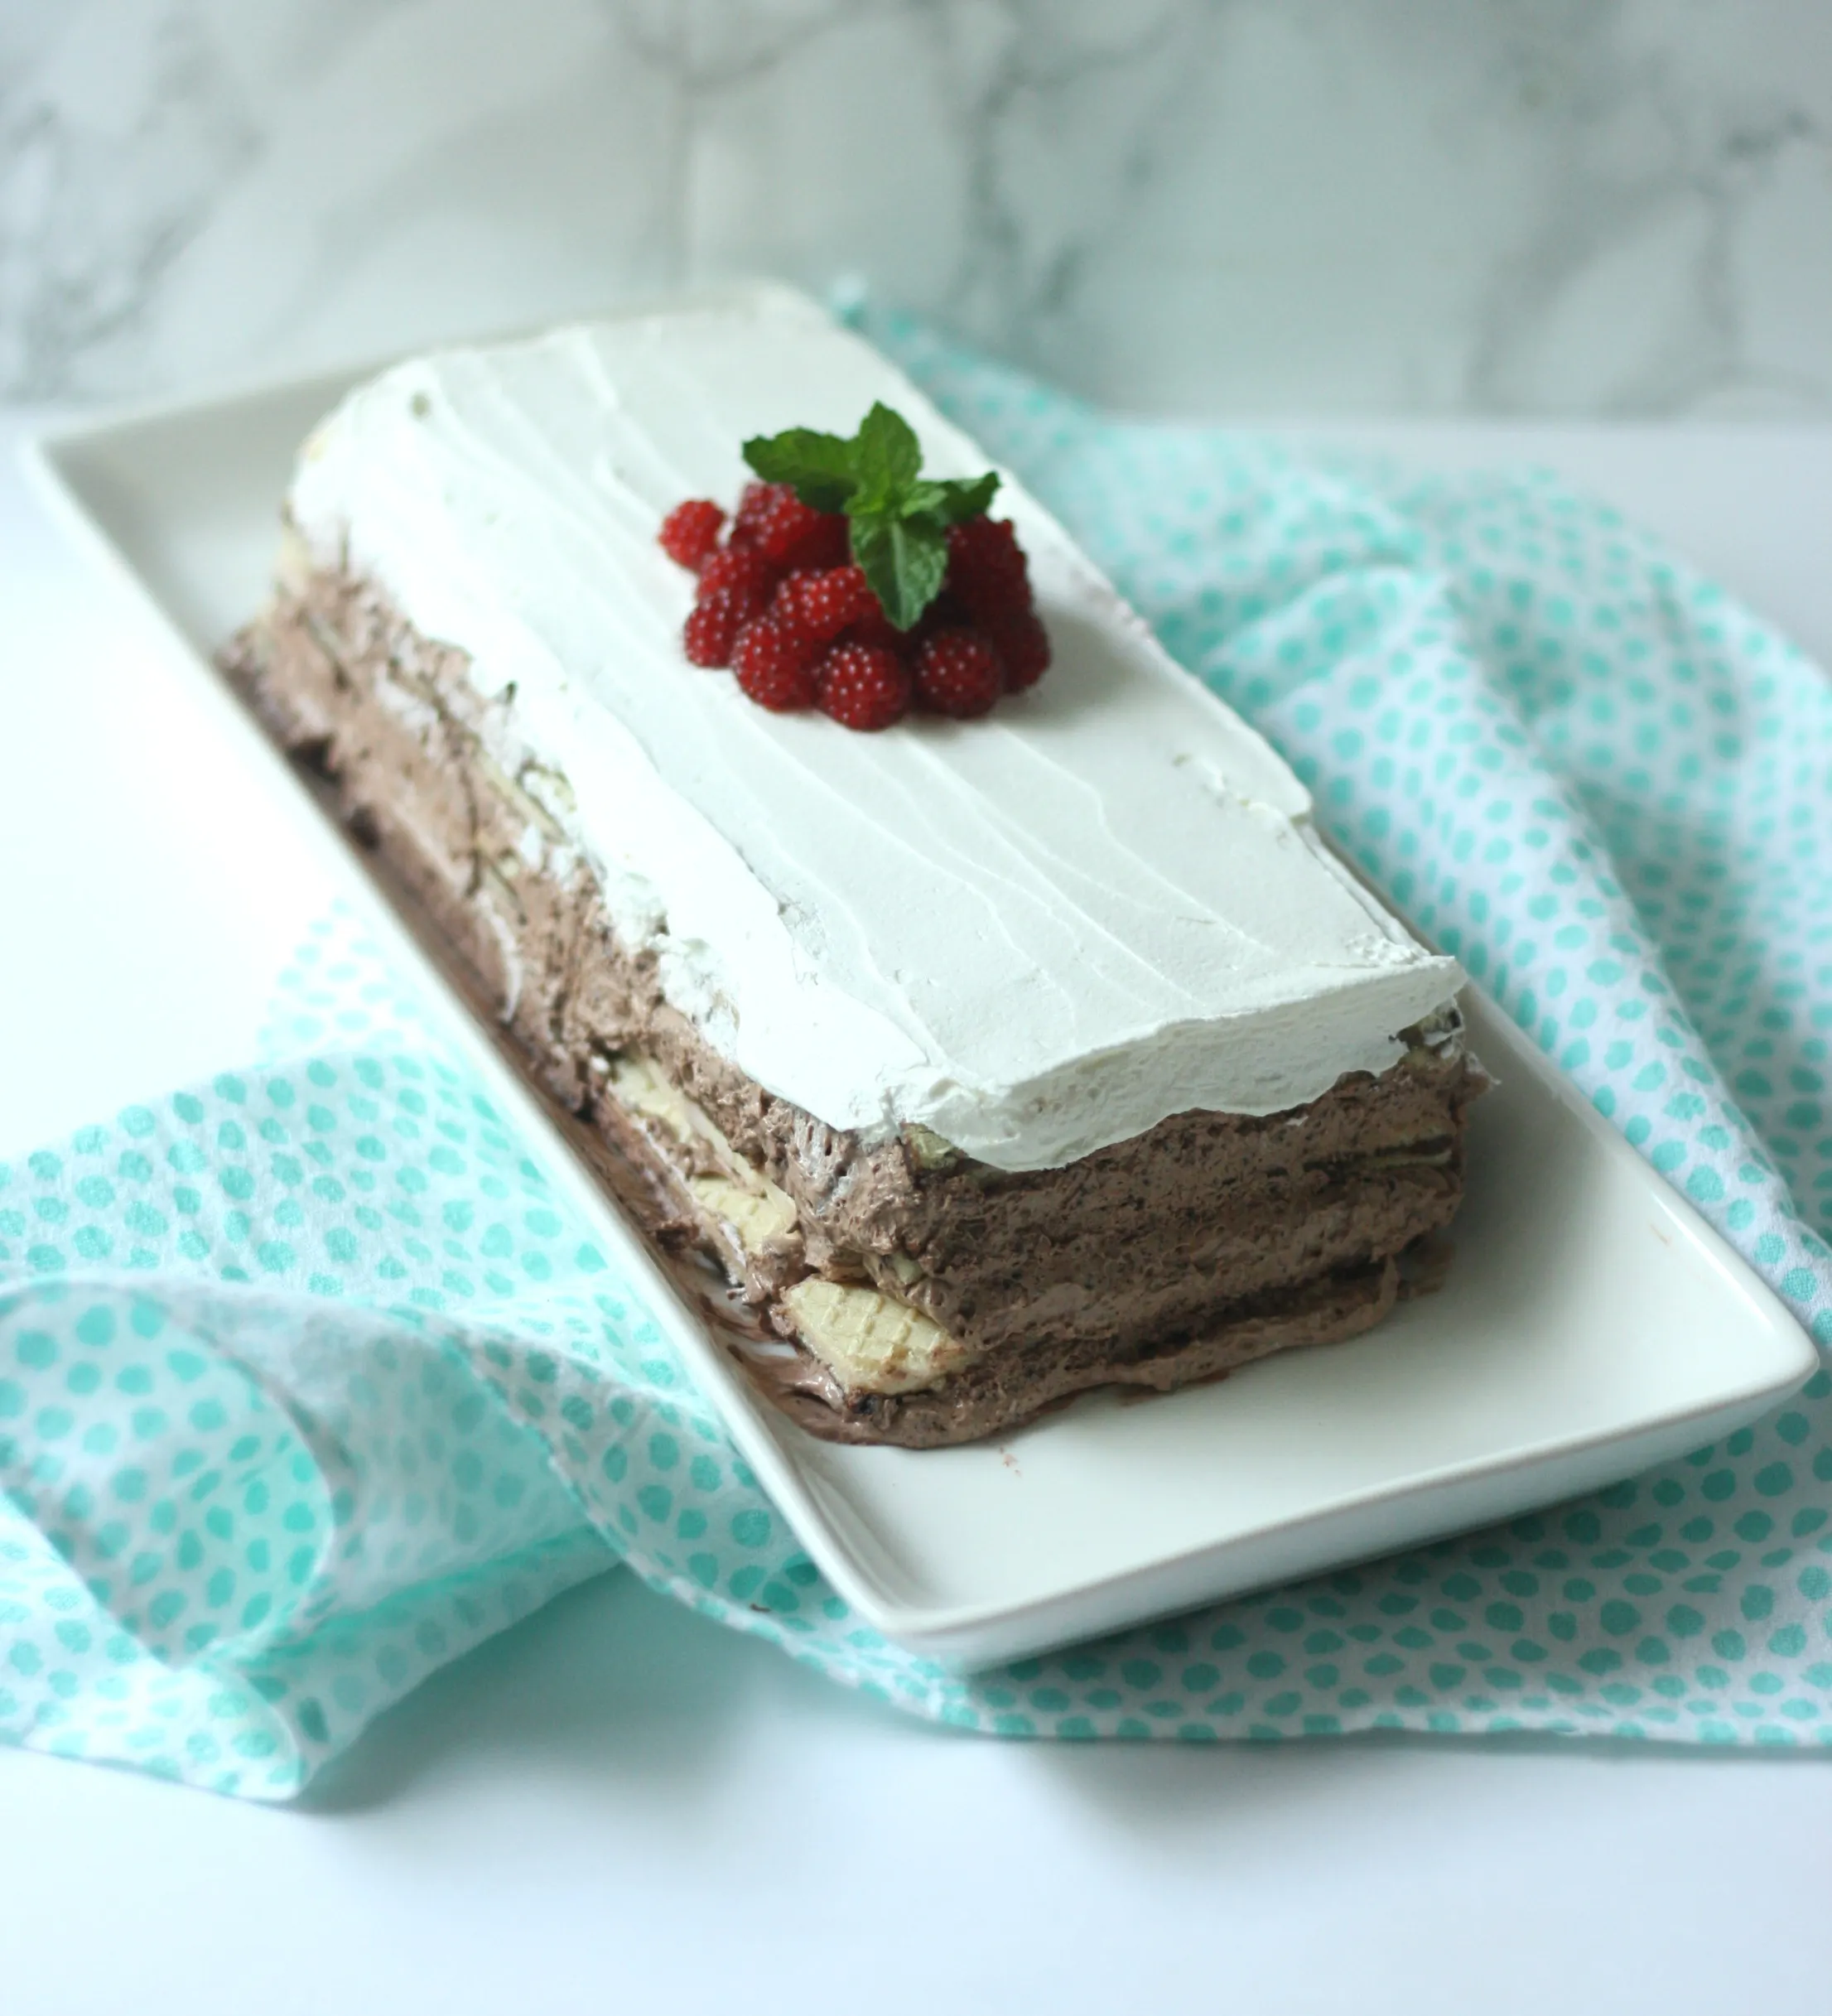
Imagine a dessert that's so creamy, so rich, and so incredibly delicious that you won't believe it's actually a lighter version of a classic treat. This Skinny Chocolate Raspberry Icebox Cake is the ultimate dessert hack that proves you can have your cake and eat it too! With a perfect balance of tangy raspberries, smooth cream cheese, and decadent chocolate wafers, this no-bake wonder is about to become your new obsession. Whether you're watching your waistline or just craving a show-stopping dessert that requires minimal effort, this recipe is your golden ticket to dessert paradise.
Prep Time: 20 mins
Cook Time: -
Total Time: 20 mins
Cuisine: American
Serves: 8 servings
Ingredients
- 1 package (8 oz) reduced-fat cream cheese
- 1 cup Greek yogurt
- 1/2 cup powdered sugar
- 1 teaspoon vanilla extract
- 1 cup fresh raspberries
- 1 package (14.1 oz) chocolate wafer cookies
- 1/2 cup dark chocolate shavings
Instructions
- Begin by gathering all your ingredients: 1 package (8 oz) reduced-fat cream cheese, 1 cup Greek yogurt, 1/2 cup powdered sugar, 1 teaspoon vanilla extract, 1 cup fresh raspberries, 1 package (
- 1 oz) chocolate wafer cookies, and 1/2 cup dark chocolate shavings.
- In a large mixing bowl, combine the reduced-fat cream cheese, Greek yogurt, powdered sugar, and vanilla extract. Using an electric mixer, beat the mixture on medium speed until it is smooth and well combined, about 2-3 minutes.
- Once the mixture is smooth, gently fold in the fresh raspberries, being careful not to crush them too much. The raspberries will add a lovely flavor and color to the cream mixture.
- Prepare a 9x5-inch loaf pan or a similar-sized dish for layering. Start by placing a layer of chocolate wafer cookies at the bottom of the pan. You can break the cookies if necessary to make them fit snugly.
- Spread a portion of the cream cheese and raspberry mixture over the layer of cookies, smoothing it out evenly with a spatula.
- Repeat the layering process: add another layer of chocolate wafer cookies, followed by another layer of the cream mixture. Continue this process until you have used all the cookies and cream mixture, finishing with a layer of the cream mixture on top.
- After layering, sprinkle the dark chocolate shavings evenly over the top of the final cream layer for added texture and flavor.
- Cover the icebox cake with plastic wrap and refrigerate it for at least 4 hours, or preferably overnight. This allows the cookies to soften and the flavors to meld together.
- Once chilled and set, remove the cake from the refrigerator. Carefully slice into portions and serve chilled. Garnish with additional fresh raspberries if desired.
Tips
- Chill Out: The secret to a perfect icebox cake is patience. Let it sit in the refrigerator for at least 4 hours, but overnight is even better. This allows the cookies to soften and the flavors to mingle magically.
- Cream Cheese Technique: Ensure your cream cheese is at room temperature before mixing to avoid lumps and create a smoother, more luxurious cream mixture.
- Raspberry Handling: When folding in raspberries, use a gentle touch. You want to keep them mostly intact to create beautiful bursts of flavor throughout the cake.
- Chocolate Shavings Hack: For the prettiest presentation, use a vegetable peeler to create delicate chocolate shavings from a high-quality dark chocolate bar.
- Make-Ahead Magic: This cake actually gets better with time, making it a perfect make-ahead dessert for dinner parties or special occasions.
- Storage Tip: The cake will keep well in the refrigerator for up to 3-4 days, covered tightly with plastic wrap.
Nutrition Facts
Calories: 280kcal
Carbohydrates: 35g
Protein: 8g
Fat: 12g
Saturated Fat: 7g
Cholesterol: 35mg