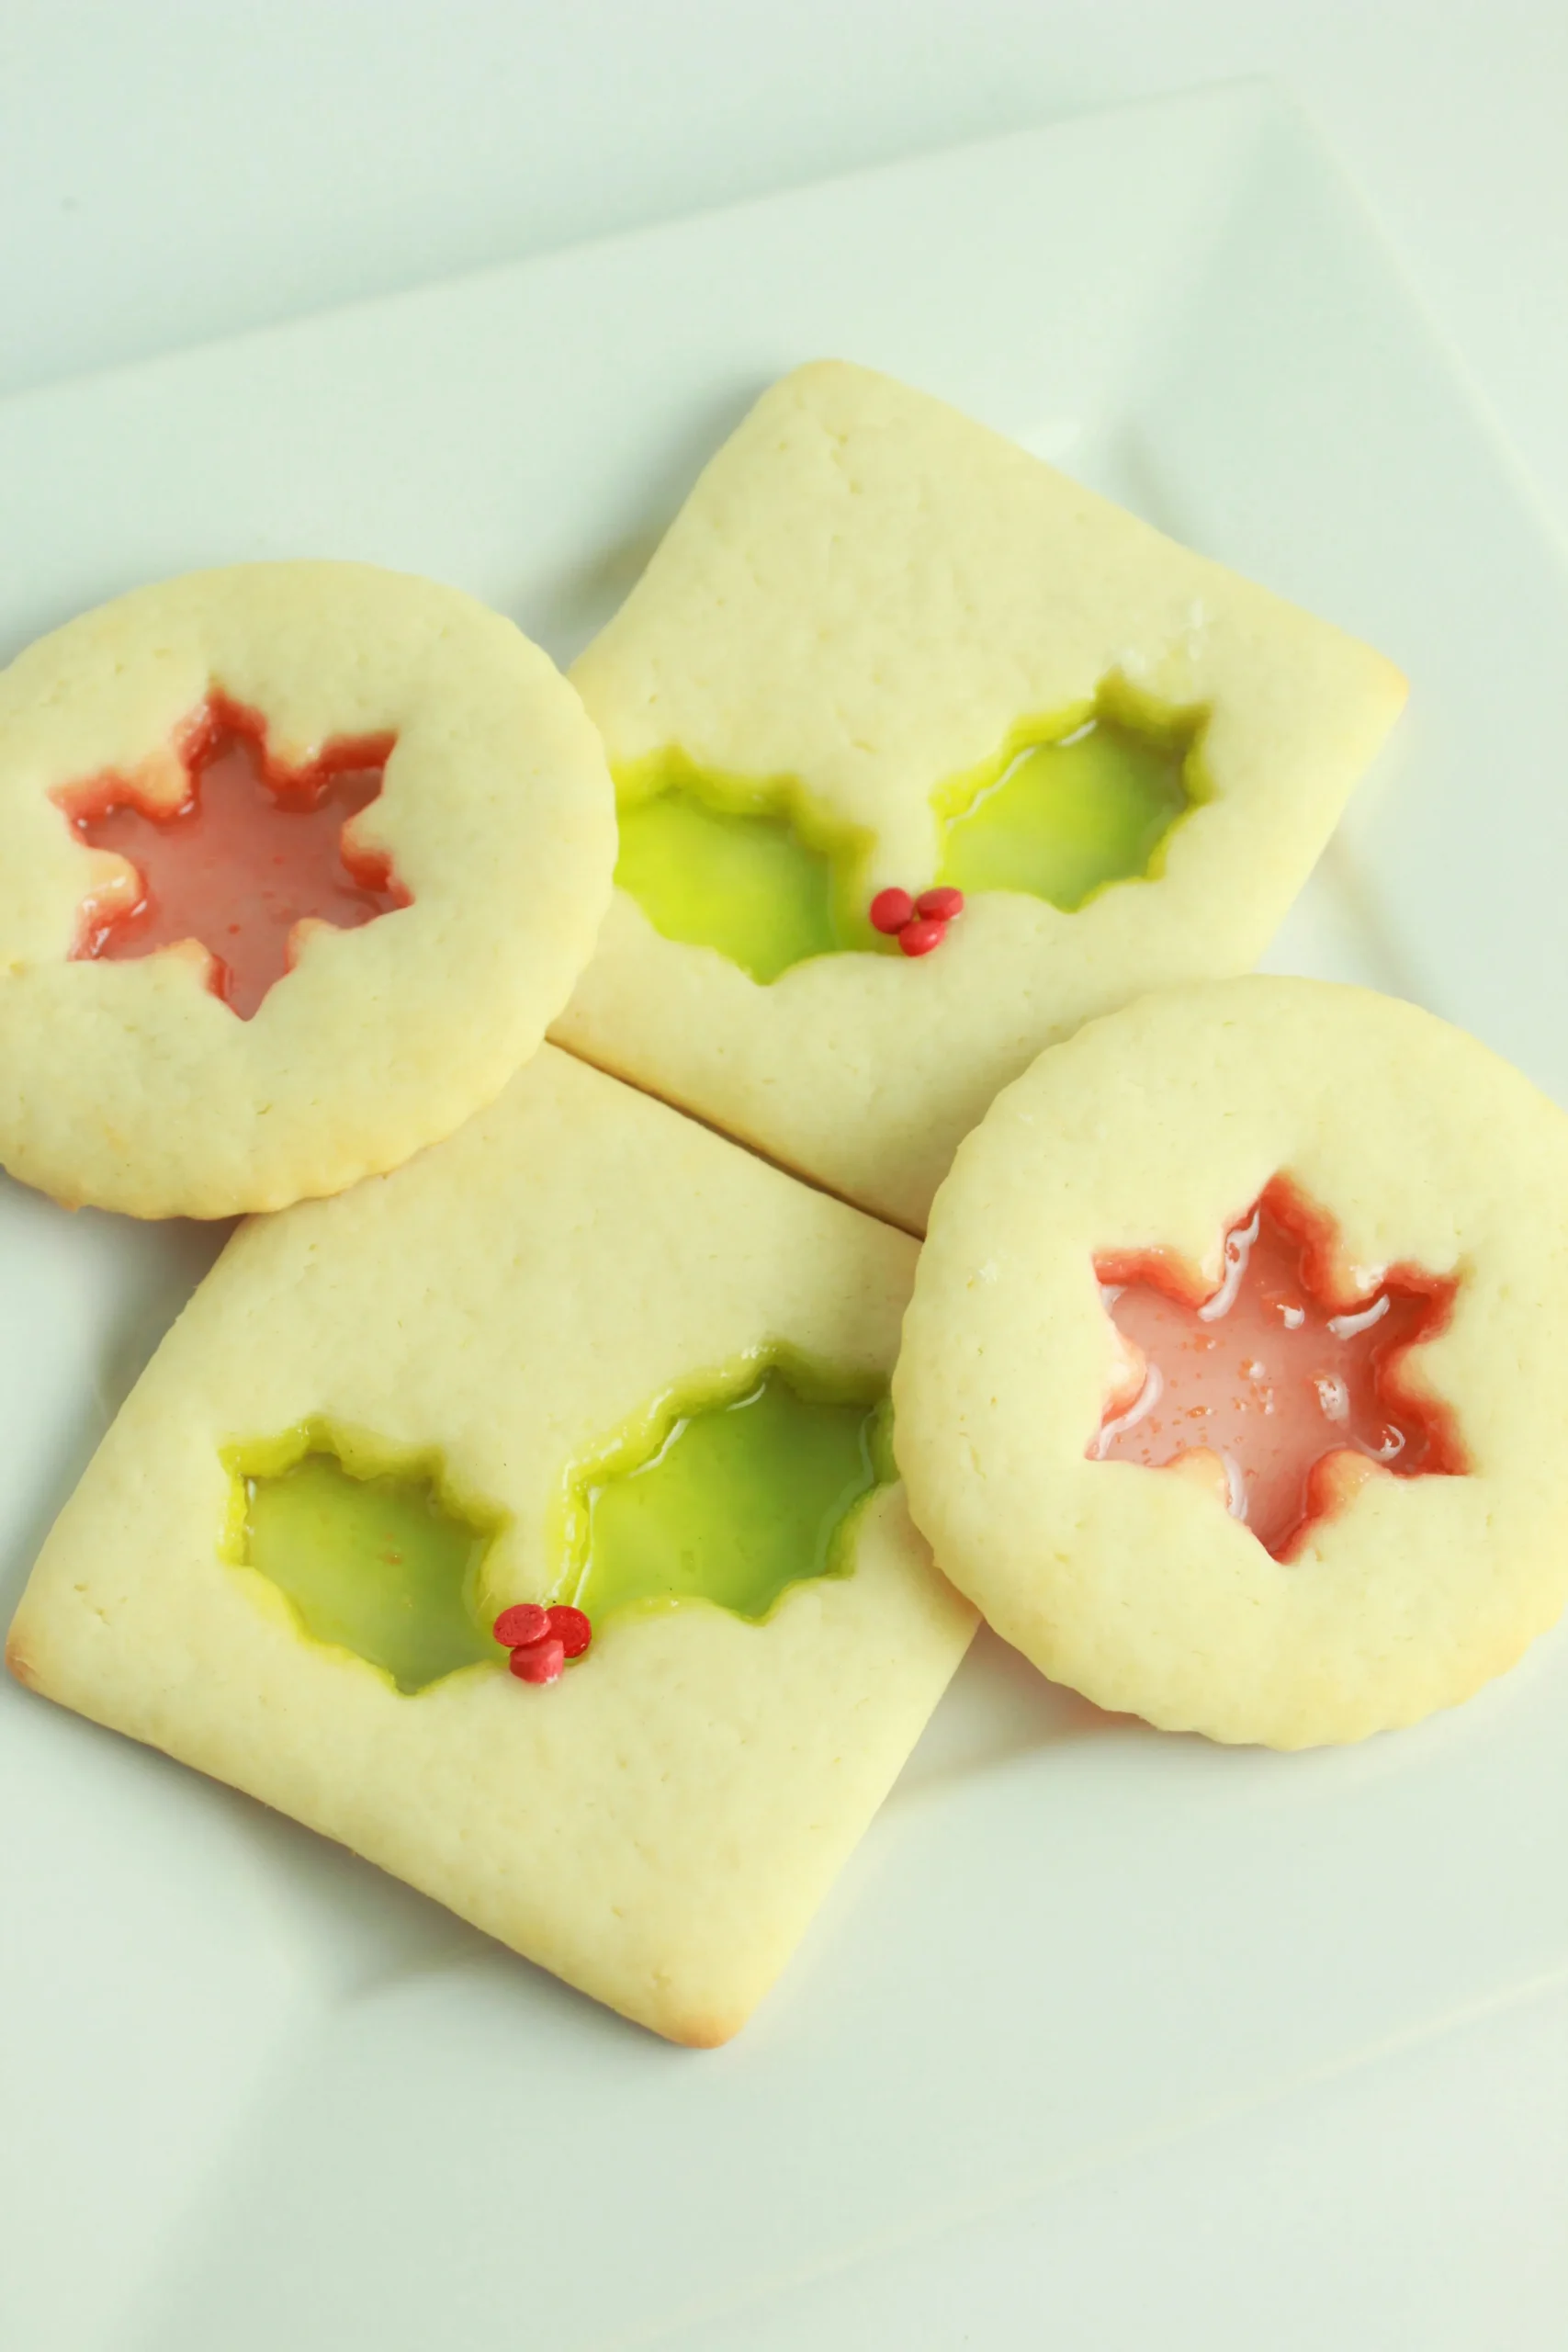
Imagine biting into a cookie that looks like a miniature work of art, with vibrant, translucent centers that shimmer like jewels! These Stained Glass Sugar Cookies are not just a dessert; they're an experience that will transform your baking game and impress everyone who sees them. Perfect for holidays, special occasions, or when you want to add a touch of whimsy to your cookie platter, these gluten-free delights combine the classic comfort of sugar cookies with a stunning visual surprise that will make both kids and adults stop and stare.
Prep Time: 30 mins
Cook Time: 10 mins
Total Time: 40 mins
Cuisine: Gluten Free
Serves: 24 cookies
Ingredients
- 2 cups gluten free flour
- 1 cup granulated sugar
- 1/2 cup butter, softened
- 1 egg
- 1 tsp vanilla extract
- 1/2 tsp baking powder
- 1/4 tsp salt
- 1 cup crushed hard candies (for stained glass effect)
Instructions
- Preheat the oven to 350°F (175°C) and line two baking sheets with parchment paper.
- In a medium mixing bowl, cream together softened butter and granulated sugar until light and fluffy, using an electric mixer.
- Add the egg and vanilla extract to the butter mixture, beating until well combined and smooth.
- In a separate bowl, whisk together gluten-free flour, baking powder, and salt.
- Gradually add the dry ingredients to the wet mixture, mixing until a soft dough forms. If the dough seems too sticky, refrigerate for 15 minutes.
- Roll out the dough on a lightly floured surface to about 1/4 inch thickness.
- Using cookie cutters, cut out shapes from the dough. For the stained glass effect, cut out a smaller shape in the center of each cookie.
- Carefully transfer the cookies to the prepared baking sheets.
- Fill the center cut-outs with crushed hard candies, ensuring an even distribution.
- Bake for 8-10 minutes, or until the edges are lightly golden and the candy has melted into a translucent "glass" effect.
- Remove from the oven and let the cookies cool completely on the baking sheet to allow the candy center to harden.
- Gently transfer the cooled cookies to a wire rack using a thin spatula.
Tips
- Choose hard candies in complementary or contrasting colors for the most dramatic stained glass effect.
- Crush candies finely and evenly to ensure uniform melting and a smooth glass-like appearance.
- Refrigerate the dough if it's too sticky - this helps with easier rolling and cutting.
- Use parchment paper to prevent sticking and make cleanup easier.
- Allow cookies to cool completely on the baking sheet to let the candy center fully harden.
- For precise cookie shapes, use metal cookie cutters and clean them between cuts.
- Store cookies in a single layer to prevent the candy centers from sticking together.
Nutrition Facts
Calories: 120kcal
Carbohydrates: 18g
Protein: 1g
Fat: 5g
Saturated Fat: 3g
Cholesterol: 20mg